You can get 10 testable ads out of one UGC video by treating it as raw material instead of a finished ad. Keep the middle of the video, where the creator shows the product, and change one thing per version: the opening, the length, the frame, the on-screen text or the closing offer. The usual snag is that the clip already has captions, a price or an old discount code burned into the picture, so every change looks like it needs a reshoot. It usually doesn’t.
One rule before you start: only do this with videos you have the rights to edit and run as ads.
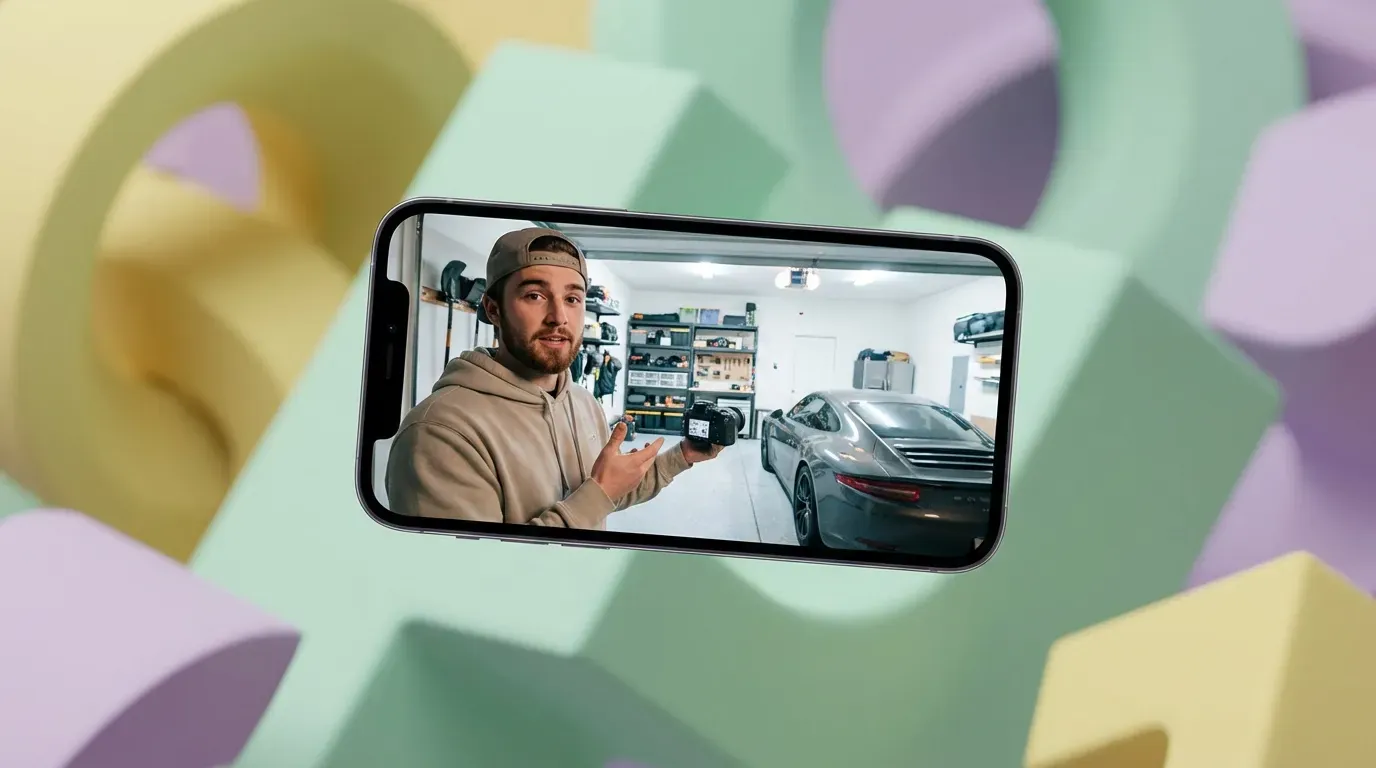
UGC (user-generated content) here means a short video made by a customer or a paid creator, usually filmed on a phone and talking straight to the camera. Most UGC ads have three parts.
The hook is the opening few seconds, the part that makes someone stop scrolling. The body is the demo or the story. The CTA (call to action) is the closing line that tells the viewer what to do next. The plan below keeps the body fixed and swaps the parts around it.
It works best when you start from a clean base: a copy of the video with no old text on screen. Every version is then a small edit on top of the same file, and because only one thing changes per version, you can tell which change made the difference.
What you can change without a new shoot
| # | Variation | What changes | What stays the same | Old on-screen text needs to go first? |
| 1 | Hook A: problem first | Opening seconds | Body, CTA | Usually |
| 2 | Hook B: result first | Opening seconds | Body, CTA | Usually |
| 3 | Hook C: the question buyers ask | Opening seconds | Body, CTA | Usually |
| 4 | Hook D: the skeptic’s angle | Opening seconds | Body, CTA | Usually |
| 5 | Short cut | Total length (about 15 seconds) | Best hook, CTA | No |
| 6 | Long cut | Total length (about 30 seconds) | Best hook, CTA | No |
| 7 | Feed crop | Frame from 9:16 to 4:5 | Audio, edit | Yes, if captions get cut off |
| 8 | B-roll cut | Visuals over the same voiceover | Audio, script | No |
| 9 | New on-screen angle | Text overlay aimed at a different buyer | Footage, audio | Yes |
| 10 | New offer or CTA | Closing line, price or end card | Hook, body | Yes |
Check the last column before you start. Versions 9 and 10 need the old text gone, version 7 does if the crop cuts through a caption, and the hook swaps usually do too, because the creator’s captions run straight through the opening seconds.
Before you edit: check your rights to the footage
Buying a UGC video does not always mean you can recut it or put ad spend behind it. Check your agreement, or ask the creator, for three separate things:
- Editing rights: can you cut, crop, reorder and add text to the video?
- Paid usage rights: can you run it as an ad, on which platforms, and for how long?
- Whitelisting: a separate permission to run ads through the creator’s own account. Don’t assume it comes with the video, and ask how recut versions would be handled.
If a customer posted the video on their own, get written permission before you use it. When you trim a testimonial, keep the speaker’s meaning intact and don’t make it sound like they got results they never mentioned. This is general guidance, not legal advice.
Step-by-step: from one video to 10 ad variations
Step 1: Break the video into hook, body and CTA
Open the video in the editor you already use, such as CapCut, and mark where the hook ends and where the CTA starts. Then watch it again for moments that could open an ad, like the “after” shot.
For example, a 45-second skincare video might show the creator’s reaction to her skin at 0:31. That shot can open a “result first” version. Before you export anything, set up a naming pattern so you can tell the files apart later, such as serum_hookB_15s_9x16_ctaShop.

Step 2: Get a clean base without burned-in text
Burned-in (or hardcoded) captions are part of the picture itself, so you can’t switch them off like subtitles on a streaming app. Work through these options in order, because each one costs more effort or more risk than the one before it.
- Ask for a textless version first. The creator may still have the original file without captions. If you bought the video through a UGC marketplace, check whether it offers the raw footage or extra hooks as an add-on.
- Crop or cover when the text sits at the edge. If the captions sit in the bottom strip and nothing important is under them, a slight crop can remove them. If you’re about to put new captions in the same spot anyway, a solid color bar can hide the old ones.
- Rebuild the area when the text covers the product. If the old price or caption sits over the product, cropping would cut out the thing you’re selling. In that case, a browser-based removal tool can remove old captions from UGC footage by rebuilding the covered area from nearby frames. With tools like this you usually draw a tight box around the old text, set when it appears and, if a frame preview is offered, check one cleaned frame first.

- Check the result frame by frame. Rebuilding is an estimate of what was behind the text. It can blur or flicker when the text sits over a face, a hand, a product label or a fast-moving background. Watch the frames where the old text appeared and disappeared, and if the label no longer reads clearly, go back to option 1 or 2.

Keep this clean base as your master file and build every version from it.
Step 3: Write 4 new hooks for the same body
These are versions 1 to 4. Keep the body and CTA exactly as they are and change only the opening. Each hook should be a line the creator actually says somewhere in the video, moved to the front, or a text card in your brand’s voice.
- Problem first: if the creator says something like “My makeup kept sliding off by noon” later in the clip, open with it.
- Result first: open on the after shot with a short text card, such as “Day 14” if the creator says how long she has used it.
- The question buyers ask: a text card like “Does it work on oily skin?” over the first shot, answered by the demo.
- The skeptic: a text card such as “Skeptical about a $20 serum?” over the opening shot.
You don’t need new footage for these: a line from later in the video or a product close-up with a text card works as a cold open. Don’t put words in the creator’s mouth.
Step 4: Cut two lengths
These are versions 5 and 6. Take the hook you like most and make a 15-second cut and a 30-second cut. For the short one, cut repeated sentences and any second demo of the same feature. Leave the CTA the same in both so length is the only difference.
Step 5: Reframe for feed and add a B-roll cut
Version 7 is a 4:5 crop of the original 9:16 vertical video, for placements that show a shorter frame (check the exact ratio in the platform’s current specs). This is where old captions cause trouble. After the crop, a caption line may be cut in half or land behind the platform’s buttons. That’s why the clean base comes first: you add fresh captions inside the new frame instead of fighting the old ones.

Version 8 keeps the creator’s voiceover but replaces most of the picture with B-roll: extra shots of the product in use, with no one talking to the camera. It shows whether viewers respond to the creator’s face or to the product.
Step 6: Change the on-screen angle and the offer
Version 9 uses the same footage with a different line of on-screen text aimed at another buyer. “Great for sensitive skin” and “Works under makeup” can reach different people with the same clip. Version 10 changes the closing offer, such as a new price or a free-shipping threshold.
Both versions need a clean base. Without one, the new text sits on top of the old text, and viewers see two prices or two messages at once.
Step 7: Export, name and organize the files
Export each version in the frame size its placement calls for, and check the platform’s current specs before you upload. Use the naming pattern from Step 1 and keep the clean base master in its own folder. A simple sheet that lists each file and the one thing it changes means a winning version points to a single cause.
How to test the 10 versions without wasting budget
Test in rounds, one variable at a time. Run the four hooks against each other first, since a viewer who scrolls past the opening never sees the rest. Then test the two lengths and the crop with the winning hook, and test the on-screen angle and the offer last.
Use the split-testing tool built into the ad platform instead of comparing separate campaigns by eye, because the tool divides the audience so each version gets a fair share.
Tips that make the next video easier to reuse
Ask for a textless version in your next brief. A textless file means you can skip Step 2. When you still need a cleanup pass later, keep Remover.video alongside your usual editor. Alternate opening lines are worth asking for too.
Keep your own captions on a separate layer. When you add captions in your editor, keep them as their own track and export one copy without them.
Frame the product in the center. Footage with the product in the middle survives a crop to 4:5 much better than footage with the product at the edge.
Keep a list of hooks that worked. Write down the opening line and the angle of every winner.
Common mistakes to avoid
Changing several things at once. If version 2 has a new hook and a new offer, you can’t tell which change made the difference.
Building on a messy base. New captions stacked on burned-in ones are hard to read, and a rebuilt area can smear a product label or flicker for a few frames. Fix the base and watch it at full size before you build on it.
Launching ten near-identical versions. A different filter or a new background track is not a real variation. Each version should test a different idea.
Ignoring how long your usage rights last. If the license ends, a winning ad has to come down with it. Write the end date next to each file.
Pick one video you already have the rights to and build the four hook versions this week. The test results will tell you which hook to carry into the rest of the list.