A well-built gun model is more than a shelf ornament; it is a compact study in mechanics, patience, and problem solving that rewards every hour you put into it. For hobbyists moving up from simpler sets, and for veteran builders looking to sharpen technique, the leap from casual assembly to genuinely refined replicas can feel steep. The good news is that mastery is not about talent or expensive tools. It is about learning a repeatable process, understanding why certain sections behave the way they do, and building the small habits that keep a project moving smoothly from bag one to the final display pose. This guide walks through that process in the order you actually encounter it, covering preparation, structural work, mechanical detailing, finishing, and long-term care. Every recommendation is meant to be immediately actionable, so you can pick up your next kit and apply the ideas the same afternoon. By the end, the leap from beginner to confident builder will feel less like a jump and more like a series of small, natural steps.
Preparing to Build With Purpose
The quality of any gun model project is set in the first thirty minutes, before a single brick clicks. Skilled builders treat setup as a real phase of the work rather than an afterthought. A calm workspace with clear lighting, a sorted parts tray, and a full read-through of the instruction booklet turns the build into a series of confident moves instead of a scavenger hunt. Working with a gun model often involves hundreds of small parts and tightly nested subassemblies, so the value of preparation compounds quickly. Skip this step and you spend the rest of the session paying interest on it.
Understanding the Instruction Flow
Before touching parts, flip through the entire booklet once. Note where the mechanical sections appear, where color changes signal a new subassembly, and which pages contain callouts that are easy to miss. Builders who scan the manual first almost never lose orientation halfway through. Mark any step that looks unusual with a small sticky tab so you slow down when you reach it.
Sorting Parts by Purpose, Not Just Color
Basic color sorting is a start, but grouping by function speeds the actual build. Keep structural bricks separate from small technic elements, and pull hinge pieces, springs, and rubber bands into their own tray. When the instructions call for a specific plate, your hand should already know which corner of the workspace holds it.
Building the Core Structure With Precision
The frame carries every future subassembly, and small errors here echo through the rest of the model. Structural work is where builders who focus on speed usually lose ground to those who focus on fit. Every plate should sit flush, every seam should feel solid under a fingertip test, and every internal cavity should match the manual before the outer panels close.
Locking In the Frame
Press each layer down completely and verify that no stud is only half seated. Run your finger along the ridge of every long row and listen for the soft click of a settling plate. If a section flexes when you lift the model by its middle, backtrack and check for a missed cross piece. A rigid frame at this stage costs a minute; a loose one costs an hour later.
Verifying Internal Clearances
Where springs, slides, or triggers will live, dry-fit the moving element before you close the surrounding panels. Slide it through its channel by hand and watch for any point where it drags or catches. Fix the clearance now, when you can still lift the offending plate with two fingers, not after twenty more pages of construction cover the problem.
Detailing and Mechanical Finesse
Once the shell takes shape, the build shifts from structural work to detail. This is where a gun model earns its personality, and where careful builders separate themselves from rushed ones. Details are small but they accumulate; ten crisp touches read as a professional finish, while ten sloppy ones read as unfinished.
Aligning External Panels
Outer panels are the most visible surface, so alignment matters. Attach them lightly first, sight down the length of the model to check for offset, then press home once you are satisfied. If a panel refuses to sit flat, the culprit is almost always an unseated part underneath rather than the panel itself.
Tuning the Action
Mechanical elements like slides and hammers need careful tuning. Cycle each mechanism ten times slowly and feel for hesitation. A single tight point often means a plate that shifted during handling; a broad, gritty resistance usually points to a misplaced element deeper in the assembly. Solve one issue at a time and retest between fixes so you know which change did the work.
Finishing and Displaying With Care
A finished model deserves more thought than being set on the nearest flat surface. Where and how you display it decides whether it looks fresh a year from now or shows fatigue after a month. Small habits pay off far more than expensive accessories.
Choosing the Right Display Environment
Keep completed models out of direct sunlight to prevent color shift, and away from vents that push warm or cool air across the plastic. A closed display case slows dust accumulation without needing to wipe delicate surfaces. If you rotate several builds, keep the current pieces at eye level so you notice any loosening early.
Handling for Longevity
Lift models by their structural core, never by a barrel, stock, or magazine. Extremities are held on by comparatively few connection points, and repeated stress there is a common cause of quiet loosening. When transporting between rooms, cradle the model horizontally with two hands rather than dangling it by any single grip.
Turning Practice Into a Real Skill Set
Improvement comes from repetition combined with reflection. Great builders finish a project, wait a day, and then look at it again with fresh eyes. That gap is where the lessons stick.
Reviewing Each Build
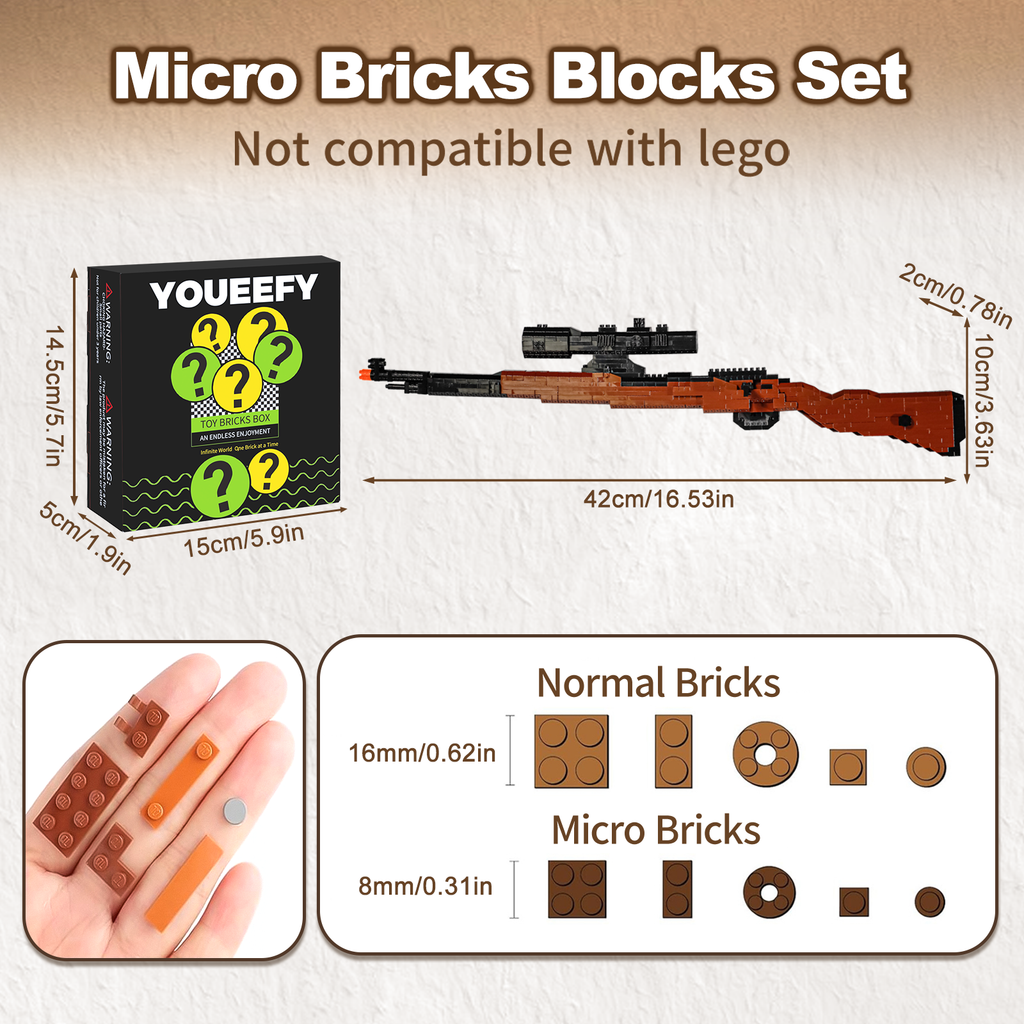
Write two sentences at the end of every project: one thing that went well and one thing you would change next time. Over five kits, this simple log becomes a personal style guide that reflects your specific habits and preferences. Brands like YOUEEFY offer sets across a wide range of complexity, so lessons transfer easily from one project to the next.
Building Community Knowledge
Photograph tricky junctions and share them in hobby communities. Explaining a step out loud, even in a caption, forces you to understand it more deeply. Answering someone else’s build question is often the fastest way to internalize the technique yourself.

From First Brick to Confident Craft
Mastery in this hobby is not a distant summit; it is the sum of a handful of good habits repeated across many projects. Preparation gives you a smooth start, disciplined structural work sets the tone for everything that follows, and thoughtful detailing turns a completed model into something that reads as finished rather than merely assembled. Handling and display protect the effort you have invested, and honest self-review turns every kit into a stepping stone for the next. Approached in this order, gun model building stops feeling like a race against the instruction booklet and starts feeling like a craft you are quietly getting better at. Pick up your next set with these steps in mind, work through them at a steady pace, and you will notice both the finish quality and the enjoyment of the process climb together, one deliberate build at a time.