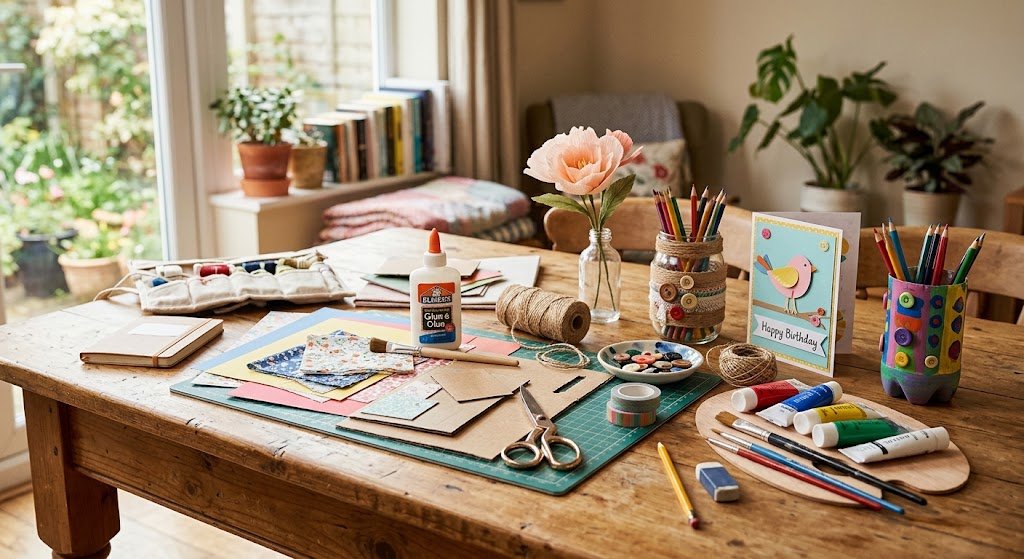
Engaging in “hands on” activities is a very easy way to create useful, aesthetic, and individual items from everyday materials. No expensive equipment, professional skills or craft room necessary to get started. Most fun projects can be made from materials found at home including paper, cardboard, jars, fabric scraps, bottles, string and old packaging. While these DIY crafts are perfect for the novice crafter, they’re also great for anyone who wants to try out various colors, shapes, patterns and textures, and learn some basic crafting methods. If you’re looking to decorate your room, keep your things tidied, make a nice gift, or just use your time creatively, it’s easier to get started on a simple project than it seems. When making your own crafts, you’ll also be prompted to reuse items instead of discarding them as soon as you use them.
The benefits of trying DIY crafts at home.
There are a number of advantages to making things on your own besides creating lovely things. One, it gives you the chance to be creative without having to adhere to a complex set of rules. A beginner can begin a project with a simple idea and then alter colors, materials, forms or decoration to make something new. Making also allows for the acquisition of practical skills like measurement, cutting, folding, gluing, painting, arranging, and step-by-step instructions. These skills can become more comfortable with practice and working on smaller projects can help with larger projects in the future. Another perk is that many crafts promote the recycling of household items. Waste materials can be used as craft supplies such as empty containers, cardboard boxes, old magazines, fabric leftovers, and paper packaging. A DIY project can then be a creative, hands-on, organized and responsible reuse project all in one fun experience.
Making at home can also be a social activity. Children can collaborate with parents, siblings, friends or classmates on simple projects, sharing ideas and learning from each other. Handmade items have a personal flair that can’t be found at the store, since the maker decides on the design and takes time to create it. DIY crafts can also be customized for various events such as birthdays, holidays, school projects, room decoration, and made into handmade gifts. Start out on the cheap and find out what you love about the techniques with projects. You don’t need to get it right. The first thing to learn is how materials respond, exploring ideas, making mistakes and building confidence with practice, for beginners.
Here are some tips on getting started.
For a beginner craft kit, it is not necessary to be big and costly. Pencils, rulers, colored paper, cardboard, markers, paint and paintbrushes, glue, scissors, tape and string are just a few supplies that can be used for a variety of projects. Other materials that can be utilized include empty jars, plastic bottles, fabric scraps, buttons, magazines, paper bags, cardboard packaging, and old notebooks, depending on the project. Always shop or hunt around your house for clean supplies that can be used again. Having all of these in a small box or container will make it easier to get a project started when time permits. Keep the work area tidy and make sure that scissors, glue and paint are used safely and put away when finished.
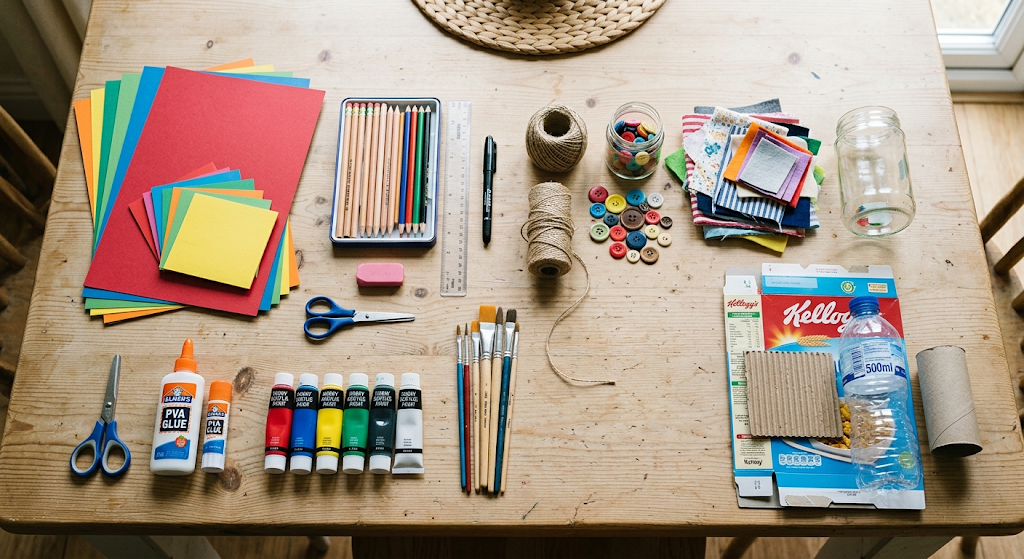
It is also a good idea for beginners to set up an appropriate workspace. An old newspaper or scrap paper on a flat surface will prevent paint and glue from getting on the surface. Appropriate lighting helps with cutting and more refined decoration; neat and tidy arrangement of materials will help to avoid frustration. Use scissors, craft knives, hot glue, strong adhesives or other tools only as safety directed and supervised by adults, when necessary. Don’t use soiled containers or materials that contain sharp edges, harmful chemicals or other hazards. Simple crafts are great to start with, as they allow you to work on one or two techniques at a time. After you are familiar with simple cutting, folding, painting, gluing, and other elements, you can combine them to make more complex projects.
20 Easy DIY Crafts for the Beginners.
1. Paper Flower Decorations
In the decoration, paper flowers are one of the simplest methods to make colored paper more decorative. Use construction paper, old magazines, wrapping paper or other plain sheets of paper in colors that complement your room or a specific party. Basic Materials: paper, scissors, glue, a pencil, and optional markers or beads for decorating. You can start by drawing basic shapes of the petals on the paper and then cut out the shapes. Arrange a number of petals with them overlapping and glue them together around a small paper circle. The petals can be slightly bent up to add some dimension to the flower. Create several different sizes of flowers and glue them onto a cardboard, wall display, gift package or homemade card. Newcomers can try and mix a flower’s size, shape and colors to make a custom-made arrangement.
2. DIY Greeting Cards
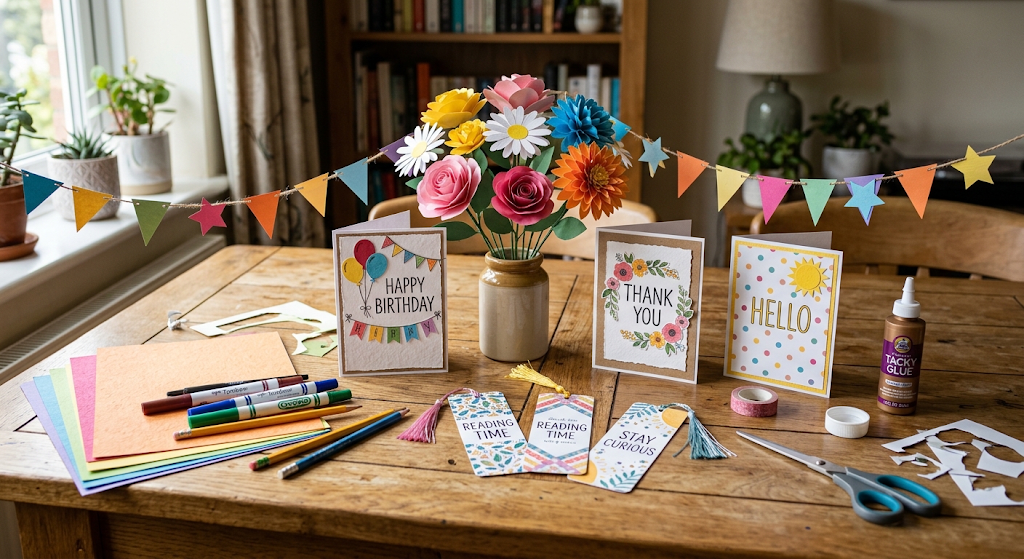
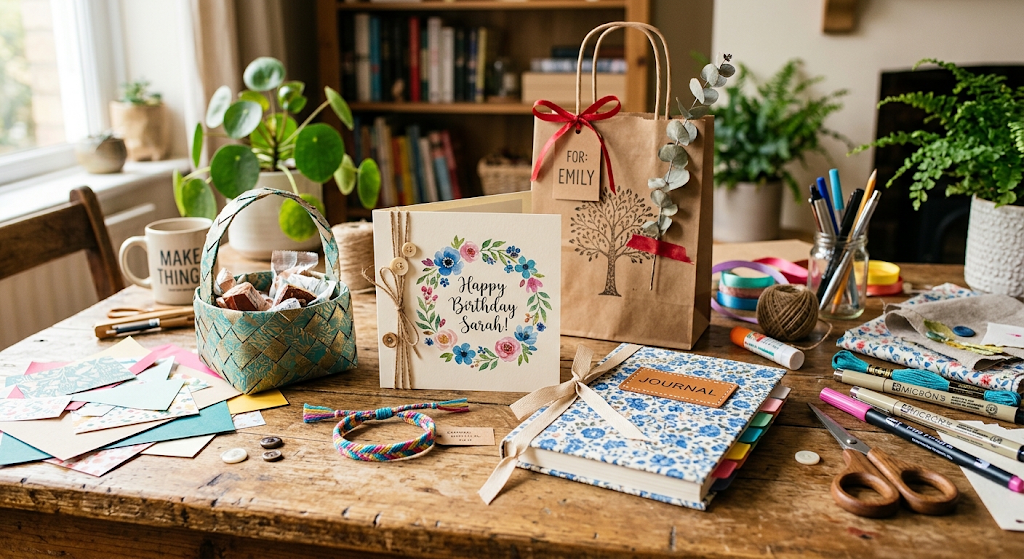
Handmade greeting cards are also useful projects that can be given on birthdays, celebrations, thank you cards and more. You will need cardstock or thick paper, scissors, glue, coloured paper, markers and optional decorations like ribbons, stickers, buttons or small pieces of fabric. Start by folding the cardstock carefully in half and determine the placement for the main design. The face can be a simple paper flower, geometric design, picture or layered shape. Decorate sides and write a quick handwritten note inside. The beauty of creating your own cards is you can make any design suitable for the recipient. You can design their favorite colours, leave a joke or personal message, or make a design that’s related to a shared memory.
3. Painted Flower Pots
A plain flower pot can become a colorful piece of home décor with a little paint and imagination. For this project, use a clean terracotta or suitable plant pot, acrylic paint, paintbrushes, a pencil, and optional sealant appropriate for the pot material. First, clean and dry the pot before deciding on your design. Beginners can sketch simple shapes such as dots, stripes, leaves, hearts, or geometric patterns before applying paint. Allow each layer to dry before adding another color to prevent unwanted mixing. You can use a single color for a simple appearance or combine several shades to create a more playful design. Once finished and completely dry, the decorated pot can hold a small plant or be used as a container for craft supplies. Remember to choose materials suitable for the intended use and protect your work surface while painting.
4. Recycled Jar Organizers
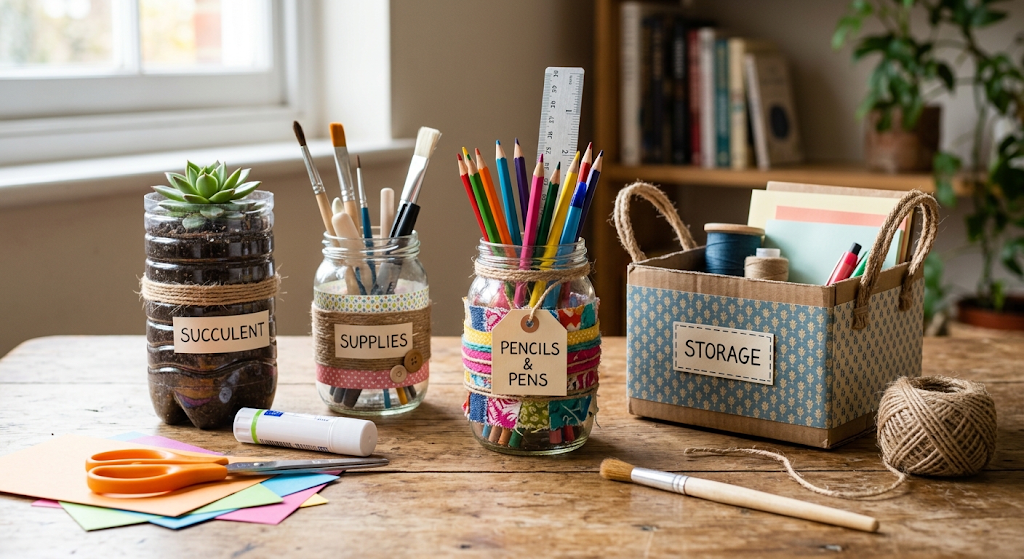
Empty glass jars can be transformed into useful organizers for small household items, provided they are clean and free from cracks or sharp edges. You can use jars to store pens, pencils, paintbrushes, buttons, ribbons, or other craft supplies. Basic materials include a clean jar, paper or fabric for decoration, glue, scissors, and markers or paint. Begin by removing labels and washing the jar thoroughly, allowing it to dry completely. Wrap the outside with decorative paper or fabric, or paint simple designs directly onto an appropriate surface. You can add a label describing what belongs inside the container. Different jars can be decorated using a matching color scheme and placed together on a desk or shelf. This project combines recycling with organization and can be adapted to fit almost any room.
5. Handmade Bookmarks
A handmade bookmark is a quick project that can be both attractive and useful for readers. You can make one from cardstock, cereal-box cardboard covered with paper, or other clean, sturdy materials. You will also need scissors, a ruler, glue, colored paper, markers, and optional ribbon or string. Cut the material into a narrow rectangle and decorate it with patterns, drawings, inspirational words, shapes, or a favorite color combination. You can layer paper to create a simple collage or use pressed-looking paper shapes made from craft materials. Punching a small hole at the top allows you to add a piece of ribbon or string, although this is optional. Because bookmarks are small, they are excellent for experimenting with new designs without using many materials. They can also make inexpensive handmade gifts for friends and family members.
6. DIY Photo Frames
A handmade photo frame can turn a favorite picture into a personalized decoration. For a beginner project, use sturdy cardboard, scissors, glue, colored paper, markers, and decorative materials such as buttons, fabric scraps, paper shapes, or dried craft-safe decorations. Cut a rectangular frame from cardboard and create an opening in the center that is slightly smaller than the photograph. Cover the cardboard with decorative paper or paint it before adding additional details. A simple stand can be made from folded cardboard attached to the back, or the frame can be designed for hanging. You can customize the finished frame around a particular memory, event, or room theme. For example, a travel photograph might inspire a map-style design, while a family picture could use warm colors and simple decorative shapes.
7. Decorative Paper Garlands
Paper garlands are useful for parties, bedrooms, study spaces, and seasonal decorations. They require only a few materials, such as colored paper, scissors, string, glue, and a pencil. Start by choosing a repeated shape, such as circles, stars, triangles, leaves, or hearts. Draw the shape several times on your paper or create one template that can be traced repeatedly. Cut out enough pieces to form the length you want, then attach them to a piece of string using glue or small folds. You can arrange colors in a repeating pattern or mix them randomly for a more playful effect. This project can be customized for birthdays, school events, holidays, or everyday room décor. Because the shapes are simple, beginners can focus on accurate cutting and arranging without needing advanced crafting techniques.
8. DIY Pencil Holders
A pencil holder can help organize a study desk while giving you an opportunity to reuse an empty container. Suitable materials include a clean food container, sturdy cardboard tube, jar, or other safe container, along with decorative paper, glue, scissors, markers, paint, or fabric. Measure the container and cut decorative material to fit around it. Attach the covering carefully, smoothing it as you work so that large wrinkles do not form. You can then add your name, geometric patterns, stickers, paper shapes, or other decorations. The finished holder can store pencils, pens, rulers, paintbrushes, or other small supplies. For a coordinated workspace, make several holders using the same colors or patterns. This craft is especially useful because the finished item serves a practical purpose rather than simply being decorative.
9. Fabric Scrap Wall Art
Fabric scraps left over from old sewing projects or worn-out clothing can be transformed into simple wall art. You will need clean fabric pieces, cardboard or thick paper, scissors, glue suitable for fabric, and optional markers or paint. Begin by choosing several fabric colors and arranging them into a simple composition. You could create a landscape, abstract pattern, flower shapes, geometric arrangement, or collection of overlapping fabric pieces. Cut the scraps carefully and glue them onto the backing material. Allow the adhesive to dry fully before placing the artwork in a frame or displaying it on a wall. Mixing fabrics with different textures can create visual interest without requiring complicated techniques. This project is particularly useful for learning about composition, color combinations, and material reuse while giving old fabric a new purpose.
10. Homemade Friendship Bracelets
Friendship bracelets are simple handmade items that can be created using embroidery thread, yarn, or other suitable craft string. A beginner can start with a basic braided design before learning more complicated patterns. Choose three or more strands in colors you like, secure one end to a stable surface, and braid the strands evenly until the bracelet reaches a comfortable length. Tie the ends securely and trim excess string. You can use different color combinations to represent a favorite theme, school colors, or personal preferences. Adding small suitable beads can provide another customization option if they can be attached safely. The project helps beginners practice coordination and repeated patterns while creating a small handmade item that can be given as a gift. Avoid making the bracelet too tight, and make sure the materials are comfortable for the intended wearer.
11. Cardboard Storage Boxes
Cardboard packaging can be reused to create simple storage boxes for stationery, toys, craft supplies, or other lightweight items. Start with a clean and sturdy cardboard box and gather scissors, glue, wrapping paper, fabric, markers, or paint. If the box has unnecessary flaps, carefully trim them while keeping the main structure intact. Cover the outside with decorative paper or fabric, then add a label describing what the box will contain. You can create matching boxes for different categories of items, making organization easier. Smaller boxes can also be placed inside larger ones to divide materials into sections. This craft teaches useful skills such as measuring, cutting, folding, and covering surfaces while reducing the amount of packaging that goes to waste. The finished box can be customized to suit a bedroom, study area, craft corner, or office space.
12. DIY Coasters
Simple homemade coasters can protect tables and provide a small opportunity to experiment with decorative designs. Cardboard, cork sheets, sturdy craft material, or other suitable bases can be used depending on what is available. Cut several pieces into matching squares, circles, or other shapes, then cover the surfaces with decorative paper, fabric, drawings, or suitable paint. If using materials that will come into contact with moisture, choose an appropriate protective finish and allow it to dry completely before use. Beginners can make a matching set using the same design or create a different pattern for each coaster. You might use geometric shapes, nature-inspired drawings, simple lettering, or abstract patterns. The finished coasters can be used at home or packaged as part of a handmade gift set.
13. Decorated Candle Holders
A plain candle holder can be given a decorative appearance using suitable materials and simple designs. For a beginner version, start with a clean glass container intended for safe candle use and decorate only the outside with appropriate craft materials. Paper shapes, paint designed for the surface, or other suitable decorations can create patterns around the container. Before using the finished holder, make sure decorations are safely positioned away from heat and flames and that the container is appropriate for the candle. Beginners who prefer to avoid working with real flames can instead create decorative holders for battery-operated LED candles. Designs can include stars, leaves, dots, seasonal patterns, or simple geometric shapes. This project demonstrates how small decorative changes can transform an ordinary object into a personalized piece of home décor while keeping safety in mind.
14. DIY Wall Hanging
A simple wall hanging can be made from cardboard, wooden craft sticks, yarn, string, fabric, or other lightweight materials. Beginners can start by choosing a basic shape or central design, such as a row of hanging paper shapes, a fabric pattern, or a collection of colorful yarn strands. Attach the decorative pieces to a sturdy horizontal support and add a loop of string at the top for hanging. You can choose colors that complement the room or create a seasonal design that can be changed later. Adding simple words, shapes, or symbols can make the project more personal. The main skill involved is arranging materials so that the finished object looks balanced. Because the design can remain simple, this craft is a good introduction to creating larger decorative pieces without requiring complicated equipment.
15. Recycled Bottle Planters
Clean plastic bottles can be reused as small planters when prepared carefully. For this project, you need a suitable empty plastic bottle, scissors or another cutting tool used safely, paint or decorative paper, and appropriate soil and plants. Because cutting plastic can create sharp edges, beginners should ask an adult for help when necessary and make sure the finished container has no exposed sharp areas. Once the bottle is safely prepared, decorate the outside with paint or paper and add suitable drainage openings if needed. Small plants can then be placed inside. You can create several planters in different designs and arrange them near a window or outdoor area suitable for the plants. This project demonstrates how an everyday container can be given a second use while encouraging an interest in plants and creative decoration.
16. Handmade Gift Bags
A handmade gift bag is a practical craft that can turn plain paper into attractive packaging. You can use sturdy wrapping paper, clean magazine pages, kraft paper, or other suitable paper, along with glue, scissors, a ruler, and string or ribbon for handles. Fold the paper carefully to create the sides and base of the bag, then secure the necessary edges with glue. Reinforce the top if the paper is thin, and attach handles securely. The outside can be decorated with paper flowers, drawings, stickers, stamps, or handwritten messages. You can adjust the dimensions depending on the size of the gift. Handmade gift bags are particularly useful because they allow the packaging itself to become part of the present. Reusing suitable paper also provides a practical way to reduce unnecessary waste.
17. DIY Paper Baskets
Paper baskets are decorative containers that can also hold lightweight items such as notes, craft supplies, small toys, or wrapped treats. To begin, use sturdy paper or thin cardboard, a ruler, pencil, scissors, and glue. Cut strips of similar width and arrange them into a simple woven pattern by crossing horizontal and vertical strips. Secure the edges and add a separate strip as a handle if desired. Beginners should start with a small basket because smaller designs are easier to keep stable. Different paper colors can be combined to create patterns, while old magazines can provide interesting printed designs. The finished basket can be placed on a desk or shelf, used for organizing small objects, or given as part of a handmade gift. The project provides useful practice with measuring, folding, weaving, and maintaining consistent spacing.
18. Personalized Notebook Covers
An ordinary notebook can become more distinctive with a handmade cover. You can use colored paper, printed designs, fabric, photographs that you have permission to use, stickers, markers, or simple drawings. Measure the notebook carefully and cut a piece of covering material large enough to wrap around the front, spine, and back. Fold the edges neatly and secure them without preventing the notebook from opening and closing. Add the owner’s name, favorite colors, simple patterns, motivational words, or drawings to personalize the cover. You can also create themed covers for different subjects, such as mathematics, science, literature, or art. This project is inexpensive and useful because it gives an everyday school or writing item a new appearance while allowing beginners to practice measuring, folding, and surface decoration.
19. Decorative Mason Jar Crafts
Mason jars can be used for many decorative projects when handled safely and kept clean. A simple idea is to decorate the outside of the jar with ribbon, paper, fabric, paint suitable for glass, or other appropriate materials. The finished jar can hold pens, artificial flowers, craft supplies, notes, or other lightweight objects. You can create a color theme for a particular room or decorate several jars as a matching collection. Labels can be added to make the jars useful for organization. If the jar is intended to hold food, make sure all decorative materials and coatings are appropriate for that purpose and do not contaminate the contents. Beginners can keep the design simple by using one main color and a small decorative detail, then experiment with more elaborate patterns after gaining confidence.
20. DIY Room Decorations
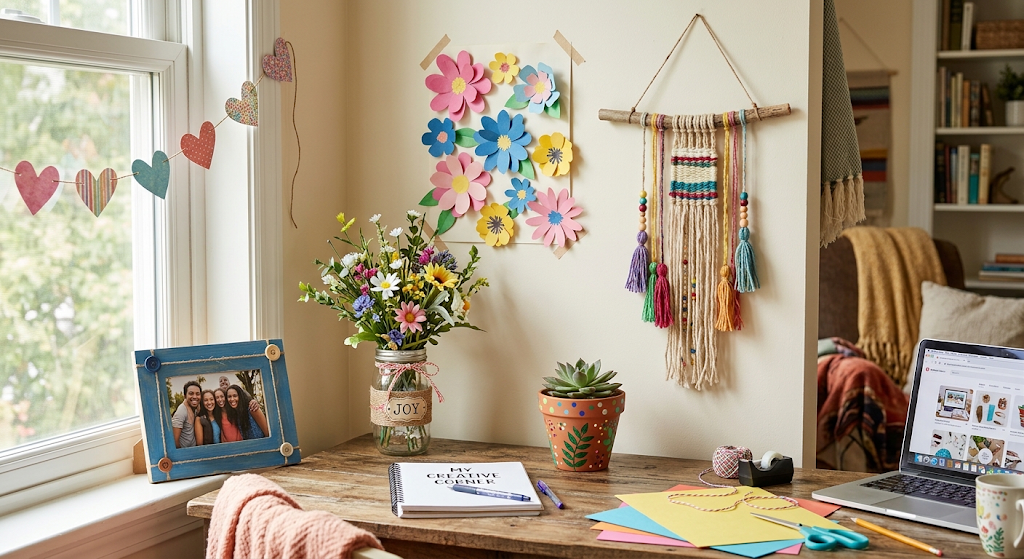
Creating personalized room decorations allows beginners to combine several techniques learned from earlier projects. You could make a collage from old magazines, create a collection of paper shapes, decorate cardboard letters, make a simple photo display, or design a set of matching wall pieces. Start by choosing one area of the room and deciding what type of decoration would fit there. Gather materials that are already available before buying anything new, and choose a small color palette so the finished pieces look connected. You can combine paper flowers, fabric scraps, string, photographs, drawings, or recycled cardboard depending on the project. The most important part is to create something that reflects your interests rather than trying to copy a complicated design. Simple handmade decorations can make a space feel more personal while giving you the chance to practice several basic crafting skills.
Tips for Successful DIY Crafting
Beginners can make their crafting experience easier by starting with projects that match their current skill level. Read through the entire project before cutting or gluing anything so that you understand what materials are needed and what the finished item should look like. Measure twice before making important cuts, especially when working with cardboard, paper, or fabric. Keep a small amount of extra material available because mistakes are normal when learning. It is also helpful to test paint, glue, or other decorative materials on a small scrap before applying them to the final project. Work patiently and allow glue or paint enough time to dry rather than handling the project too early. If a project does not look exactly as planned, consider whether the unexpected result can become part of the design. Crafting is a learning process, so experimentation is just as important as following instructions.
Safety should remain part of every crafting session. Use scissors carefully and ask an adult for assistance with cutting tools, heat, strong adhesives, or other equipment when appropriate. Keep small objects away from very young children and pets because items such as beads, buttons, and small craft pieces can present choking hazards. When painting or using adhesives, work in a suitable area and follow the product instructions. Recycled containers should be washed and dried before being used for crafts, and materials with sharp edges, unknown substances, or damage should be discarded. Taking a few minutes to prepare a safe workspace can make crafting more enjoyable and prevent avoidable problems. A clean table, organized materials, good lighting, and patience are often more valuable to a beginner than expensive equipment.
How to Make Your DIY Crafts More Personal
Personalization is one of the most enjoyable parts of DIY crafting because there is no requirement to make every project look the same. Start by thinking about the person, room, event, or purpose connected to the craft. For a handmade gift, consider the recipient’s favorite colors, hobbies, or interests. For room décor, choose colors and patterns that work with the existing space. You can add names, initials, simple drawings, meaningful words, photographs, or handmade patterns to make an item feel unique. Even a small change, such as replacing a standard color with a favorite shade or combining recycled materials in an unusual way, can make a project different from another person’s version. Personalization does not require advanced artistic ability; thoughtful choices about color, shape, texture, and arrangement can make a simple project feel special.
Another effective approach is to combine materials that are already available. For example, a cardboard frame can be covered with fabric scraps, decorated with paper flowers, and finished with a handwritten label. A recycled jar can become an organizer with a personalized paper sleeve, while a handmade card can include a small fabric or paper decoration. Keeping a collection of clean leftover materials can encourage experimentation because you can test ideas without worrying about wasting expensive supplies. You can also keep photographs of completed projects and record which techniques worked well. Over time, this creates a personal collection of ideas that can inspire future projects. The more you practice, the easier it becomes to adapt basic techniques into designs that reflect your own creativity.
Conclusion
DIY crafting is an accessible way for beginners to develop creativity, practical skills, and confidence while making useful or decorative items at home. The twenty projects in this guide demonstrate that attractive crafts do not require expensive materials or advanced equipment. Paper, cardboard, fabric scraps, jars, bottles, string, and other everyday materials can become flowers, cards, organizers, frames, decorations, storage containers, gifts, and personalized objects with a little planning and patience. Many of these projects also encourage reuse, helping beginners see ordinary household materials as potential craft supplies rather than immediate waste. Whether you choose to make a simple bookmark, decorate a flower pot, create a handmade gift bag, or design personalized room décor, each project provides an opportunity to learn something new.
The best way to improve at crafting is to begin with a manageable project and allow yourself to experiment. Your first attempt may not look exactly like the example you imagined, and that is completely normal. Each project can teach you something about cutting, folding, gluing, painting, arranging, measuring, or combining materials. As your confidence grows, you can modify the projects, combine different techniques, and create completely original designs. Most importantly, DIY crafting should be enjoyable and practical. By starting with materials you already have, working safely, and giving yourself permission to experiment, you can turn simple household objects into creative projects while developing skills that can be useful for future crafts.