Introduction
Traditional Windows applications are still a significant component of today’s computing requirements, whether they are used for business operations, personal data management, data processing, or increasing productivity. DeskTop apps are applications that run on a users’ desktop and use a graphical interface to allow the user to interact with the computer. DeskTop apps may be simple calculators, notes taking software, or more complex enterprise software that helps users complete tasks efficiently by interacting with a graphical interface. C# (pronounced C-sharp) and the .NET platform offer developers great tools to develop such applications. Learning how to develop Windows applications using C# can be a useful base for embarking on a software development career, whether you’re a student learning programming, an aspiring software developer, or a person looking to get into the tech industry.
An advantage of learning C# is the syntax of the language is easy to understand while at the same time offering support to the development of reliable applications. The .NET platform provides the libraries, run-time services and other development tools which can make some of the more common programming tasks easier, and which will enable a programmer to concentrate on problem-solving and not on building everything from the ground up. Various technologies are available to developers, including Windows Forms and Windows Presentation Foundation (WPF), for desktop interfaces, and the new ones for modern Windows experiences. This guide covers creating a development environment, basic programming concepts, creating a desktop interface, processing input from the user, and common problems. A hands-on calculator project illustrates how these concepts are implemented together in a practical application.
Understanding Windows App Development with C# and .NET
When it comes to Windows application development, it is the creation of software that runs on the Windows operating system and enables users to do certain actions. Examples of applications include productivity applications, business software, educational software, calculators, inventory management applications, and others. While the majority of websites are web applications executed in the web browser, standard desktop applications will have the ability to offer a dedicated interface and communicate with features of the operating system, local documents, and other installed software. C# is a widely used language for these tasks, as it has strong typing, object-oriented programming and rich libraries. It’s well structured, thus good for students to learn the syntax, and it’s capable enough for bigger, professional projects.
The .NET platform provides the environment and libraries to develop and execute C# applications. It contains a runtime to run compiled code, a set of base classes for common operations and tools for compiling, testing and publishing code. There are various interface technologies available for developers to use according to their requirements. The event-driven mode is simple to use, and is suitable for beginners’ projects and classic desktop applications, as in Windows Forms. WPF offers more advanced user interface customization, data binding, and layout options. The . The application interface is a component of WinUI.NET MAUI that can be used to build applications for multiple platforms. Let beginners consider project requirements, learning goals, and versions of Windows that they will support before selecting a technology.
The official documentation for Windows app development provides information on technologies, tools, UI and deployment. If you’re a new developer, you can use this resource to learn about the various approaches’ role in the greater Windows ecosystem. Windows Forms might be a viable choice for a first desktop project because the visual designer enables users to drag interface elements to a form without having to manually type each one of them. After mastering the basics, developers can dive into WPF or other frameworks to gain insight into interface design, application architecture, and other approaches.
Getting Your Development Environment Up and Running
You have to have a proper development environment before starting coding. Development Environment: Software tools that are used to develop, compile, test and debug an application. Microsoft Visual Studio is a good choice for most Windows desktop application beginners that are building traditional Windows applications using C#.
It includes a code editor, project management tools, a graphical interface designer, debugging tools and a toolchain related to the compiler in a single program. An integrated development environment frees up the need to set up individual tools and enables better understanding of how various aspects of a project operate together.
Installing Visual Studio
Firstly, download Visual Studio from the official Microsoft website. At install time, choose the workload named . . . . . .NET desktop development. This workload includes the following features: C# desktop applications, such as Windows Forms and WPF projects for the supported .NET platforms.NET versions. The installer might also provide other tools and software development kits, depending on the framework and project setup. Please make sure that your computer is up to the current system requirements and there is enough storage for your computer before you use it. Once installed, start up Visual Studio and let it set up if necessary.
When the environment is set up, click on the new project button to create a new project. Look for Windows Forms App, and select the C# template for a supported modern .Click on NET version and enter a project name description e.g. BeginnerCalculator Choose a suitable folder to save the project to, check the project settings and create the project. Visual Studio will create the basic files of the project and start the form designer or code editor. If you don’t see the template you are looking for, check the Visual Studio Installer and make sure that .You have installed NET desktop development workload.
Visual Studio User Interface
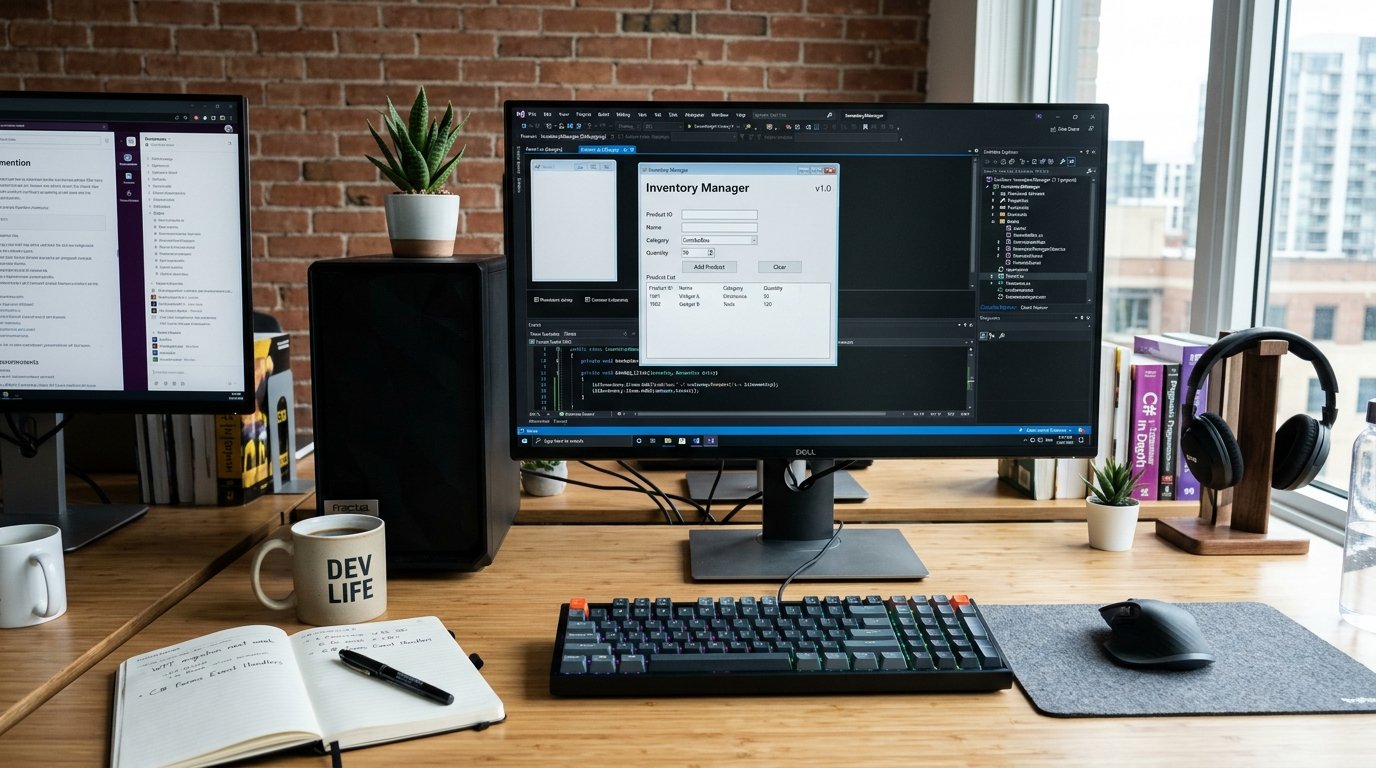
There are many significant regions in Visual Studio which a beginner has to learn. The code editor is the part of Visual Studio where you’ll type and edit C# code. Solution Explorer is used to view project files and navigate between forms, source files and configuration. You can use the Properties window to modify the properties of controls that are selected, such as their names, size, color, and text. The Toolbox provides elements to add to a form, such as buttons, labels, text boxes, and more. Knowing these areas helps in the development process as each of these areas has a specific function in the process of creating an application.
Once you’ve created your project, proceed to the first application using the Start button or by pressing the keyboard shortcut Visual Studio indicates. A simple window should open, indicating the successful building and running of the project. Close the development window and go back to the development environment. This is the first test and is crucial because it ensures that the tools needed for the test are installed properly and shouldn’t be buggy, before you add your own code. You can start to test small changes frequently and get easier at finding problems and how changing things will impact the application.

Fundamental Concepts of Programming in C#
C# applications are built on the basics of programming which is the process of communicating instructions to the computer and how it should react to various scenarios. A key idea is a variable that holds information that can be used or changed by a program. For instance, an application can have a string variable to store a user’s name, an integer variable to store a product quantity, and a decimal variable to store a price. Data types in C# specify the type of data that a variable may store. These include int (for whole numbers), double (for floating-point numbers), decimal (for decimal mathematics where the extra precision will be useful), string (for strings of text), and bool (for true-or-falses). Appropriate types can make the code easier to understand and minimize errors.
Operators are used within programs to make calculations and comparisons. Arithmetic operators are: +, -, *, and /. The comparisons are used to check the relationships between values: the logical operators are used to combine conditions: The features are particularly helpful in creating applications that act in accordance with the user’s selections. For instance, an arithmetic operator can be used in a calculator to find an answer to a problem, and an inventory application can use comparison operators to decide if a product is getting low. Understanding how they function and interact assists a beginner in understanding how to write instructions that solve everyday issues.
Loop and Conditional Statements
Conditional statements enable an application to make decisions using information. The if statement of an if statement/else statement block is the one that is executed when the condition it is testing is true. When an if statement/else statement block is testing a condition and the condition is true, then the if statement is executed. For instance, if a user types the word “divide” and a number following it, a calculator might ask the user whether they meant to divide and whether the number following “divide” was zero, before performing the operation. This avoids an erroneous calculation and it provides feedback to the user. When a program requires selecting from a variety of clearly defined alternatives, like addition, subtraction, multiplication, and division, then the switch statement could be used.
Loops execute a sequence of instructions multiple times until a condition is true or a set number of times. A for loop is used when the number of iterations is fixed, and a while loop is used when the number of iterations is not fixed. Simple calculators don’t need complex loops, but they are used in other desktop apps. A task manager, for example, could loop through a list of tasks and show their titles, or recognize overdue tasks. Most application logic is built on variables, conditions, and methods, so that means they need to be understood before more complex program structures are used, otherwise it will be difficult for beginners to grasp.
Introduction to Programming – Methods and Object-Oriented Programming (OOP)
A named block of code which performs a specific task is known as Method. Methods are used to break up instructions into smaller chunks that can be called later if necessary. For instance, the calculator may have a different method for adding two numbers than subtracting two numbers, multiplying two numbers than dividing. The program can call the suitable method as and when the user selects an operation; thus, the instructions are not repeated. Methods can have parameters (values used when calling the method) and can return values to the caller. This benefits readability and simplifies the testing and maintenance of individual parts of an application.
C# also offers object-oriented programming, a programming paradigm that uses classes and objects. A class is a blueprint for objects; an object is an instance of a class. For instance, a task management application may have a class called TaskItem which has properties like Title, DueDate, IsCompleted, etc. Each task created by the application would be represented by an individual object. Beginners don’t need to learn all the OO concepts up front, but the knowledge of classes, objects, properties and methods will help them develop applications that will stay organized as more features are added.
Creating a Simple GUI for the Windows Desktop
A graphical user interface (GUI) is a system that enables users to use graphical objects instead of only typed commands. A user-friendly interface makes it easy for users to understand the goals of an application and how to use it. The visual designer in Windows Forms makes this much easier to do, with controls placed and configured. Some commonly used controls are buttons that start something, labels that show something, text boxes that receive something, and list boxes that provide a list of things. Finding the right controls to use is significant, as users ought to not need to have a long explanation to understand what they’re used for.
To create an interface for a calculator, start the form designer and choose the main form. Change its title in the Properties window to something familiar like, for example, Simple Calculator. Include two TextBoxes to enter numbers, some buttons to perform arithmetic, and a Label to show the result. Give meaningful names to the controls, such as txtFirstNumber, txtSecondNumber, btnAdd, btnSubtract, btnMultiply, btnDivide, and lblResult. It makes the code more self-explanatory as the intention of every control becomes clear when called in an event handler by clear naming conventions. Place the input fields above the operation buttons and the result label so that it is easily visible to the user.
Accessibility and usability should also be taken into consideration in a functional interface. Have clearly written text, consistent spaces and buttons that can be easily clicked. Give clear labels to both input fields so that users would know what to put in. Don’t use color as the only way to convey important information because some users might not be able to see some colors. Think about what will happen if a user types an invalid value or tries an operation that cannot be performed. An interface that is well designed will be predictable and communicate errors clearly. These principles are not just applicable to calculator programs, but also to forms, education programs, stocks, and desktop programs.

Capturing and Responding to User Input and Events
Most desktop apps require that they respond to events like forms changing, buttons being clicked, and keyboard presses. This is typically called event-driven programming in Windows Forms. An event is a significant occurrence, like a user pressing a button. A method to be called when that event occurs is known as an event handler. The typical examples are that an addition button in the Windows Forms designer is usually used to add or open its click event handler. Inside of that method, however, you can write C# code to read in the values, do a calculation and output the result.
You can use text boxes to get back their values as strings, even if they are entered as numbers. The application will have to convert the text to appropriate numeric values before it can perform arithmetic. Using double.A useful method is to use TryParse as it will not throw an exception if the string is unable to be converted to a number. If the conversion is unsuccessful, the program may show a message of what the user should fix. This is usually better than expecting everything you’re given to be correct. The application should be implemented so that users’ common errors are not a problem, such as when they type in letters, do not fill in a field, or type a value that is not in the form expected.
The other advantage of event handling is that it allows to isolate the behavior of the interface from the logic of calculation. Common code for input validation could be carried out in a single method and each button could be responsible for the corresponding operation. This prevents multiple copies and simplifies the maintenance of the program. For more advanced applications, the developer could include other classes to hold business logic, and not have all instructions in the form. This separation will be done in a step-by-step manner, which can help to establish a good programming habit from the beginning and facilitate further enhancements, even in a simple project.
Practical Project: An Easy Calculator
Using a Calculator as a beginner project is great because it includes variables, numeric conversion, conditional logic, arithmetic operations and event handling. The objective is to develop a Windows Forms application which can receive two numbers and can let the user add, subtract, multiply or divide them. You need to start with the project and design the form as outlined above. Add two TextBoxes, four operation buttons, and a Label to display the answer. Name each control with a descriptive name in the Properties window. The form’s title can also be changed and dimensions can be adjusted to make an application easier to use.
After the interface appears, open the form’s code file and find the event handlers that have been created for the buttons. The next example demonstrates how to write the main calculation logic in a reusable method. It makes the assumption that the form has controls called txtFirstNumber, txtSecondNumber, and lblResult, and four buttons with the Click events that invoke the Calculate method using the right operator.
This is a private method (Calculate) that accepts a character argument (operation) and performs a calculation.
private void Calculate(char operation)
{
if (!double.TryParse(txtFirstNumber.Text, out double firstNumber) ||
!double.TryParse(txtSecondNumber.Text, out double secondNumber))
{
lblResult.Text = “Please enter two valid numbers.”;
return;
}
double result;
switch (operation)
{
case ‘+’:
result = firstNumber + secondNumber;
break;
case ‘-‘:
result = firstNumber – secondNumber;
break;
case ‘*’:
result = firstNumber * secondNumber;
break;
case ‘/’:
if (secondNumber == 0)
{
lblResult.Text = “Can’t Divide by Zero!”;
return;
}
result = firstNumber / secondNumber;
break;
default:
lblResult.Text = “Unknown operation.”;
return;
}
lblResult.Text = $”Result: {result}”;
}
OnClick of the button Add, it triggers the following event handler.
private void btnAdd_Click(object sender, EventArgs e)
{
Calculate(‘+’);
}
To implement the subtract operation, click the btnSubtract button. Click the btnSubtract button to implement the subtract operation.
private void btnSubtract_Click(object sender, EventArgs e)
{
Calculate(‘-‘);
}
This is the event handler for the mouse click on the button that performs the multiplication operation.
private void btnMultiply_Click(object sender, EventArgs e)
{
Calculate(‘*’);
}
private void btnDivide_Click(object sender, EventArgs e)
{
Calculate(‘/’);
}
This example shows some key programming techniques. First, double.TryParse checks the input before trying to make a calculation. If either of these values can’t be converted to a number, the method prints a helpful message, and exits. Secondly, the operation to be executed is determined by the character that is passed to the method in the switch statement. Third, the division case checks if the divisor is zero or not to do the division. Finally, the result is shown using a label, and the calculated value is interpolated into the text label, which means that the calculated value string can be placed directly in the text label.
Once the code is added, you need to make sure that each of the buttons’ Click event is linked to the appropriate event handler. You can make these connections automatically by double-clicking the buttons in the designer, but if clicking a button does not do anything, you should check these connections. Execute the application and try every operation with positive numbers, negative numbers, decimals, blank fields and invalid text. Verify that the correct message is generated when division by zero occurs, and that correct results are generated for valid input. Testing these situations can be useful to clarify the relationship between user input, validation, and application logic. After the calculator is reliable, it can be expanded with a clear button, keyboard support, better number formatting or a history of past calculations.

Debugging Common Errors in C# Applications
Debugging is the process of identifying and correcting problems that prevent an application from working as intended. Beginners often encounter errors while learning a new language, and these errors are a normal part of software development. Some problems prevent a project from compiling, while others appear only when the application runs. Compiler errors commonly result from missing semicolons, mismatched braces, misspelled variable names, or incompatible data types. When an error occurs, read the message displayed in Visual Studio’s Error List and examine the indicated file and line number. Correcting the underlying problem is usually more effective than making unrelated changes throughout the project.
Runtime errors occur while the application is executing. For example, a program may attempt to access an object that has not been initialized or perform an operation using unexpected data. Invalid numeric input can also cause problems if the program attempts to convert it without proper validation. Using methods such as double.TryParse, checking for missing values, and verifying assumptions before performing an operation can prevent many common failures. However, validation does not eliminate every possible error, so developers should learn to recognize exceptions and understand what information an error message provides. A reliable application anticipates common user mistakes instead of assuming that every action will be valid.
Visual Studio includes debugging tools that allow developers to examine a program while it runs. A breakpoint pauses execution at a selected line, making it possible to inspect variable values and follow the program’s execution step by step. The Locals and Watch windows help you examine data, while the call stack shows how the application reached its current position. For example, if a calculator displays an incorrect result, you can place a breakpoint inside the Calculate method and inspect the converted input values before the arithmetic operation takes place. Learning to use these tools helps you find the source of a problem systematically rather than guessing at possible causes.
Testing, Improving, and Publishing Your Application
Testing should be part of development from the beginning, not a task reserved for the end of a project. For a calculator, test each operation using different combinations of numbers and confirm that the results are correct. Include boundary cases, such as zero, negative values, decimals, and invalid text. Also test how the application responds when a user leaves one field empty or repeatedly clicks buttons. These checks reveal problems that may not appear during ordinary use. For larger projects, developers can create automated tests to verify calculation methods and other business logic independently of the graphical interface.
After testing, consider improvements that make the application easier to maintain and use. You might add keyboard shortcuts, clearer validation messages, a reset button, or a more consistent layout. Keep method names descriptive and avoid duplicating the same logic in several event handlers. As the project grows, moving calculation logic into a separate class can make the interface code simpler and allow the logic to be tested independently. Using version control, such as Git, can also help you track changes and recover earlier versions if a modification introduces a problem. These habits become increasingly important when developing applications with multiple features or collaborating with other developers.
When the application is ready, Visual Studio and the .NET tooling provide options for publishing it. The correct deployment approach depends on the framework, target Windows environment, and distribution requirements. A framework-dependent deployment relies on a compatible .NET runtime being available on the target computer, while a self-contained deployment includes the runtime components needed by the application. Publishing settings can also affect the target architecture and output files. Before distributing software, test the published application in an environment similar to the one your users will have. Confirm that it starts correctly, that its required components are available, and that the interface behaves as expected outside the development environment.
Best Practices for Beginner Windows Developers
Developing good habits early can make programming more productive and less frustrating. One important practice is to keep code readable by choosing meaningful names, organizing related instructions into methods, and using consistent formatting. Comments should explain important decisions or unusual behavior rather than repeat instructions that are already obvious from the code. It is also helpful to make small changes and test them regularly. When many modifications are introduced at once, identifying the cause of a new error becomes more difficult. Building an application incrementally allows you to understand each feature before moving to the next one.
Another useful practice is to consult reliable documentation whenever you encounter unfamiliar concepts. Official .NET and Windows development resources explain language features, available APIs, interface controls, and deployment options. Learning how to search documentation effectively is an important software development skill because no developer memorizes every class or method. When reviewing an example from another source, make sure you understand what the code does before incorporating it into your project. Test unfamiliar code in a small, controlled example and check whether it fits your framework version and application requirements. This approach builds understanding while reducing the risk of introducing errors or unnecessary complexity.
Finally, choose projects that gradually increase in difficulty. After completing a calculator, you could build a task manager that allows users to add tasks, mark them as complete, and save information between sessions. Other suitable projects include a unit converter, a personal expense tracker, a contact organizer, or a simple inventory application. Each project introduces new concepts while allowing you to reuse skills learned earlier. For example, a task manager can teach you about collections, classes, file storage, and data binding. Working through these projects provides practical experience that strengthens your understanding of C# and helps prepare you for more advanced application development.
Conclusion
Windows app development with C# and .NET offers beginners a practical way to learn programming while creating software that solves everyday problems. By setting up Visual Studio, understanding fundamental programming concepts, designing a graphical interface, and responding to user input, new developers can build useful desktop applications without needing to master every advanced topic first. The calculator project demonstrates how variables, methods, conditional statements, input validation, and event handlers work together to produce a functional program. Debugging and testing then help ensure that the application responds correctly to both expected and unexpected situations.
The most effective way to improve is to combine reading with hands-on practice. Start with small projects, test each feature carefully, and use documentation to understand unfamiliar concepts. As your skills develop, explore more advanced interface technologies, data storage, automated testing, and application deployment. With consistent practice and a willingness to learn from mistakes, students, aspiring developers, and career changers can build a strong foundation for creating reliable Windows applications using C# and the .NET platform.