Introduction
Images are used everywhere online, from website articles and product pages to social media posts and presentations. But an image that looks fine on a phone may be too large for a website, too small for a banner, or the wrong shape for a social post. When that happens, changing its dimensions can make it more suitable for the place where it will appear.
A free image resizer can make this task simple. Instead of opening a complicated editing program, you can use an online image tools website to adjust an image’s width and height in a browser. The process usually takes only a few steps, making it useful for students, bloggers, small businesses, and anyone who works with digital photos.
What Is an Image Resizer?
An image resizer is a tool that changes the dimensions of a digital image. Dimensions are usually measured in pixels and describe the image’s width and height. For example, a photo that is 3000 pixels wide can be resized to 1500 pixels wide when a smaller version is more suitable.
Resizing is different from cropping. Resizing changes the overall dimensions of the image, while cropping removes parts of the edges. Some tools offer both options, but they solve different problems. If you want to keep the full photo visible, resizing is generally the better choice.
Why Use a Free Online Image Resizer?
An online tool is convenient because it can be opened in a web browser without installing desktop software. This is helpful when you are using a shared computer, working on a different device, or only need to resize a picture occasionally.
It can also help prepare images for different uses. A smaller image may be easier to upload when a website has a file-size limit. A correctly sized image can fit a blog layout or social media design more neatly. Keep in mind that pixel dimensions and file size are not the same: resizing may reduce file size, but the result also depends on the image format and compression settings.
How to Resize an Image Online for Free
Most browser-based image resizers follow a similar workflow. The names of buttons and available settings may differ from one tool to another, but these steps provide a useful starting point.
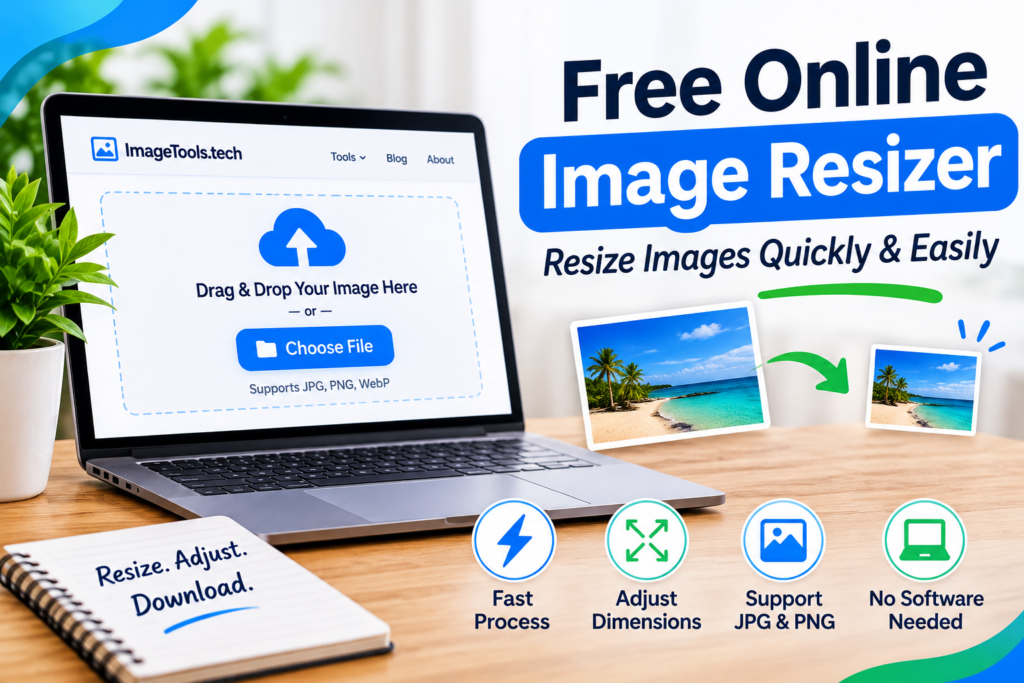
Step 1: Open the image resizer. Visit the online tool in your browser and look for an option such as Upload Image, Choose File, or Select Image. Select the picture stored on your device. Before uploading, check that you have permission to use the image, especially if it belongs to someone else.
Step 2: Choose the dimensions. After the image loads, find the width and height fields. Enter the pixel dimensions you need for your project. If the tool includes a lock or aspect-ratio option, keeping it enabled will usually preserve the image’s original proportions and help prevent stretching.
Step 3: Review the result. Check that the subject is still clear and that nothing important has become distorted or cut off. If the image looks stretched, restore the original proportions and try again. If you need a particular shape, such as a square, you may need a separate crop rather than changing the width and height independently.
Step 4: Download the resized image. When the preview looks right, use the tool’s download or save option. Choose a clear filename so you can identify the new version later. Open the downloaded file once to confirm that it displays correctly and has the dimensions you expected.
Common Image Formats You May Need to Resize
JPG or JPEG is widely used for photographs. It can keep photo files relatively compact, although saving repeatedly with lossy compression may reduce detail. It is often a practical choice for everyday website and social media photos.
PNG is useful when an image needs transparency, such as a logo or graphic with no background. PNG files can be larger than comparable JPG files, so consider the purpose of the image before choosing a format.
WebP is a modern image format supported by many current browsers and content platforms. It can provide smaller files at comparable visual quality, depending on the image and export settings. Check that the website or system where you plan to use the image accepts WebP.
How to Resize Images Without Unnecessary Quality Loss
Start with the best-quality original available. Enlarging a small image cannot reliably restore details that were never present, so avoid making an image much larger than its original dimensions unless you are comfortable with possible softness or pixelation.
Keep the aspect ratio locked when you want to preserve the original shape. If you need to reduce dimensions, make a copy of the original first and compare the resized version at the size it will actually be displayed. For JPG files, avoid repeatedly exporting the same image at low quality. A single resize and export from the original is generally a better workflow.
Remember that resizing and compression are separate adjustments. Resizing changes pixel dimensions; compression changes how image data is stored and can affect file size and visual detail. If a website specifies a maximum upload size, check both the pixel dimensions and the final file size.
Choosing Image Dimensions for Websites and Social Media
There is no single image size that works best everywhere. A blog may use a wide featured image, while a profile picture is often square and a story design is usually vertical. Before resizing, check the current recommendations or upload requirements for the platform you are using.
For website images, follow the dimensions suggested by your content management system or page design. Avoid uploading an extremely large image if it will only appear as a small thumbnail. For social media, use the platform’s current image specifications because recommended dimensions can change. When in doubt, create a version that matches the intended layout and preview it on both desktop and mobile.
Online Image Resizer or Desktop Software?
An online image resizer is a good option for quick, straightforward changes. It is convenient when you need to adjust a few dimensions without learning a full editing application. Desktop software may be more suitable for complex editing, batch processing, advanced color adjustments, or detailed retouching.
Privacy is another point to consider. If an image contains confidential business information, personal documents, or sensitive details, review the tool’s privacy policy before uploading it. If you are unsure how files are handled, use an offline application instead.
Frequently Asked Questions
Can I resize an image online for free?
Yes. Many browser-based tools offer basic image resizing at no cost. Check the tool’s limits, supported formats, and any restrictions on file size or daily use before starting.
Yes. An online image resizer works in a web browser, so you generally do not need to install a separate program. You only need a compatible browser and access to the image file.
Will resizing make my image blurry?
It depends on the change. Reducing an image usually works well when the original is clear. Enlarging a small image can make it look soft or pixelated because the tool has to estimate additional pixels.
Should I keep the same width-to-height ratio?
Usually, yes. Keeping the aspect ratio prevents the image from looking unnaturally stretched. Change the ratio only when you intentionally want a different shape, and consider cropping if you need to fit a specific frame.
Which format should I use after resizing?
Use JPG for many photographs, PNG when transparency or crisp graphics are important, and WebP when your website or platform supports it. The right choice depends on the image and where it will be displayed.
Conclusion
When you are ready to change a picture’s dimensions, use the online image resizer to follow the resizing process in your browser. Check the preview and confirm the final dimensions before saving the image for your website, blog, or social media post.
Resizing an image does not have to be complicated. With a free image resizer, you can adjust dimensions in your browser, prepare pictures for websites or social media, and save a version that better fits your needs. Start with a good-quality original, keep the proportions correct, and check the final file before uploading it. These simple habits can help your images look appropriate across different screens and layouts.