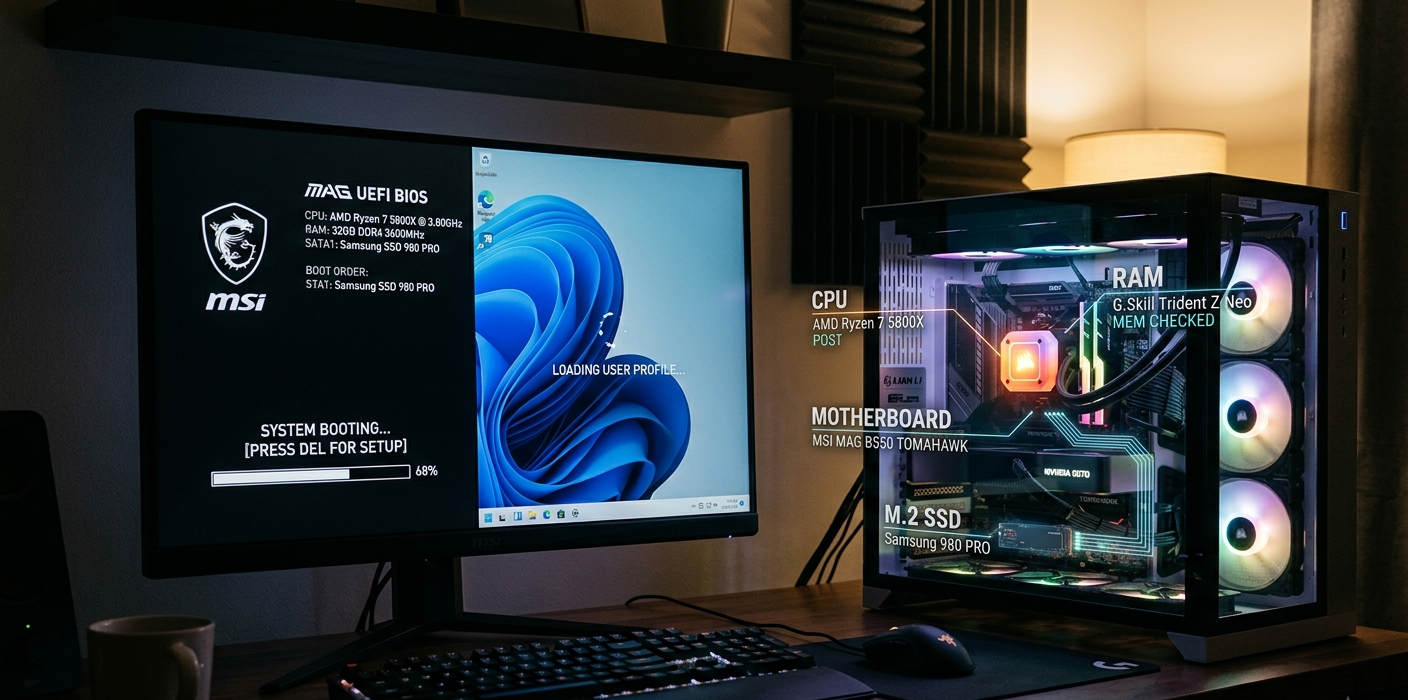
When you hit the power button on your computer it may appear as though the machine springs to life right away and in the next second your desktop appears. What you don’t see is a complex series of events which take place behind that action which include hardware components, firmware instructions, system checks and software loading. Your computer doesn’t at that instant know how to open apps, connect to the internet, or display your files. What it does is it wakes up its components, checks that the vital hardware is working properly, finds the operating system and transitions from basic start up info to advanced software. This whole start-up routine is what we call the booting process which is in fact the most important task performed by a computer each time it is turned on.
Understanding the processes at play during boot up also clarifies the interaction between hardware and software. The operating system which may be Windows, Linux, or macOS in this role of the primary manager which in turn enables user interaction with the computer’s hardware. Before the OS takes over we have a procedure for the computer to prepare the hardware and to find what it needs to boot. This process goes through many stages which include activation of firmware, hardware testing via POST, finding the bootloader, loading the kernel, and in the end presenting the user interface. The complete boot sequence goes into detail of these stages which also shows how the components of a computer work as a team to transform a dormant machine into a fully operational system.
What Is the Booting Process?
Boot process is what a computer does as it transitions from a completely off state to loading the operating system. We get the word from the term ‘bootstrap’ a small piece of software which serves as a start to bigger actions. At the point a computer is not running any of your programs, it needs a place to start which is a set set set of instructions. That first set of instructions is put in the firmware included at the base of the computer’s motherboard. The firmware gives out the first commands to turn on hardware elements and also to go out and find the operating system.
Booting is a requirement which is put in place because a computer’s main memory RAM is temporary in nature and does not retain instructions after the machine is turned off. The computer has to go to permanent storage, which may be a solid state drive (SSD) or a hard disk drive (HDD) to get start up instructions. The firmware determines where the operating system is located and starts the process of getting key system files into RAM. Once that transfer is complete the operating system takes over and gives us the interface we use to interact. Without the booting process a computer is just a set of electronic components that do not perform any useful tasks.
Step 1: Pressing the Power Switch and Activating Hardware
At the time the power button is pressed in, the boot process commences. Although the button’s primary function appears to be that of turning on the machine it in fact sends an electric signal to the power supply unit (PSU). The PSU in turn, converts wall outlet’s electricity into what each of the computer’s internal parts require. Once stable power is delivered the motherboard, processor, memory, storage devices, and the rest of the hardware comes alive. While the CPU which is the element that carries out the instructions does not at this stage run Windows or any other operating system, instead it looks for the first set of instructions given by the motherboard’s firmware.
At present, the computer is in its most basic stage of operation. The processor requires a small set of code which is external to the operating system to perform its initial tasks. That is the reason we have firmware stored in a special memory chip on the motherboard as opposed to the main storage drive. The firmware acts as a middle man between the physical hardware and the software which will go on to run the computer. It sets the stage for the system, checks key components, and starts the process of loading the operating system.
Step 2: BIOS and UEFI Boot the Computer
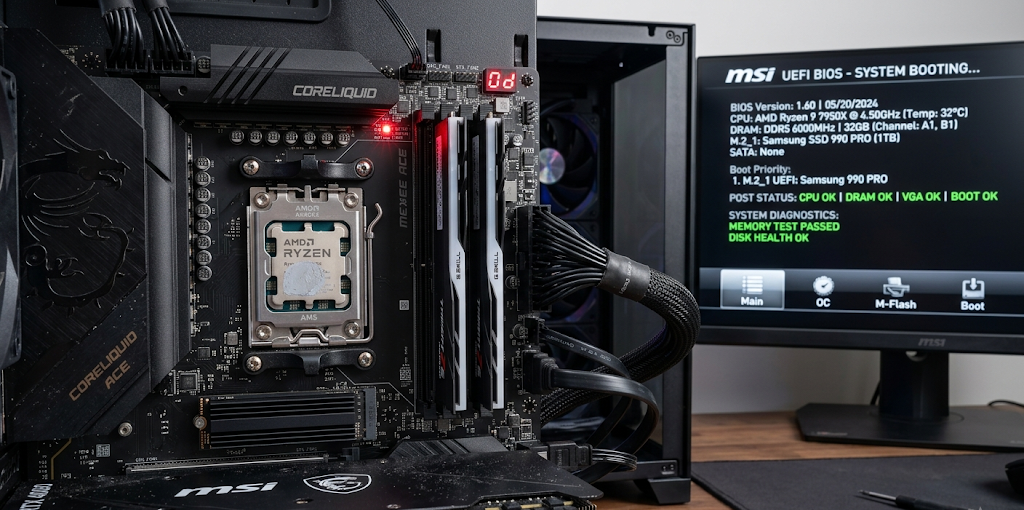
They present the initial set of instructions which boot the computer. Also UEFI is a which does better in terms of startup speed, large capacity storage support, security and has a more advanced interface.
BIOS and UEFI which do the job of identifying what hardware is connected and get the computer ready before the OS loads. They interact with elements like the processor, RAM, keyboard, mouse, graphics card, and storage devices. Also it is the firmware’s do — which device to check first for an OS. For instance a computer may be set up to look to a USB drive, SSD, or network location for boot up files. That order of which devices to check at start up is what we know as boot priority and most computers allow that to be changed in the BIOS or UEFI settings.
Step 3: Power On Test (POST)
At the core of what BIOS and UEFI do is performing a Power On Self Test which is also known as POST. During this time the computer goes through its components to see which are running properly before it proceeds with boot up. The firmware goes over key parts like the RAM, the processor, the keyboard input, the graphics output, and the storage devices. What we find out from these tests is issue detection which in turn prevents the os from loading.
If POST identifies an issue the computer may present an error message, turn on warning lights, or produce beep sounds as is the case with motherboard design. For example an issue with memory may cause the computer to not boot because RAM is required to load the OS. If all important checks out the firmware goes ahead to search for the OS. POST is so important it prevents the computer from trying to load software on faulty hardware which in turn may cause the system to crash or have data issues.
Step 4: Finding the Boot Device
Upon completion of hardware checks, BIOS or UEFI looks for a boot device. The boot device is the storage that contains the required files to start the OS. In most modern computers this is usually an SSD or a HDD which has Windows, Linux or some other OS installed. The firmware goes through the boot order to determine which devices to check first.
In the present time when we have UEFI based systems we see that they have a special storage which is the EFI System Partition. This partition has the start up files which in turn help the firmware in the boot process of the next stage. In older BIOS based systems we had the Master Boot Record which was the point of info on where to find the OS boot files. Once the right start up info is found the firmware passes control to the bootloader.
Step 5: Boot Loader Has Control of the Process
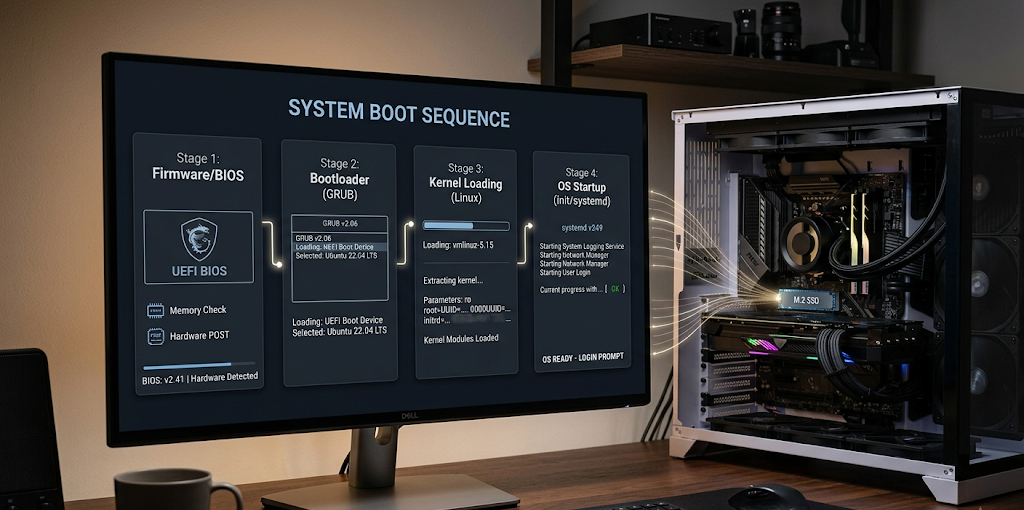
The bootloader is a small yet very important program which starts up the operating system. Its charge is to find the operating system files and get the computer in a state which is ready to load the kernel. Also different operating systems have different bootloaders. For instance Windows uses the Windows Boot Manager for its boot process, and most Linux distributions use GRUB.
The bootloader is what we call the interface between the firmware and the operating system. The firmware does in fact have a hard time running full scale systems like Windows or Linux, it only has the capacity to start the boot process. What the bootloader does is to give out the instructions for the computer to access the core files of the operating system and get them into memory. Also on a computer which has several operating systems installed the bootloader may present a menu which will allow the user to choose which OS to boot into.
Step 6: Loading the Core Module
After the boot loader does its job we see the kernel take center stage. The kernel is the core of an operating system which goes on to manage the interaction between software applications and computer hardware. It controls access to key resources like the processor, memory, storage devices and also connected hardware. Without the kernel programs would not function properly with the physical elements in the computer.
At boot time the bootloader puts the kernel into RAM which is done for the processor to have quick access to the instructions which in turn run the operating system. Once the kernel is loaded it starts up hardware drivers and essential system services. Drivers which are loaded at this stage enable the operating system to talk to specific hardware like graphics cards, printers, Wi-Fi cards, and sound devices. This is the stage in which the computer goes from basic boot up procedures into a full functioning operating environment.
Step 7: Starting Up the System Services and User Interface
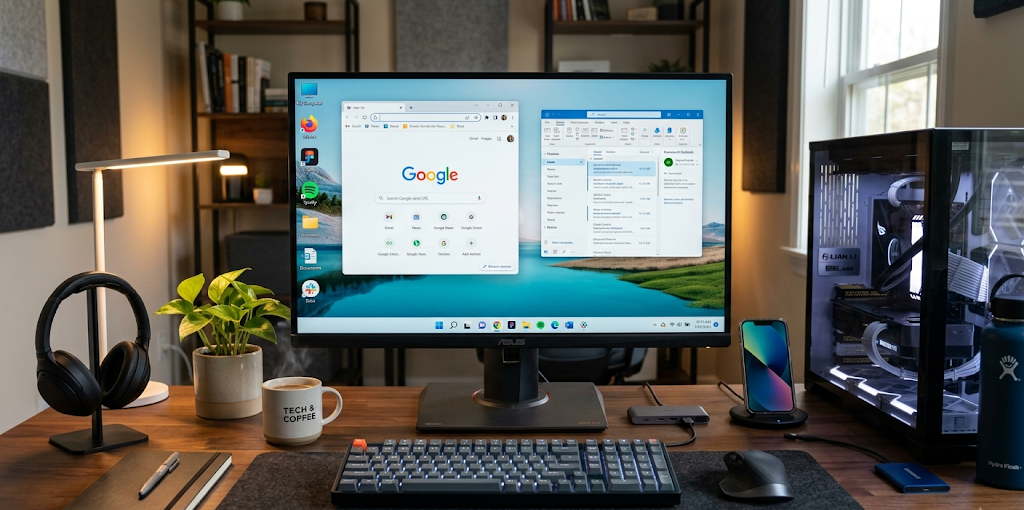
After we see the kernel has loaded properly the operating system gets to work on starting up the background services and processes which are a requirement for normal operation. These services perform very important functions like networking, security, user accounts, file management, and system settings. The OS also puts in place a structure for these processes which in turn allows the computer to have quick response to user commands and run applications very efficiently.
At the end of the boot process we see the loading of the graphical user interface which is what most users know as the desktop that includes elements like icons, menus, taskbars and application windows. Once the desktop appears the computer is ready for the user to do what they came for: browse the net, create documents, play games, run software. What may seem like a simple process to the end user is in fact the result of thousands of instructions which have run in the background to get the system up and ready.
Why the Booting Process Is Important
Booting is key as it gets the hardware and software of a computer to work as a team. If the startup isn’t proper the processor won’t know which instructions to follow, hardware will be set up incorrectly and the operating system will fail. At each stage of the boot process a different task is performed from the firmware which prepares the hardware to the kernel which takes over full system management.
Boot processes are also a great way for users to do troubleshooting. For instance if a computer does not pass POST that is an indicator of hardware issue. If BIOS or UEFI can’t find a boot device that may point to storage drive or operating system file issues. Also if the kernel doesn’t load that may be a result of system corruption or incompatible drivers. By going through the boot process you are better able to determine at which stage the issue is appearing and what kind of solution is needed.
Conclusion
Turning on the computer sets off a set of ordered processes that transform a powered off device into a fully operational system. At first electric power triggers the hardware, then we see BIOS or UEFI which do a system boot up, which is followed by POST, detection of boot devices, execution of the bootloader, loading of the kernel, and in the end the desktop appears. Each step is dependent upon the last in a chain that allows the OS to take over the computer.
At boot time we see how hardware and software work together. What users mostly pay attention to is applications and files, what in the background at boot time are the processes which enable those apps to run. By seeing what goes on at boot time users’ appreciation of the operating system’s role grows also the tech which makes today’s devices a part of our daily lives.