Introduction
Peel-and-Stick Wallpaper Installation is one of the easiest and most affordable ways to transform the look of any room without hiring a professional.We see that it is different from traditional wallpaper which requires messy glue and professional installation, which in turn puts it out of the question for beginners. What it does is that it is very versatile—you can use it to do accent walls, refresh entire rooms, or even decorate furniture. Also, with the large variety of patterns and textures available, it is easy to play around with design without commitment, which is what makes it very popular among renters and those that like to frequently change up their décor.
Although peel-and-stick wallpaper is an easier alternative to traditional options, it still requires attention to detail and proper technique for that perfect finish. Many first-time users ignore the fact that in order to do a great job you must prepare the wall right, measure accurately, and align perfectly, which in turn may cause bubbling, peeling, or mismatched seams. We put together this step-by-step guide to help you out of that mess. By following our instructions, you will not only save time and money but also have a look that is professional grade, which in turn will transform your space into something amazing.
Step 1: Prepare the Walls Fully
Before you begin the wallpaper installation process, pay attention to proper wall preparation. Dust, grease, and uneven surfaces will cause the adhesive to not stick, which in turn will cause your wallpaper to lift or bubble up. First thing you should do is clean the walls with a mild soap solution which will remove dirt and oil. Also, if you have any holes or cracks in your walls, patch them with filler and sand smooth. As for glossy paint surfaces, a light sanding will help to roughen the surface which in turn will get the wallpaper to stick better.
Once you have the walls cleaned and sanded, allow them to dry out fully. Moisture trapped between old and new paper is a breeding ground for mold and will also weaken adhesion. If you’ve just painted the walls, wait at least 2 weeks before putting up the peel-and-stick wallpaper. By that time the paint will be fully dry and won’t react with the adhesive. Good preparation is the base for a perfect finish, which in turn will prevent most problems down the road. Think of it as building the foundation for a great project—without that there is no way the end result will turn out as well as it should.
Step 2: Collect the Right Tools
With the right tools at your disposal, the process goes much more smoothly and with less stress. As for what to have: a measuring tape, a utility knife or sharp scissors, a smoothing tool which may be a plastic squeegee, and a level are essential. These tools will have you measuring out your spaces accurately, cutting clean edges, and getting rid of air bubbles during application. Also, a pencil for marking in guidelines which won’t damage the wall.
Also, have a step ladder by you which is for when you’re working on high walls. For large-scale projects, a helper will improve the speed and accuracy of the work, especially with large panels. Put in these basic tools which also see you through the middle of the project easily and which help you achieve a pro result.
Step 3: Measure Your Rooms Carefully
Accurate measures are the base of a great wallpaper job. Start out by taking the height and width of each wall which you will cover. Jot down the dimensions and determine how many panels you will need. Also include a few extra inches which is for trimming at the top and bottom. This will reduce gaps and see to it that the wallpaper goes right up to the ceiling and baseboards.
When you place your wallpaper order, go for at least 10% over what you calculate you will need. This extra is for errors, misalignment issues, or for what you may use in the future for repairs. Also note that with patterns which may not match up across panels you may need to get even more. By taking very careful measurements you save time, reduce waste, and also avoid the issue of running out mid-project which is very frustrating.
Step 4: Design Your Layout
Planning out your layout prior to putting up the first panel is key. Choose to either start in the middle of the wall or from a corner. For patterned wallpaper we recommend you begin in the center which creates a balanced look, but with plain designs it may look best if you start at a corner. Use a level to create vertical guides on the wall which will in turn make sure your panels go up straight.
How do you have the design flow within the room? For instance, if your wallpaper has large-scale designs, make sure to place them at eye level for maximum impact. Plan out the layout in advance which in turn will help you avoid awkward mismatches and also gives you a better idea of how the finished space will look before you commit to putting up the paper.
Step 5: Cut Out Panels to Size
Once you design your layout, go ahead and cut the wallpaper panels to size. Roll out the wallpaper on a clean surface and take note of your wall height. Add a couple extra inches to that measurement for trimming. Use a utility knife or scissors to cut the panel to a clean finish. Cutting before application also makes the job easier and reduces mistakes.
If you have a repeatable pattern on your wallpaper, make sure each panel fits in with the next. This is key to a seamless finish. Take the time to cut out each piece carefully which in return will reduce waste and leave you with a professional result.
Step 6: Apply First Panel
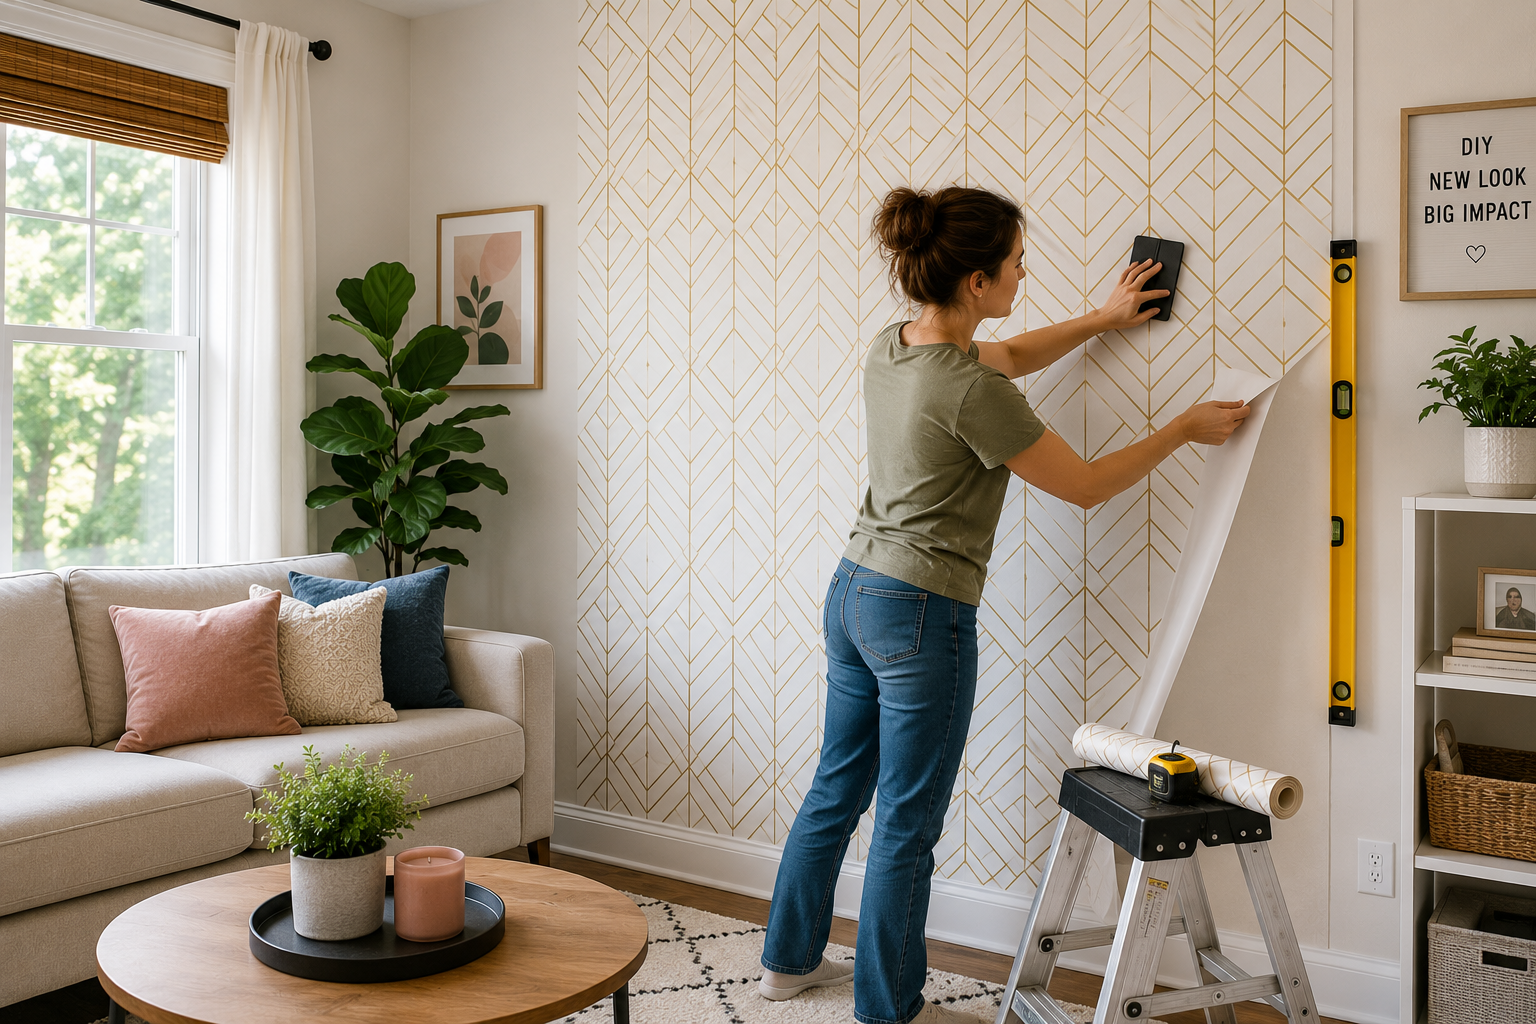
Peel-and-stick wallpaper is easy to work with, which is great, but what you put up first will set the tone for the whole job. Begin at the top of your wall, pull back a few inches of the backing, then press the sticky side to the wall. Use a guideline to align the panel and as you press it down, pull more backing. Use a squeegee tool to press out any bubbles and make sure it is secure.
Work at a slow pace and do not rush. Should the panel begin to shift out of place, gently push it back in and reattach. While peel-and-stick wallpaper may be repositioned, too many changes will weaken the adhesive. A perfect fit on the first panel you install will make the rest of the job go more smoothly and will also present a pro look.
Step 7: Align Wallpaper Panels
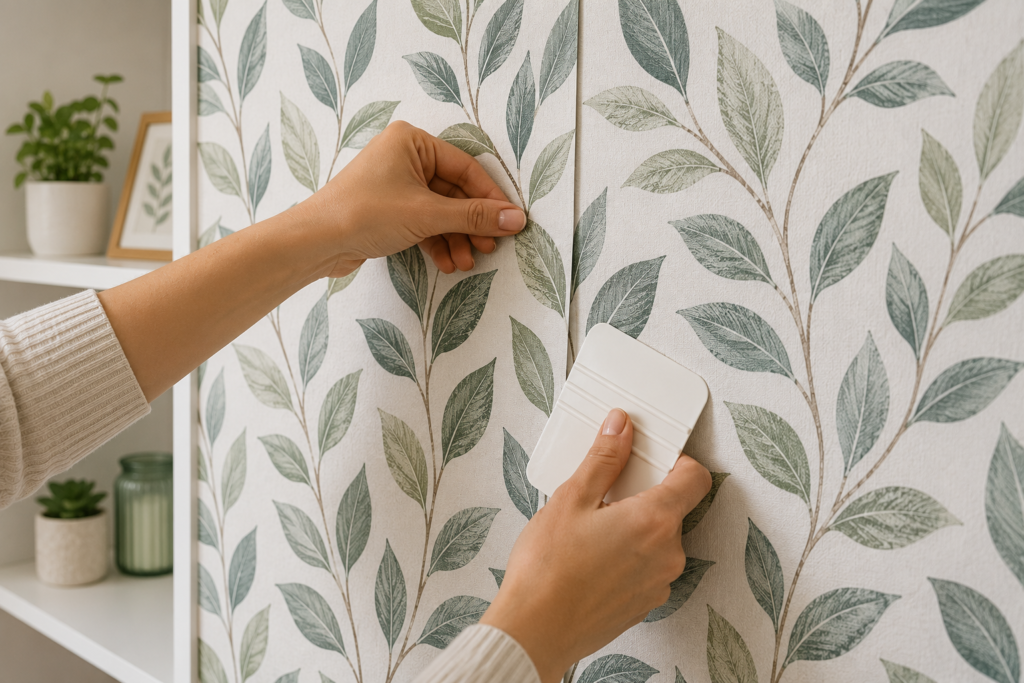
Aligning panels is the hard part in wallpaper install. Poorly done seams will destroy that which you’re installing; they also do not do well with print and decorative papers. Begin by putting the next piece of paper over the first piece, then play with it until it matches up evenly with the design. Use your rubber burnishing tool to press out any bubbles and make sure there are no in-between gaps.
Pay special attention to this step, as even the smallest misalignment will be seen once the wall is done. Step back at times to check the alignment from a distance. Also, good lighting helps you to identify issues early. Patience here is key to achieve a flaw-free professional-looking wall.
Step 8: Remove Air Bubbles
Air bubbles are a very common issue with peel-and-stick wallpaper, but they do fix easily when attended to right away. As you put down each panel, use a smoothing tool to press out from the center to the edges. That action pushes out the trapped air and also evens out the adhesive. For those that are persistent, use a pin to prick the bubble and then smooth over the area.
Avoid using excessive pressure which in turn will stretch out or ruin the paper. Instead, go for firm yet controlled strokes. To get rid of bubbles as you install will prevent peeling off later and will keep the finish looking smooth and polished.
Step 9: Reduce Unnecessary Wallpaper
Once you have applied all panels, proceed to cut off excess at the edges. Outfit a sharp utility knife and straight edge to make clean cuts along ceilings, baseboards, and corners. Take your time to avoid jagged edges or tearing. Precision in this step improves the professional look of your project.
Pay special attention to outlets, switches, and windows. Remove cover plates, put up the wallpaper in these areas, and do clean work around the openings. After which, reattach the covers for a neat finish. Proper trimming will make the wallpaper flow naturally into your room’s design.
Step 10: Check and Complete
The last step is inspection. Go around the room and look for misaligned seams, bubbles, or loose edges. Press down on whichever areas require reinforcement and remove any strays. Once you are satisfied, step back and enjoy your work. Peel-and-stick wallpaper may change the look of a room very quickly and in an economical way when compared to traditional methods. This point of review is to ensure all your hard work pays off with a clean professional-looking finish.
To keep your wallpaper in great condition, use a damp cloth for cleaning. Stay away from harsh chemicals which may damage the surface. With proper care, your wallpaper will stay beautiful and secure for years, which in turn makes your DIY project very much worth it. Also note that the appeal of peel-and-stick wallpaper is in its price point as well as its flexibility—you can remove it at will for a new look without damaging your walls. This quality, which also includes portability, makes it great for renters, homeowners, and for those that like to play around with design. By careful inspection and proper maintenance, you ensure that your project looks as good as new even past the installation date.
Conclusion
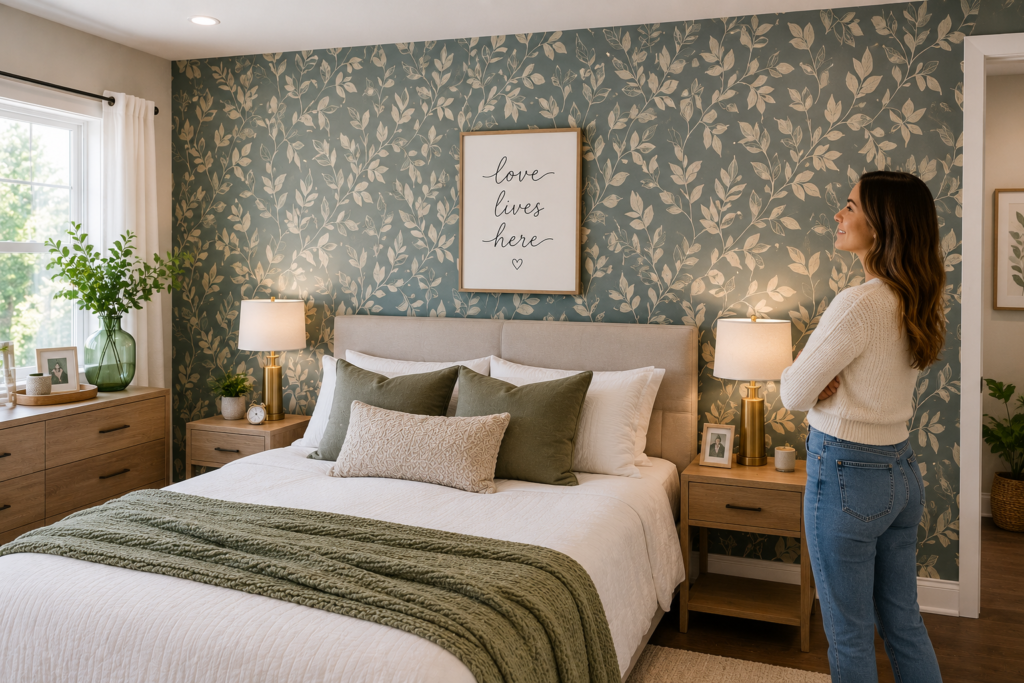
Installing peel-and-stick wallpaper does require patience, precision, and preparation. We do this in 10 steps—preparing the walls, measuring out accurately, planning the layout, cutting the panels, application which is done carefully, and achieving that seamless look. In the end, you get a stylish, affordable transformation which is a reflection of your creative touch and which improves your living space.
Beyond looks, peel-and-stick wallpaper gives homeowners what they need to take charge of their décor. It puts to rest the worry of traditional wallpaper and opens up a world of design options. From refreshing a single accent wall to redoing an entire room, this do-it-yourself project proves that great design is not out of reach or beyond what you think. With the right touch, your walls can become a canvas for self-expression which in turn turns ordinary rooms into extraordinary ones.