DIY Flooring Repairs are one of the easiest ways for homeowners to save money while extending the life of their floors. One of the most prominent parts of any home is the floor, and maintaining a well-maintained floor is key to the home’s look and function. Over time, the everyday use of the floor can result in scratches, squeaks, cracks, and more, which can make your floors look worn and tired. Many people think that these issues must be addressed by a contractor; however, most of the issues that come to mind with regard to flooring are easily taken care of with basic tools and some ingenuity. This will save you money while also helping to build your confidence in maintaining your own home, so you’ll have a more pleasant experience.
This article will help you with 14 DIY ways to repair your flooring, including scratches in hardwood, squeaky hardwood boards, cracked grout and loose vinyl seams. Every section offers simple, step-by-step methods which are simple to follow even for individuals with no home improvement experience. Whether you’ve ever had a problem with your floors or not, this resource will provide you with the tools and strategies that can help in restoring your floors without the professional. By being patient and taking the time to work with your flooring, you can prolong its life and help to make sure that your home is looking well cared for and polished. If you’ve ever wondered how to repair common flooring issues, this guide will give you confidence to get started.
1. How to Repair Scratches on Hardwood Floors
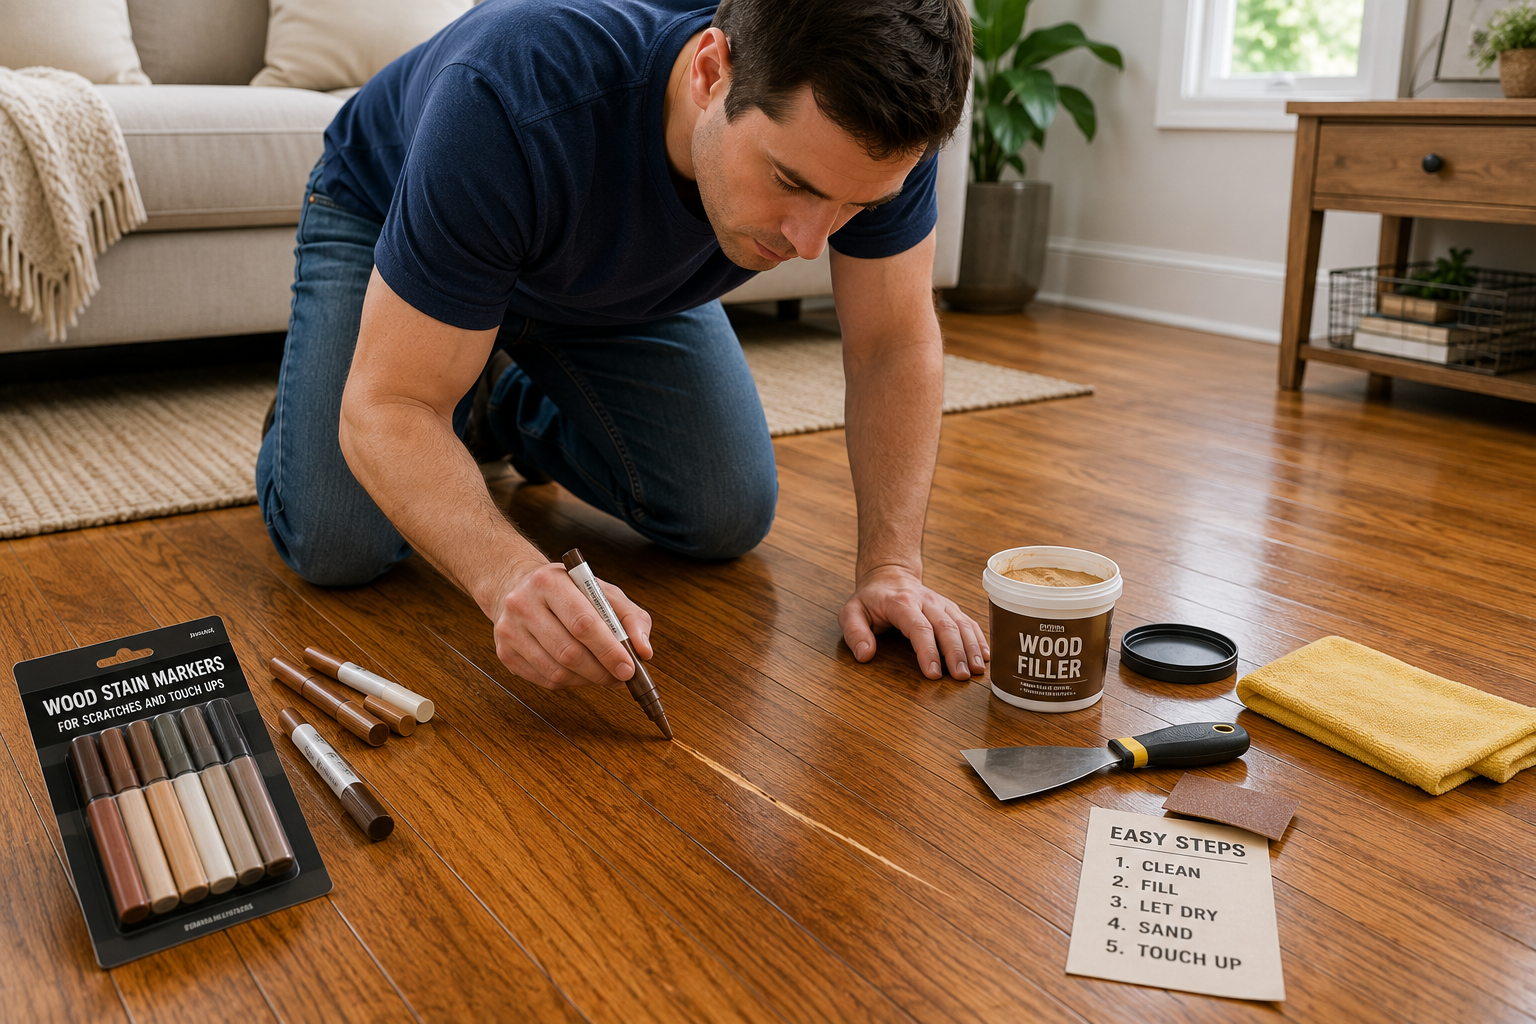
One of the most common problems homeowners may have with their hardwood floors is scratches. Scratches can be blended or covered up with a wood stain marker or blending pencil that is close to the color of your floor. Stain directly onto scratch and gently buff with soft cloth. The easy task restores uniformity to the floor’s appearance without sanding or refinishing the floor.
You’ll have to use wood filler for deeper scratches. Wipe down the surface, fill the area with a putty knife and smooth it to blend in with the other surface. When dry, lightly sand and stain or finish with the same color. This will make sure that the scratch is completely integrated into the overall floor look and keeps the floor from getting damaged.
2. Squeaky Wooden Floors Repair
This squeaky floor can be annoying, and can also be a sign of loose boards or nails. One quick fix is to put talcum powder or powdered graphite in between the boards to decrease the friction. Sweep the powder in cracks—the noise will start to decrease immediately.
If it persists, find the loose board and nail/screw it down with finishing nails or screws. Hold the board securely by driving the fastener in at an angle into the joist below. For a more discreet look, remove the screws with a trim screw and countersink just below the surface and then fill the hole with wood putty.
3. Laminate Planks with Damaged Faces
Laminate flooring may be tough but laminate pieces can chip, warp and crack. To remove a broken plank, take the baseboard close to the damaged plank, and carefully unfasten the planks until you get to the damaged plank. Replace the plank with another identical plank and re-secure the floor.
If it is not possible to remove the planks, the damaged area should be cut out using a circular saw and a new plank should be installed. Use wood glue to attach the replacement, and press it down until dry. This technique can be used to patch small areas of damage without having to remove the entire floor.
4. Fixing Loose Tiles
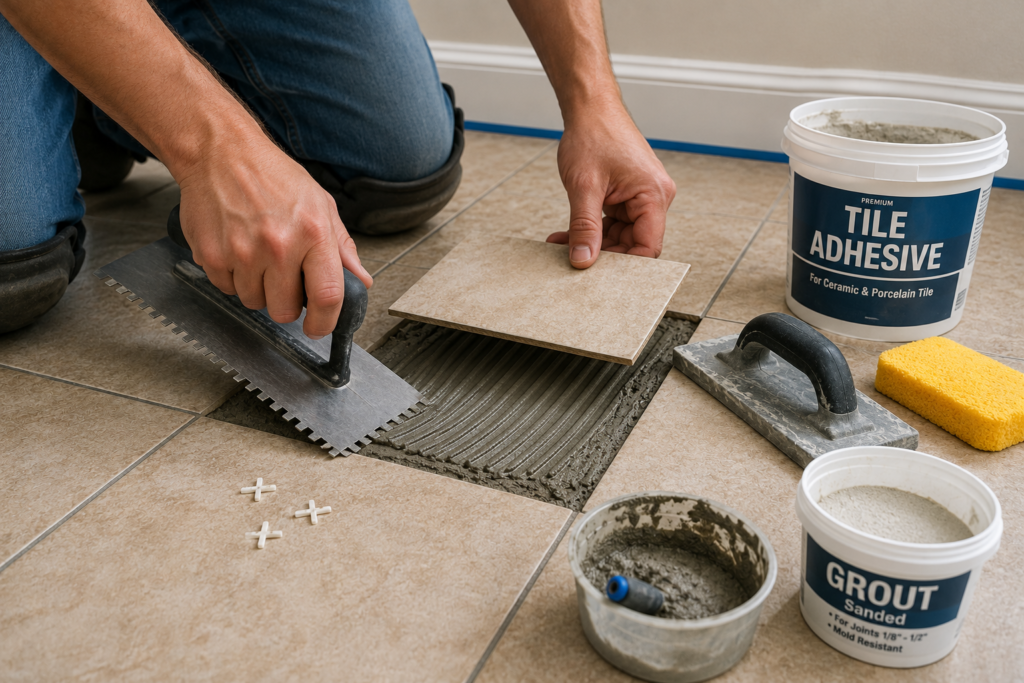
Loose tiles may result in disheveled floors and safety issues. If they need to be repaired, use a putty knife or chisel to gently lift the loose tile. Wipe out the bottom, scraping off old glue and dirt. Squeeze out new tile adhesive, and press tile back into place. Apply spacers between the tiles to help keep them aligned and to allow the adhesive to dry.
After secure, re-grout around the edges. Use a wet sponge to smooth the grout so that it is in continuity with the existing lines. This will stabilize and stop adjacent tiles from further loosening.
5. Repairing Cracked Grout
Cracked grout will not only be unattractive, but will also allow water to get under the tiles. Firstly, remove the damaged grout using a grout saw or a utility knife. Thoroughly clean the area removing dust and debris. Use fresh grout and apply it using a rubber float, pressing it into the joints.
Once the cracks have been filled, use a damp sponge to remove excess grout. Wait at least 24 hours after pouring the grout to seal it. Sealing will keep future cracking and moisture damage at bay.
6. Repairing Vinyl Flooring Tear Holes
High traffic areas can rip vinyl flooring. If it is a small tear, use a vinyl repair kit containing adhesive and filler. Place adhesive under the tear, press down the vinyl and smooth. If the damage is significant, remove the damaged area and replace it with a piece of the remaining vinyl.
Make sure that the patch is the right size and style as the old floor. Apply seam sealer to the edges, to keep them from peeling. If aligned carefully this repair will be almost invisible.
7. Leveling Uneven Floorboards
Boards will not be level and create trip hazards. Look for a raised board and sand it smooth using a belt sander so that it is level with the rest of the building surface. If boards are sunken, place shims underneath to lift them up to level.
A self-leveling compound could be used if it is extensive. Pour compound over affected area, spreading with a trowel. When dry, the floor will be smooth and suitable for finishing.
8. Filling Gaps in Wooden Floors
Wood floors, because of seasonal changes can swell and shrink and gaps can develop. Fill using wood filler or rope caulk. Fill in the hole, and then sand and stain to match the floor. Before using the rope caulk, it can be dyed to match the color of the surrounding materials.
If the hole is too large, place thin strips of wood in place. Attach and sand flush with other boards. This offers a long-lasting solution and stops dirt build-up.
9. Repairing Water-Damaged Flooring
Water can warp, stain or cause mold growth. First, figure out where moisture is coming from, and then address it. To remove minor water stains sand the area and refinish with a matching stain. In certain cases, warped boards need to be replaced completely.
If there is mold, scrub it off with water and vinegar, and dry the area thoroughly. Remove any boards that have obvious structural issues. Do not delay; the problem will not get worse.
10. Re-Adhering Carpet Edges
The edges of carpets can become frayed or lifted with age. Gently cut back any frayed fibers using scissors and place carpet adhesive under the loose side of the carpet. Roll the carpet firmly into and use a carpet roller to keep it in place.
Carpet tacks or a transition strip can be used to secure carpet to stubborn edges. This repair will make the carpet safer and make it look great.
11. Fixing Loose Floorboards
Some loose boards will creak and move. Secure with finishing nails or screws to joists below. Make sure that the holes are filled with wood putty and countersink the fasteners slightly to achieve a smooth finish.
Whole board replacement is recommended if the board is heavily damaged. Trim the damaged area, replace with a new board and nail or screw it into place. Sand and finish the replacement to match the floor in the surrounding area.
12. How to Fix Laminate Peeling Edges
Moisture or wear may cause laminate edges to peel. Use wood glue under the edge that is peeling and press it firmly. With the help of a heavy object, keep it in position until the glue is dry.
If the peeling is quite bad, cut out the affected area and insert a new plank. This will help in long durability and avoid peeling.
13. Finishing Dull Hardwoods
Over time, hardwood floors can get dull. Using hardwood floor cleaner, thoroughly clean, then use a floor polish or restorer. Gently rub with a microfiber cloth to restore luster.
If the floors show a lot of wear, lightly sand and then re-coat with a new layer of polyurethane. This rejuvenates the floor and protects it against future damage.
14. Fixing Loose Vinyl Seams
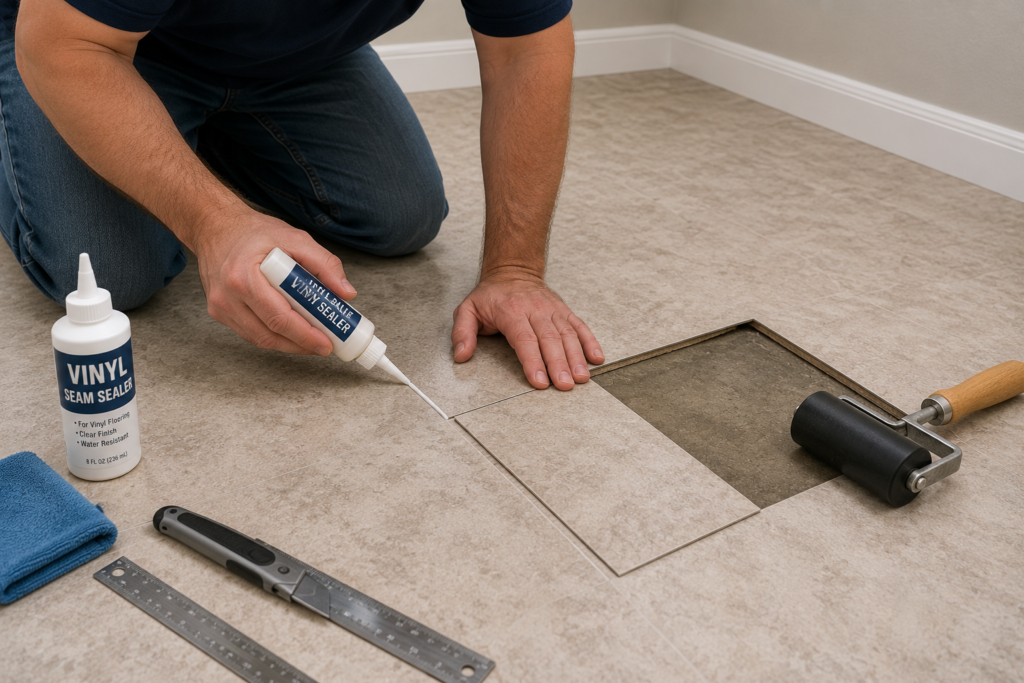
Areas of high moisture can cause vinyl seams to pull apart. Seam sealer around the sides and press the vinyl down tightly. Apply a roller to obtain a good bond and remove excess sealer.
If the section of seam is so damaged, cut out and replace with a new section of seam. Be sure to match the pattern up carefully and place the repair in a spot that won’t be noticeable. This restores the functionality and appearance.
Conclusion
Homeowners can feel empowered and save money by doing their own flooring repairs. These methods allow you to prolong the life of your floors, keep them looking great, and save on hiring costly contractors. From scratches and squeaks, to water damage and loose tiles, each of the 14 methods described here will offer a real life solution to a problem. Given the right materials and some patience, your floors can be as fresh as new.
These repairs can also help you to save money, and they also provide you with more control over your home’s maintenance. You don’t need to wait for a contractor, you can take swift action to prevent small problems from becoming big ones. Whether you’re patching vinyl, restoring hardwood, or re-adhering carpet edges, these DIY techniques