When it comes to building or renovating a home, one of the crucial steps in creating a solid and smooth interior is gib fixing. Whether you’re a homeowner, builder, or contractor in Wellington, understanding the ins and outs of gib fixing Wellington can ensure your walls are not only functional but also aesthetically appealing. In this guide, we will explore what gib fixing is, why it’s essential, and how to ensure a high-quality installation.
What is Gib Fixing?
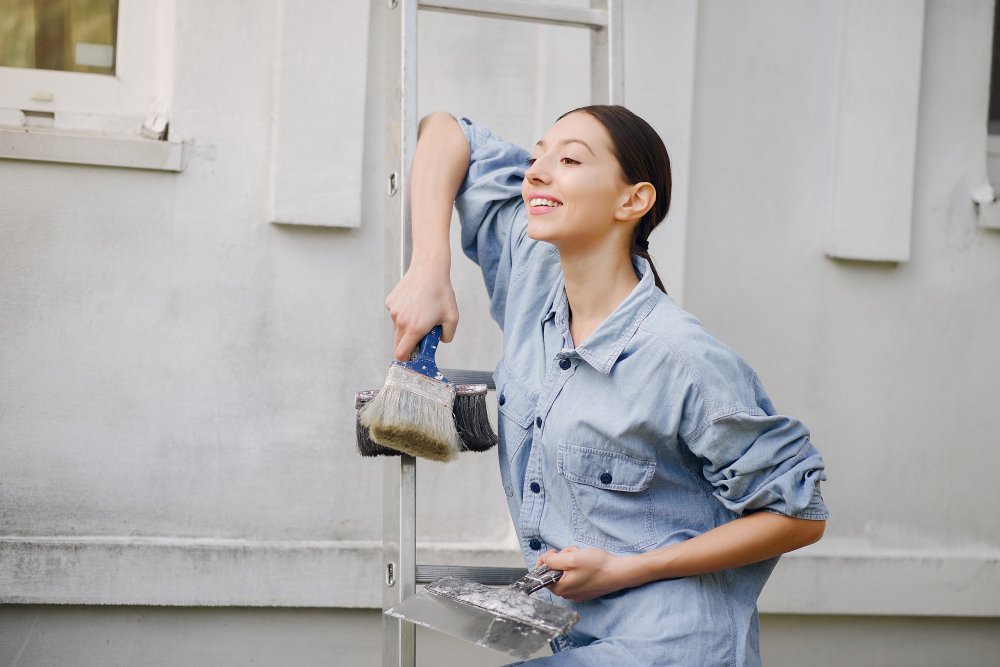
Gib fixing, also known as plasterboard or drywall installation, refers to the process of attaching drywall sheets (known as “gib”) to the framework of a building. This process is common in New Zealand and is essential for creating flat, durable wall surfaces that can later be painted, tiled, or finished to suit any interior design.
Gib fixing forms the backbone of most interior wall systems, providing both structural support and a smooth surface for finishes. It is a crucial step in the building process, and getting it right is key to achieving a high-quality final result.
Why is Gib Fixing Important in Wellington?
Wellington, with its variable weather conditions and seismic activity, requires homes and buildings to be durable and resilient. Gib fixing plays a critical role in this by contributing to the stability and insulation of the building.
- Durability and Structural Integrity: Gib fixing contributes to the structural strength of the building by ensuring the plasterboard is securely fastened to the wall studs. This prevents shifting and ensures the wall stays intact under stress.
- Insulation and Soundproofing: Gib boards are effective in providing insulation, helping to regulate indoor temperatures and reduce noise from the outside or between rooms.
- Aesthetic Finish: Once installed, gib fixing provides a flat and smooth surface, ready for painting or other finishes. This is important for creating a clean, polished look that enhances the overall aesthetic of the room.
The Process of Gib Fixing
Proper gib fixing involves several key steps that must be followed to achieve a seamless and long-lasting finish. Here’s a breakdown of the general process:
1. Preparation and Measurement
Before installing gib, it’s essential to ensure the frame of the building is level and square. Accurate measurements of the wall space are critical to ensure the gib boards are cut to size.
2. Cutting and Installing Gib Boards
The gib boards are typically cut to fit the wall space. Special attention is given to making precise cuts around windows, doors, and electrical outlets. The boards are then fastened to the wall studs using screws or nails.
3. Taping and Jointing
Once the boards are in place, the joints between the boards are filled with joint compound and covered with tape. This step helps to create a seamless transition between the boards and ensures a smooth finish.
4. Sanding and Smoothing
After the joint compound dries, it’s sanded down to create a smooth surface. This step may be repeated several times to ensure the walls are as flat as possible.
5. Finishing Touches
Once the surface is smooth and dry, it’s ready for finishing. This may involve applying a final coat of paint, installing wall coverings, or adding trim and moldings.
Common Mistakes to Avoid in Gib Fixing
While gib fixing may seem straightforward, there are several mistakes that can lead to subpar results. Avoiding these common pitfalls can save both time and money in the long run:
- Improper Fastening: If the gib boards are not securely fastened to the wall studs, they can shift or sag over time. It’s crucial to use the correct fasteners and ensure the boards are evenly spaced and properly aligned.
- Inadequate Joint Treatment: Failure to properly tape and fill the joints can lead to visible seams in the finished wall. Make sure the joints are smooth and well-blended to avoid unsightly gaps.
- Rushing the Drying Process: Gib fixing requires patience. Rushing the drying and sanding processes can lead to uneven surfaces and poor finishes. Allow adequate drying time between each coat of joint compound.
How to Choose a Gib Fixing Expert in Wellington
Whether you’re building a new home or renovating, hiring an experienced gib fixing expert can make all the difference. Here are a few tips to help you choose the right professional for the job:
- Experience and Reputation: Look for a company or individual with a solid track record in gib fixing. Experienced professionals are more likely to deliver high-quality results.
- Accreditation: Ensure that the gib fixer is accredited and follows New Zealand’s building standards and regulations. This ensures the work will meet all legal requirements and building codes.
- Reviews and Recommendations: Check online reviews and ask for recommendations from friends or family. Positive feedback from past clients is a good indicator of reliable service.
- Timeliness and Budget: Get a clear estimate of the time required for the job and ensure the cost is within your budget. A trustworthy gib fixing expert will offer a transparent quote with no hidden fees.
Conclusion
Gib fixing is an essential part of the building process that ensures the durability, insulation, and aesthetic appeal of your walls. Whether you’re undertaking a new build or renovation project in Wellington, understanding the importance of quality gib fixing and choosing the right expert for the job will ensure your walls stand the test of time. By following best practices and avoiding common mistakes, you can achieve the best results and create a beautiful, functional interior.