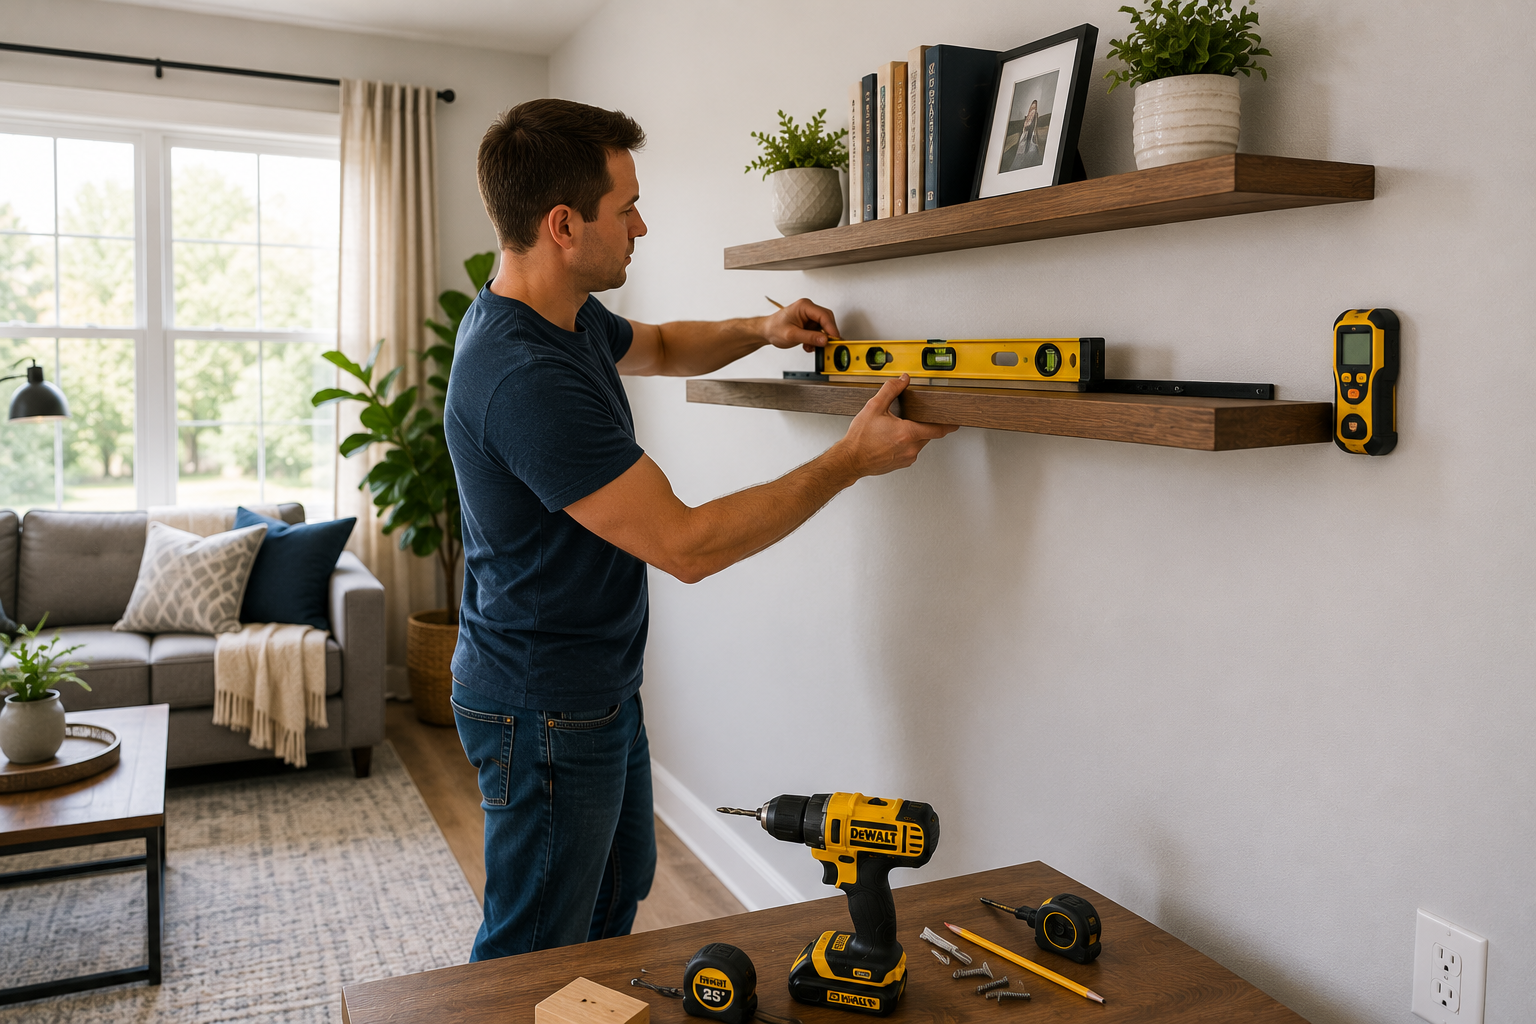
Installing Floating Shelves Safely and Securely is easier than many beginners think when you follow the correct installation process. Having shelves that float offers a chic and useful way to get the most out of wall space, and keep your home in order. They are available in a clean, modern design; they don’t have any brackets to show, but they can only be as strong as they are installed. When a shelf is not properly installed, it can sag, tilt or even crumble and risk damaging the articles on it and the wall. This is one of the reasons why it is important to know how to install it, especially for beginners, to ensure safety and aesthetics.
This guide is divided in 13 simple steps, explained in detail and with practical advice. Whether you’re looking for studs or finding out how much a shelf can hold, you’ll find out how to create beautiful, yet dependable shelves. With these steps and more, you’ll soon be able to optimize storage, improve storage and home organization, and even give your home a style boost.
1. Understanding Floating Shelves
Unlike conventional shelving, floating shelves are those that have their support system covered up by the shelving itself. This design gives minimalistic look to them, which can be used in modern interior designs. The installation will have to be precise since the brackets will be hidden, however, to ensure safety and durability. People who are new to using shelves usually neglect the importance of mounting them properly, and later experience issues like sagging or inadequately supported shelves.
These shelves can be installed in the living room, bathroom, bedrooms or kitchens. They can be used to store books, plants or decorative items, and can be used to fill otherwise unused wall space. However, the installation can be done wrong, thus jeopardizing safety and aesthetics. To be successful with floating shelves, it is important to know how they function.
2. Making the Shelf Work for You
Plan carefully the location of shelves before drilling holes. Placement should be convenient and be attractive. For instance, books might be used in a desk shelf above or spices/dishes in a shelf above a kitchen counter. Consider the placement of the shelves with the rest of the furniture and décor, to make sure you don’t end up with too many items on the shelves or shelf items that are out of place.
The spacing also counts. If planning to store multiple shelves, measure height of items to be stored to ensure adequate space. When planning, you’ll avoid errors and have an intentional, organized look on your shelves. A good design will smoothen the installation and make it more appealing.
3. Locating Wall Studs
The strongest shelves to hang on are wall studs. Check for them by using a stud finder, or tap the wall to hear a solid sound. Studs are typically spaced 16-24 inches apart, and when identifying one, can determine where they are located. Use a pencil to mark the location of marks.
Shelves that are attached directly to studs will be the strongest, particularly if you are attaching them to hang heavy items such as books or kitchenware. This is a step that is often overlooked, and results in shelves falling off the wall from drywall. Often, drywall anchors will be the only option for beginners, but use of studs will offer much greater stability and should be used where possible.
4. Choosing Appropriate Anchors
When there is no studs available in the location you desire for installing shelves, anchors are a must have. Plastic expansion anchors will work for light loads, toggles or molly bolts will work for heavier loads. Please be sure to check the weight rating before selection. Improperly used anchor can be unsafe and unstable.
Anchors are not as strong as studs, and spread the weight over the drywall. When anchors are not convenient for use, use only when it is safe to do so; don’t over-load shelves that are supported only by anchors. The ideal anchor keeps your shelves in place and able to hold items of daily use.
5. Measuring Accurately
Accurate measurements ensure that shelves will be not crooked or uneven. To mark up accurate positions, use a tape measure and level. Be sure to space multiple shelves in an even manner. Shelves, even if they are only a few inches in size, can still look unprofessional, and can have an impact on their stability, if they have even a small error.
It’s also wise to take the measurements of the items you will be putting on the shelves. For instance, books that are tall or fancy vases need more vertical space. Measurement reduces the time and eliminates any frustrating errors. This is a step that people tend to rush through when they’re just getting started, but it will help go through the rest of the installation process.
6. Marking Drill Points
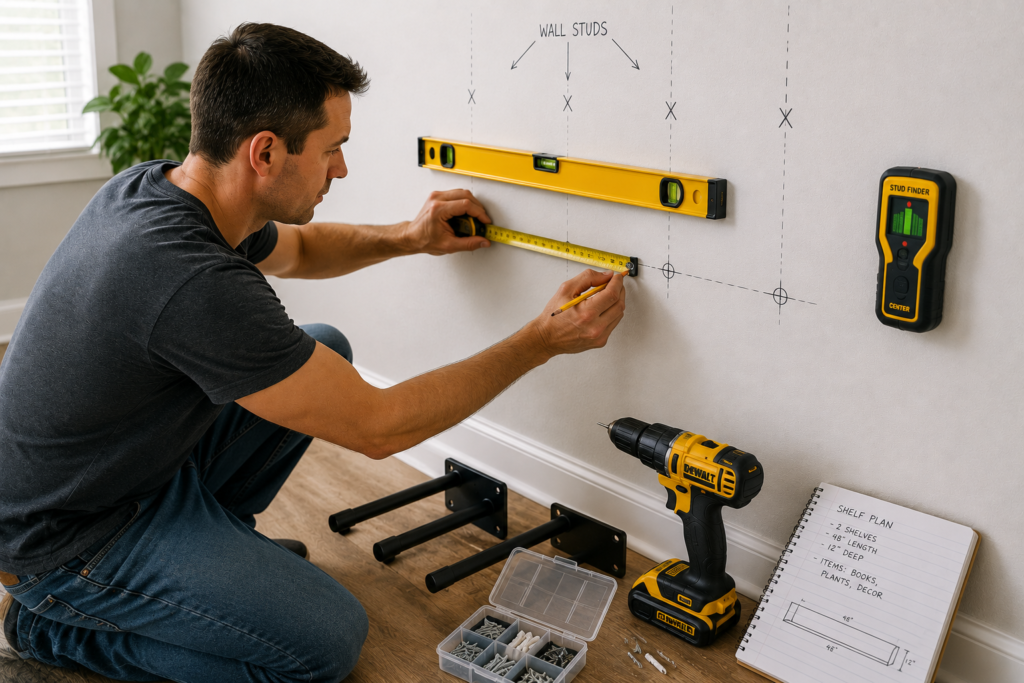
After measurements are made clearly mark drill points. These marks will help you determine where to put screws or anchors. Adjust as necessary, using a pencil. Drill points that are not aligned will make the shelf weaker and cause the shelf to tilt or wobble.
Make sure marks are in line with the anchor marks. Always double check with a level before drilling, to be sure it is accurate. It is better to take time and mark it right, rather than making costly mistakes and having unsafe or unappealing shelves.
7. Drilling Pilot Holes
Pilot holes are made to help the screw to be inserted without damaging the wall. Drill bit should be just a little smaller than the screw’s diameter. This will ensure a snug fit and will stop cracking of drywall. When people are starting, they don’t tend to do pilot holes, but have to when they are precise.
Another advantage of drilling pilot holes is to keep the accuracy. Otherwise, screws can become misaligned or pull on the wall material, causing it to become unstable. The pilot holes help the screws to line up properly, simplifying and ensuring a secure fit.
8. Installing Brackets
Floating shelves are fitted with brackets which form the invisible supports. Tie them down well to the wall with screws, nails or anchors. Test each bracket by pulling gently to make sure that it doesn’t move. The bracket should be secure and stable.
If you are putting up brackets for a longer shelf, put in several spaced out evenly. In order to have a safe floating shelf system, there needs to be proper installation of brackets. Here, it’s important to be careful; if the shelves aren’t supported properly then it’s possible to do the rest of the steps correctly, but weak brackets can cause the shelves to break.
9. Mounting the Shelves
Fit the shelf to the bracket or screw it in, as necessary. Make sure that the shelf is level with the wall and won’t wobble. Test by pressing down lightly, prior to loading. A secure fit is crucial, for both function and appearances.
Use lighter objects to check for stability first. Increase the amount of weight in increments, up to the manufacturer’s maximum weight capacity. When you mount your shelves properly, you’ll have shelves that are functional for many years to come, and they will look good as well.
10. Checking for Level
Any slight shifts can make shelves appear to be sloppy. Check alignment when mounting with a level. Make adjustments as needed prior to loading items. This is an essential step that is often overlooked by beginners but it’s both aesthetically pleasing and safe.
The level shelf will not only look better, it will also even out the weight which will reduce the stress on brackets and anchors. Remember to periodically check levels to ensure straight and stable shelves over time.
11. Testing Weight Capacity
Before storing valuable items on a shelf, test its strength. Gradually add weight, and look for any sag and/or movement. This will enable you to use it normally. Testing is a big important safety measure and yet many people don’t start testing until they get to a more advanced level.
When shelves are starting to show signs of weakness, remove some of the items and re-attach using a stronger anchor or more brackets. With a testing weight capacity, you’ll know that your shelves will be able to hold things in your home without fail.
12. Typical Errors and Safety Precautions
Don’t allow any studs to come off or use weak anchors. Carefully measure and level. Another frequent error that causes shelves to fail is overloading them. It is especially important for newbies to be aware of weight distribution.
Evenly distribute the weight on the shelf. Do not place heavy objects on the edge of the wall as it puts stress on the wall. Heavy items should be placed close by the wall not on the edge of the wall to prevent leverage and strain. Check periodically to ensure that your shelves are secure and not loose, or fallen. These tips will help you to maintain safety and durability over the long-term.
13. Enhancing Home Organization
Floating shelves are not only good for aesthetics, they can also provide a great way to organize! They are applied for an assortment of spices or dishes in the kitchen. They have a range of plants and books in their living rooms. In bedrooms and bathrooms, accessories and toiletries are ideal to be stored in shelves. They can be utilized in several ways and may be a versatile addition to any house.
Shelves will be properly installed ensuring maximum use of space and minimum clutter. The essence of the floating shelves is that they can be used to maximize the space and home organization without losing their design aspect. They can be used creatively to create a more open, chic and functional space. Shelves not only add a touch of elegance, but are also a practical storage solution that simplifies life.
Conclusion

For floating shelves, it’s essential to be equipped with the appropriate tools, have the correct measurements, and plan the project meticulously to ensure proper installation. These 13 steps will let the DIY’er know that he or she can mount their shelves stylishly and durably. Floating shelves are not only aesthetically pleasing but also serve as functional storage solutions, demonstrating that beauty and function go hand in hand.
It’s not difficult to do, but if you make the effort and pay attention to the details, you’ll have shelves that will last for years and make your home more organized. Floating shelves are a beginner-friendly project that can dramatically enhance your living space. With patience and precision, you’ll enjoy both the satisfaction of DIY success and the practical benefits of a clutter-free, stylish home.