
As technology advances, analog media such as VHS tapes, cassette recordings, and film reels are becoming obsolete. The devices needed to play these formats are increasingly rare, and the media itself is prone to deterioration over time. Digitisation is the key to preserving these valuable recordings for future generations.
But how does the analog-to-digital conversion process actually work? This article provides an in-depth technical analysis of the science behind Digitisation, including sampling, encoding, error correction, restoration, and compression. By the end, you’ll understand why professional conversion services like Tapes To Digital UK offer the best results for long-term preservation.
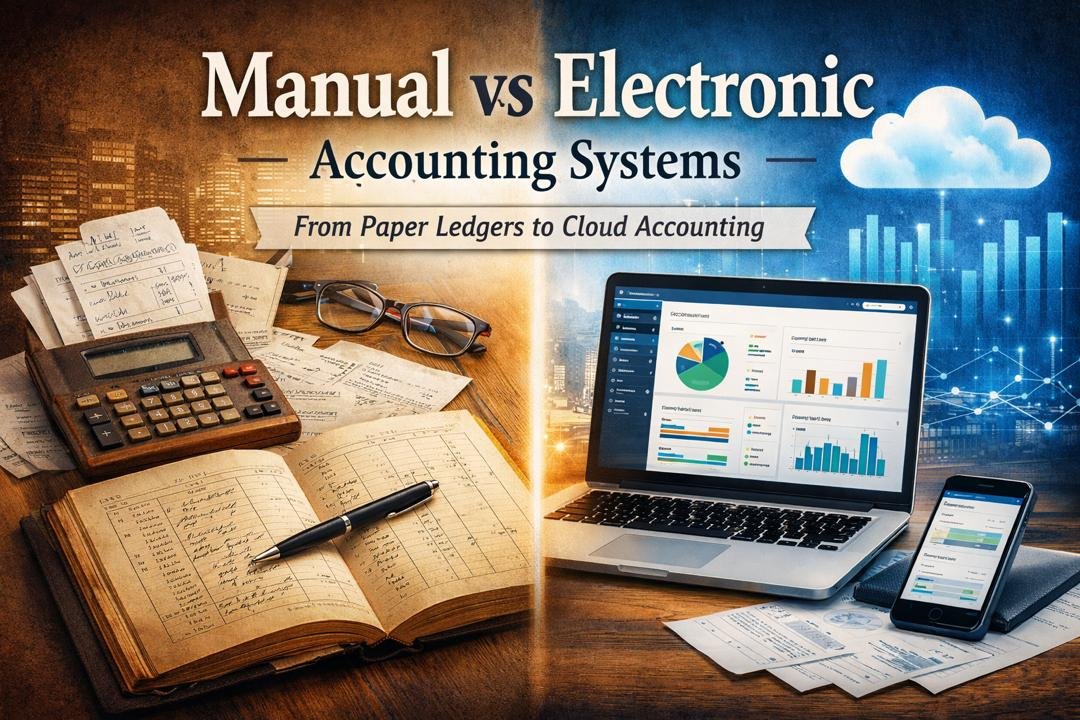
Understanding the Difference: Analog vs. Digital Formats
Before diving into the conversion process, it’s essential to understand what makes analog and digital media different.
What is Analog Media?
Analog media stores audio and video as continuous waveforms. This includes:
- VHS, Betamax, and camcorder tapes (video recorded on magnetic tape).
- Cassette tapes and reel-to-reel audio (sound recorded as magnetic fluctuations).
- Film reels (8mm, Super 8, 16mm, etc.) (optical images captured on film stock).
The problem with analog formats is that they degrade due to physical wear, exposure to environmental factors, and magnetic field interference. Over time, color fades, audio weakens, and image quality deteriorates.
What is Digital Media?
Digital recordings, in contrast, store information as binary data (1s and 0s). Since digital data doesn’t suffer from signal degradation, it can be copied indefinitely without quality loss. Once converted, your files are:
✅ More durable – No loss of quality over time.
✅ Easier to store – Digital files take up little space compared to bulky tapes.
✅ Easily shareable – Send videos to family via email or cloud storage.
✅ Playable on modern devices – Works on PCs, smart TVs, and mobile devices.
However, converting analog signals to digital requires precise processing to ensure no information is lost or distorted. This is where sampling, quantization, encoding, and error correction come into play.
The Technical Process of Analog-to-Digital Conversion
Step 1: Capturing the Analog Signal
The first step in digitizing tapes is extracting the raw analog signal from the media. This is done using high-quality playback equipment, such as:
- Professional-grade VCRs or camcorders for VHS, Betamax, and MiniDV tapes.
- Cassette decks and reel-to-reel players for audio recordings.
- Film projectors with HD capture for 8mm and 16mm film reels.
The playback device is connected to an Analog-to-Digital Converter (ADC), which captures the video and audio signals for further processing. The quality of this step is critical, as poor playback devices can introduce artifacts such as tracking errors, jitter, and audio distortion.
Step 2: Sampling the Analog Signal
Since analog signals are continuous, they must be sampled at regular intervals to create a digital representation.
Audio Sampling
For audio recordings, the most common sampling rates are:
- 44.1 kHz (CD quality) – The audio wave is measured 44,100 times per second.
- 48 kHz (DVD audio standard) – Used for higher-fidelity sound.
- 96 kHz / 24-bit (Studio quality) – Used in professional recording environments.
The bit depth determines the number of possible amplitude values per sample:
- 16-bit audio provides 65,536 levels (CD quality).
- 24-bit audio allows for 16.7 million levels, reducing noise and increasing accuracy.
Video Sampling
For video, the sampling rate and resolution depend on the original format. Common settings include:
- 720×480 (NTSC) at 29.97 fps – Standard VHS resolution.
- 720×576 (PAL) at 25 fps – Standard European VHS resolution.
- 1080p at 24-30 fps – Used for film and high-quality upscaling.
Step 3: Quantization & Encoding
Once the signal is sampled, each measurement is assigned a numerical value—a process called quantization. This converts the continuous waveforms into a discrete digital format.
- Higher bit-depths (e.g., 10-bit, 12-bit) retain more detail, especially in color correction and restoration.
- Lower bit-depths (8-bit) are more common for consumer formats but may result in loss of subtle color gradations.
At this stage, encoding is applied to reduce file size while maintaining quality. The most widely used video formats include:
- H.264 (MP4) – High efficiency, widely compatible.
- ProRes – Higher quality, used for professional editing.
- AVI – Uncompressed, large file size, used for archival storage.
For audio, common formats include:
- WAV/FLAC (lossless) – Best for archival purposes.
- MP3 (compressed) – Smaller file size, but with some loss in quality.
Step 4: Error Correction and Restoration
Old tapes often suffer from issues like:
❌ Tape noise (hiss and hum)
❌ Color fading
❌ Dropouts (black/white flickering)
❌ Interlacing artifacts (horizontal lines during motion)
To restore video quality, deinterlacing algorithms are used to remove flickering effects. Advanced color correction tools recover faded hues, and noise reduction filters clean up grainy footage.
For audio, hiss removal, equalization, and dynamic range expansion help restore clarity.
Step 5: Exporting to a Digital Format
The final step is exporting the digitized media into a usable format. This depends on the intended use:
- MP4 (H.264) – Ideal for sharing and playback on modern devices.
- DVD/Blu-ray – For physical copies with menu navigation.
- RAW files (AVI, ProRes) – For professional editing and archival purposes.
- Cloud Storage (Google Drive, Dropbox, OneDrive) – For easy access and backup.
Why Professional Digitisation Services Are Essential
While DIY Digitisation kits exist, professional services like Tapes To Digital UK provide superior results by using:
✅ High-end playback equipment to reduce playback errors.
✅ Advanced noise reduction and restoration tools for optimal quality.
✅ Multiple format options, including USB, DVD, and cloud storage.
✅ Expert handling to prevent further tape damage during conversion.
Many home conversion setups lack proper deinterlacing, color correction, and error correction, resulting in blurry or distorted output. Tapes To Digital UK ensures every step is performed with precision to preserve your memories at the highest possible quality.
Final Thoughts
The Digitisation of analog media is a complex and technical process that requires careful sampling, encoding, and restoration. Understanding how analog signals are converted into digital formats highlights the importance of professional expertise in achieving the best results.
If you have VHS tapes, camcorder recordings, or old cassettes, don’t let them degrade further—convert them today with Tapes To Digital UK and future-proof your priceless memories! 🚀

Digitising analog media is more than just preserving memories — it’s about safeguarding history. This post does a great job of breaking down the technical process, showing how sampling, encoding, and restoration work together to create high-quality digital versions of old tapes. It’s a reminder that while DIY options exist, professional services like Tapes To Digital UK bring the expertise and equipment needed to truly future-proof your media.