When preparing a Schengen visa application, include clear proof of travel insurance alongside your forms. Submit the policy certificate, coverage dates, territory, sum insured, and emergency assistance contacts. Keep copies handy, too. Ensure names match passports and carry printed and digital copies for each traveller.
This article explains exactly which papers to print, how to arrange them, and the checks you should do before your appointment.
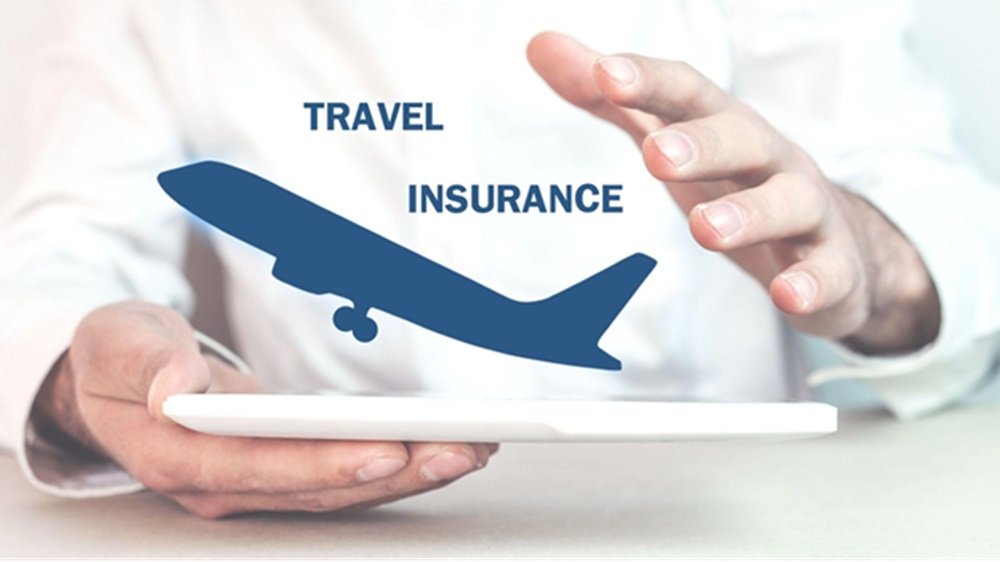
Why Insurance Matters For a Schengen Visa
Most Schengen states require visitors to hold a policy that covers emergency medical expenses and repatriation, up to a minimum of 30,000 euros. The cover should be valid across all Schengen countries for the entire travel period, including your entry and exit days. Officers look for simple, verifiable Schengen travel insurance proof that matches your passport details and itinerary. This is why selecting travel insurance for Schengen visa that clearly states these conditions is important.
What an Acceptable Policy Must Cover
Before printing documents, confirm that your policy:
- Covers emergency medical treatment and repatriation to the home country.
- Has a minimum limit of 30,000 euros.
- It is valid in every Schengen country you will enter, not just one.
- Starts on the date you leave India and ends on the date you return, with a small buffer if possible.
- Shows zero or reasonable deductibles in line with the consulate guidance.
- Clearly states the region as Schengen or Europe, as required by the checklist.
Schengen Visa Travel Insurance Documents You Need
Embassies and visa centres usually ask for these Schengen visa travel insurance documents. Print and place them in this order:
1. Insurance Certificate or Visa Letter
The one-page summary is issued after purchase. It should display the policy number, the insured person’s full name as it appears on their passport, the dates of coverage, the region of coverage, and emergency contact numbers.
2. Policy Schedule
A detailed table of benefits and limits. Officers use this to confirm the minimum of 30,000 euros and repatriation cover.
3. Policy Wording or Terms and Conditions
A longer document that defines what is covered and what is excluded. Keep the full wording in your file, even if they only scan the first pages.
4. Payment Confirmation or Receipt
A simple proof that the policy is active and paid. A soft copy is fine to store on your phone, but it’s also a good idea to carry a printout for reference.
5. Identity Match Page
If your insurer provides a page showing the passport number or date of birth, include it. If not, attach a photocopy of your passport bio page behind the certificate for easy cross-checks.
6. Support Contact Sheet
A one-page sheet with international helpline numbers and the claims email. This is helpful for both the officer and your own records.
How to Prepare Schengen Travel Insurance Proof
Follow this short process to produce clean, complete Schengen travel insurance proof:
- Select the region as ‘Schengen’ or ‘Europe’ according to the policy options.
- Enter travel dates that match your flight bookings and hotel confirmations.
- Download the insurer’s certificate or visa letter in PDF format.
- Check the name spelling exactly as it appears on the passport, without including initials that do not appear on the document.
- Confirm the coverage limit and repatriation line on the schedule.
- Print in clear A4, single-sided, and keep one spare set.
Quick Checklist Before You Visit The Visa Centre
Here is the quick checklist:
- Name matches passport without extra titles.
- Dates of cover match itinerary, including the first and last day in the Schengen zone.
- The region is shown as Schengen or Europe, as required.
- The sum insured is at least 30,000 euros.
- Repatriation is mentioned in writing.
- Policy number and emergency numbers are visible on page one.
- All pages are printed, signed if requested, and clipped in order.
Common Mistakes to Avoid
Here are the common mistakes to avoid:
- Mismatched Dates: A Cover that starts after your flight or ends before your return can lead to questions.
- Wrong Region: A policy set to worldwide, excluding Europe, is not suitable for a Schengen file.
- Nickname or Shortened Name: Use the full legal name as per the passport only.
- No Repatriation Mentioned: If the schedule does not include it, add the wording to the page where it appears.
- Only Soft Copies: Carry printed copies even if digital versions exist.
- Illegible Prints: Faded or cropped printouts slow down verification.
A Simple Example For Indian Travellers
Riya from Pune plans a seven-day trip to Italy and France. She purchases travel insurance for her Schengen visa from a provider, selects “Schengen” as the region, and sets the dates from the evening she departs India to the morning she returns. She prints the certificate, the schedule that lists 30,000 euros and repatriation, the policy wording, and the receipt. At the visa centre, the officer checks her name, dates, and limits on the first page, then keeps the set with her application.
Final Thoughts
Getting your Schengen file right is mostly about tidy paperwork. Arrange travel insurance for Schengen visa early, print the essentials, and match names and dates. Carry clear Schengen travel insurance proof with your tickets and stay details. A checklist saves time at the counter and keeps your trip planning smooth and organised.