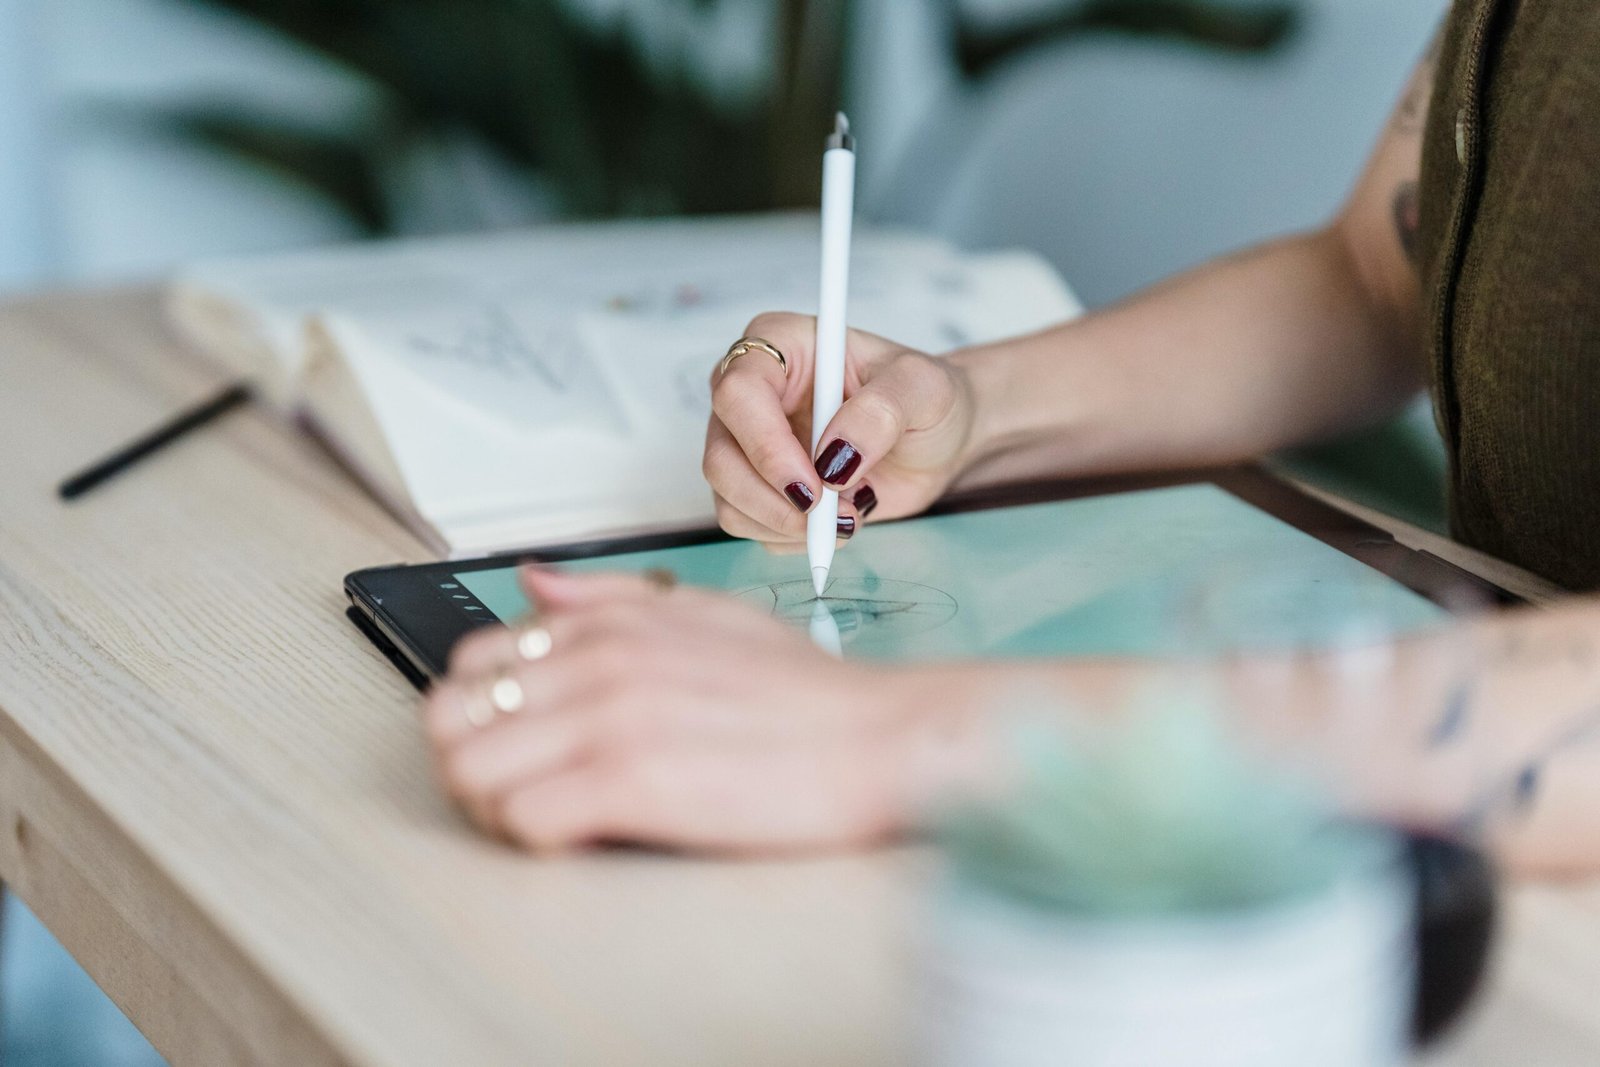
Because of its user-friendly interface, robust capabilities, and limitless customization options, Procreate has become a preferred platform for digital artists. One of its most versatile tools is the brush system, allowing users to experiment with an infinite range of textures, shapes, and styles. Whether you’re creating concept art, calligraphy, comic illustrations, or detailed artwork, mastering Procreate brushes can take your work from mediocre to exceptional. This tutorial will help you master your digital canvas, from basic brushwork to more advanced techniques.
Understanding the Different Types of Brushes and How They Work
Procreate offers a vast collection of pre-made brushes, categorized into groups such as Sketching, Inking, Painting, Airbrushing, and Textures. Each category is designed to meet specific creative needs. For instance, the Sketching kit includes pencils and charcoal brushes that mimic traditional media, ideal for detailed sketches or rough layouts. The Inking category, on the other hand, features brushes like the “Studio Pen” and “Technical Pen,” perfect for clean illustrations and linework. It’s important to know which category to use and when. Painting brushes are great for adding depth and blending, as they mimic the qualities of watercolor, acrylic, or oil paints. Texture brushes give your digital artwork a gritty, organic feel, while Airbrushing brushes help with smooth shading and gradients. Experimenting within each category will teach you how brush behavior varies with pressure, tilt, and speed.
Creating and Customizing Your Own Brushes
While Procreate’s default brushes are excellent, the true power of the app lies in Brush Studio, a specialized interface that allows you to create and customize brushes from scratch. Here, you can adjust numerous parameters, such as spacing, flow, opacity, jitter, and shape dynamics. Want your brush strokes to have more texture or a softer edge? Adjust the “Grain” and “Shape” settings. Need a brush that responds to the pressure or tilt of your Apple Pencil? You can fine-tune these input curves under the “Apple Pencil” options. Customizing your own brushes not only personalizes your workflow but also helps develop a unique artistic style. You can even convert hand-drawn shapes into brushes or import custom texture images. To add even more tools to your arsenal, share your brush sets with other artists or save them for future projects.
Tips for Getting the Most Out of Procreate Brushes
Knowing how to use brushes effectively is just as important as knowing how to choose them. In Procreate, layering is crucial to digital art, so the brush you use for sketching may not be the best for rendering or detailing. Learn to switch up your brushwork intentionally at every stage of your artwork. You can also refine your work using Procreate’s Smudge and Erase tools with brushes. Use varying levels of pressure with your pencil to achieve subtle effects without constantly changing settings, as many quality Procreate brushes are pressure-sensitive. These tools allow you to mix colors or remove edges with precision. For instance, try using a soft airbrush as your smudge tool to blend shading or skin tones evenly. For detailed erasing, a strong inking brush can offer more accuracy. Don’t hesitate to zoom in for fine details and scale up for broader strokes, as Procreate allows you to adjust brush size and opacity on the fly.
Where to Find and Import New Brushes
In addition to Procreate’s built-in brush collection, there’s a vast online library of custom brushes available for download. Many artists and companies create and sell custom brush packs for specific purposes, such as comic art, manga, portrait painting, fashion illustration, and more. To import new brushes, simply download the .brush or .brushset files, then tap them on your iPad. They’ll be automatically added to your Procreate brush collection. You can organize them into folders for easy access and experiment with them to find the ones that complement your style. Keep in mind that not all brushes are created equal—some may be highly detailed and suitable for high-resolution work, while others are designed for speed and simplicity.
Mastering Procreate brushes isn’t about finding the perfect brush; it’s about learning how each one works and when to use it effectively. With the right knowledge, a bit of trial and error, and plenty of practice, you can fully harness Procreate’s capabilities and elevate your digital artwork. Every brushstroke, from the initial concept to the final details, matters. As you become more comfortable with the tools, you’ll find that you can work more quickly, neatly, and creatively. Continuous experimentation with different brush techniques will keep your skills sharp and your artwork fresh, no matter your experience level.