Roof installation is one of the most significant investments a homeowner can make. Whether you’re building a new home or replacing an old, worn-out roof, understanding the process, materials, costs, and key considerations can help you make better decisions and ensure long-term value. This guide covers everything you need to know about roof installation—from preparation and materials to hiring the right professionals.
1. Why Roof Installation Is Crucial
A roof is not just a protective covering—it’s essential to the integrity, safety, and efficiency of your entire home. It shields your house from rain, snow, heat, and wind, while also playing a role in insulation and ventilation.
Here are some key reasons why proper roof installation is vital:
- Protects Your Home’s Structure: Prevents water damage, mold, and structural deterioration.
- Increases Energy Efficiency: A well-installed roof reduces heat loss in winter and keeps interiors cool in summer.
- Boosts Property Value: A new roof is one of the top features buyers look for in a home.
- Reduces Long-Term Maintenance: Quality installation decreases the likelihood of costly repairs.
2. Signs You Need a New Roof
Not every issue means you need a full replacement. However, the following signs may indicate that roof installation is the best long-term solution:
- Frequent leaks or water stains on ceilings
- Shingles that are curled, missing, or cracked
- Sagging rooflines or visible structural damage
- Excessive granules in gutters (from aging shingles)
- Light entering through roof boards in the attic
- A roof over 20–25 years old (depending on material)
3. Choosing the Right Roofing Material
The type of roofing material you choose will determine the overall durability, aesthetics, and cost of your roof. Below are popular options to consider:
Asphalt Shingles
- Lifespan: 15–30 years
- Pros: Affordable, easy to install, widely available
- Cons: Moderate durability, less environmentally friendly
Metal Roofing
- Lifespan: 40–70 years
- Pros: Long-lasting, fire-resistant, energy efficient
- Cons: Higher initial cost, may require soundproofing
Clay or Concrete Tiles
- Lifespan: 50–100 years
- Pros: Highly durable, good insulation
- Cons: Heavy, expensive, requires strong support structure
Wood Shakes
- Lifespan: 20–40 years
- Pros: Natural appearance, eco-friendly
- Cons: Requires maintenance, flammable without treatment
Slate Roofing
- Lifespan: 75–100+ years
- Pros: Elegant look, extremely durable
- Cons: Very heavy, high cost, specialized installation required
Choosing the right material should be based on your budget, climate, home style, and how long you plan to stay in the home.
4. Roof Installation Process Step-by-Step
Step 1: Roof Inspection and Estimate
A professional contractor will inspect the current roof and provide a detailed estimate. This includes evaluating the structure, measuring the area, and checking for damage — an attention to detail that can also inspire service businesses when designing seasonal campaigns, such as Labor Day email templates, to connect with customers at the right time.
Step 2: Removing the Old Roof
The existing roofing material, including shingles and underlayment, is removed to expose the decking. Any rotten or damaged decking will be replaced.
Step 3: Preparing the Deck
After cleaning the roof deck, contractors will install an ice and water shield in valleys and edges for added protection. Then, a layer of underlayment is applied across the entire roof.
Step 4: Flashing and Drip Edge
Metal flashing is installed around roof penetrations like chimneys and vents, and drip edges are placed along eaves and rakes to direct water away from the fascia and into gutters.
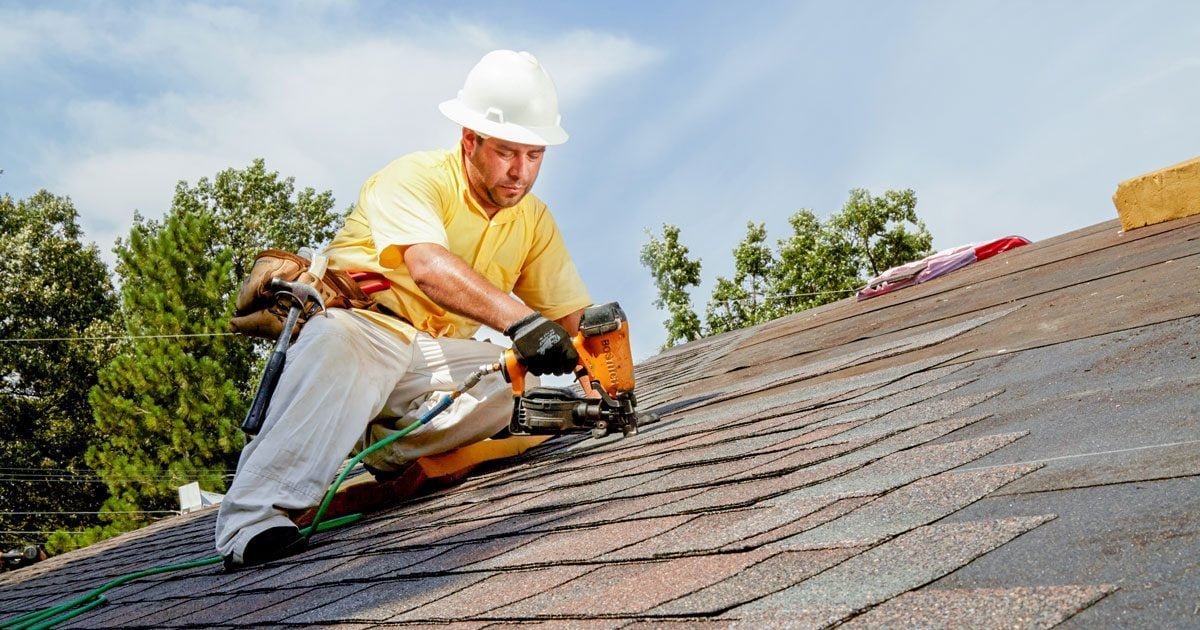
Step 5: Installing the Roofing Material
Shingles, metal panels, or tiles are then installed in a staggered pattern to ensure proper coverage and resistance to wind and moisture.
Step 6: Ventilation and Ridge Caps
Proper ventilation helps regulate attic temperature and moisture. Ridge vents and soffit vents are typically installed to improve airflow.
Step 7: Final Inspection and Clean-Up
The contractor performs a final inspection to ensure all materials are properly secured. Cleanup includes removing debris and magnetically sweeping for nails.
5. Roof Installation Costs
The cost of a roof installation depends on various factors, including the material, roof size, complexity, and labor. Here’s a rough breakdown:
| Material | Cost per Square Foot (Installed) | Total for Average Roof (1,500–2,000 sq. ft.) |
| Asphalt Shingles | $3 – $5 | $6,000 – $10,000 |
| Metal Roofing | $7 – $12 | $14,000 – $24,000 |
| Clay/Concrete Tiles | $10 – $18 | $20,000 – $36,000 |
| Slate Roofing | $15 – $30+ | $30,000 – $60,000+ |
| Wood Shakes | $6 – $10 | $12,000 – $20,000 |
Keep in mind that removing the old roof, repairing the decking, and local permits may add to the total cost.
6. Hiring a Roofing Company: What to Look For
Selecting the right Roofing Company is critical to the success of your project. Here are the top qualities to consider:
- Licensed and Insured: Always work with licensed professionals who carry liability and workers’ compensation insurance.
- Experience: Choose a company with several years (or decades) of experience in roof installation.
- Reputation: Read reviews, ask for referrals, and look at past work.
- Warranty: A reliable Roofing Company should offer both a manufacturer’s warranty (on materials) and a workmanship warranty (on labor).
- Transparent Estimates: The quote should clearly outline labor, materials, and other expenses.
Don’t hesitate to ask questions during your consultation. A reputable contractor will be happy to explain the process, recommend materials, and work within your budget.
7. How to Prepare for Roof Installation
Here are steps you can take to prepare your home:
- Clear the attic: Remove or cover items to protect from dust and debris.
- Protect valuables: Take down wall décor or fragile items in case of vibrations.
- Move outdoor items: Clear patios, driveways, and walkways of furniture, vehicles, or potted plants.
- Notify neighbors: Let neighbors know about noise and debris for courtesy.
- Secure pets: Keep pets indoors and away from the work zone.
Being proactive helps make the installation smoother and safer for everyone involved.
8. Aftercare and Maintenance
Once your new roof is installed, proper maintenance will help maximize its lifespan:
- Inspect twice a year: Check in spring and fall, or after severe weather.
- Clean gutters: Clogged gutters cause water buildup that can damage shingles.
- Remove debris: Leaves, twigs, and branches should be cleared from the roof.
- Trim nearby trees: Prevent branches from scratching or damaging the roof.
- Watch for signs of trouble: Missing shingles, granule loss, or interior leaks should be addressed immediately.
Routine maintenance will reduce the need for emergency repairs and keep your warranty valid.
9. Roofing Trends and Innovations
Modern roofing has evolved with new technologies and design trends, including:
- Cool Roofs: Reflective materials that reduce heat absorption.
- Solar Shingles: Generate electricity while protecting your home.
- Synthetic Roofing: Lightweight alternatives designed to mimic slate or wood.
- Green Roofs: Living roofs with plants that provide insulation and reduce runoff.
While traditional materials are still popular, these innovations can enhance sustainability and functionality.
10. Conclusion
Roof installation is a critical part of homeownership that should never be rushed or done carelessly. From selecting the right materials to hiring a qualified Roofing Company, every step plays a role in ensuring the longevity, safety, and performance of your new roof.
By educating yourself on the process, preparing accordingly, and investing in quality workmanship, you protect your home and enhance its value for years to come. Whether you’re planning for new construction or replacing an old roof, consider this guide your go-to resource for making confident and informed decisions.