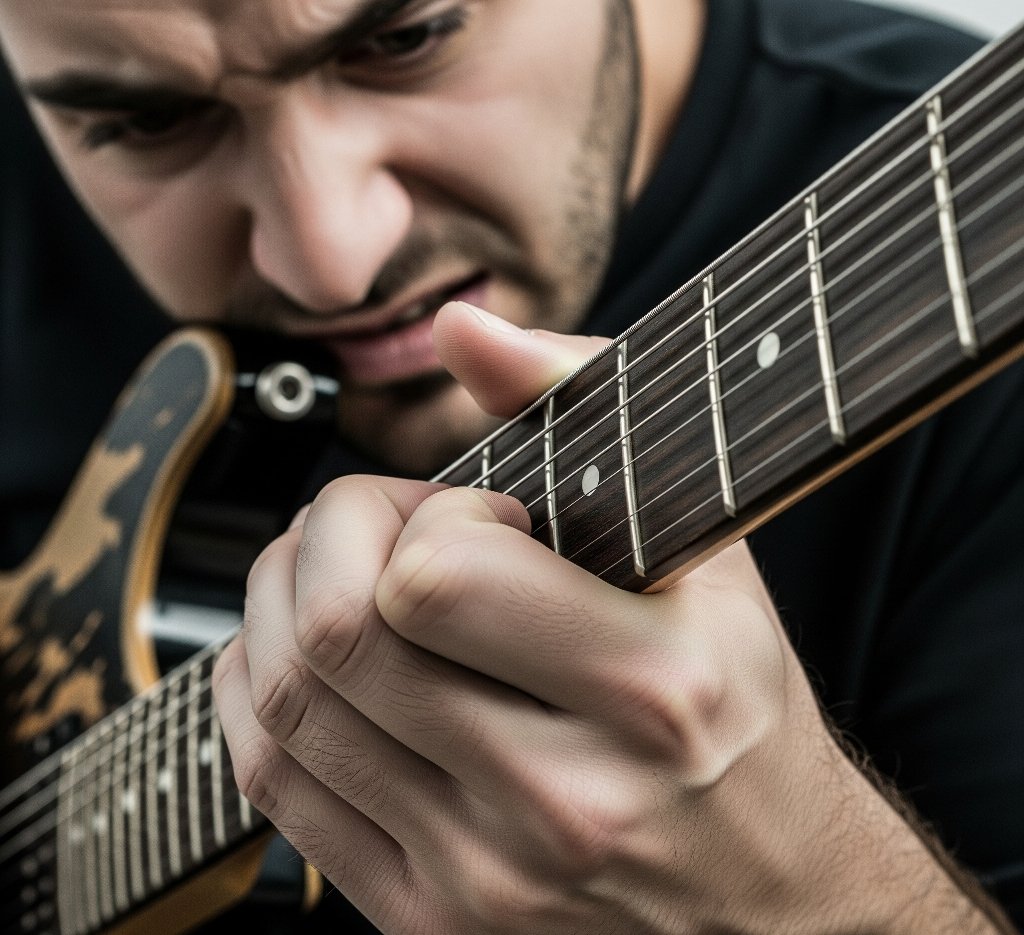
We all have been there, have we not? You are comfortably playing with an open chord on your guitar. And next you find yourself coming across a song which you really do enjoy, only to come across a chord that puts you straight on your back: the F major and B minor barre chords. The easy time is suddenly replaced by the annoyed fight with murmuring strings, sore fingers, and the hand that keeps on being stubborn and it just feels like you hit a wall. At that moment, you have all thought of giving up the game, thinking that you need to be a chord gitar god to tackle barre chords.
However, playing barre chords has nothing to do with some mysterious ability to play them, but is rather a combination of getting to understand the mechanics, developing specific strength and practical techniques. This article is going to de-mystify these infamous chords and give you a guide on how to overcome them without frustration. It will answer the question of why they prove so difficult and give particular finger-strengthening exercises and tips on how you can improve your grip and play with a clear and resonant sound.
Getting prepared to open a new world of tunes and become a better guitar player?
As you begin mastering barre chords, a reliable chord guitar resource becomes important and offers detailed variations that will encourage you to apply them in real musical contexts.
Why Barre Chords Feel Like Climbing Mount Everest (and How to Conquer It)
We should first know the problem before going into solutions. What is so challenging about the barre chords compared to a C major or a G major for example?
The Basic Pitfalls of Barre Chords
- Simultaneous Pressure: Unlike in an open chord where each finger plays a chord individually pressing against a chord, in a barre chord, an index finger (or any finger depending on the chord played) presses down many strings at a time on a single fret. This makes high, indeed pressure over a broader spread.
- Finger Strength and Endurance: The finger strength required to hold down six notes in a clean F major, or five in a B minor, is a lot of strength in your index finger, and the muscles of your hand and forearm. This is strength that beginners are sometimes void of.
- The position of the hand and wrist: It is important to create the right angle and curve of the hand and wrist to evenly apply pressure and avoid muting. Hiding the fact that many beginners clench their muscles, which determines malformed and inefficient pressure distribution.
- Independent Finger Movement: Your index finger will be doing the barring, but the other fingers (middle, ring, and pinky) must move independently to push down their strings as much as needed without bumping into the barre. This coordination becomes difficult
Building the Foundation: Finger-Strengthening Exercises
Learning barre chords is like learning to construct a house. You need a solid background. These activities will assist in attaining the required strength and dexterity in your hand, forearm and finger. Do this exercise, preferably 5-10 minutes every day even without your guitar.
1. The Claw: Single Finger Strength
This activity is aimed at separating and training the separate fingers.
- Practical procedure: Hold your palm firm on the table palm down. Fold one finger in turn, the others flat. Keep it up and down 5-10 seconds. Do the same with the rest of the fingers, ideally 5-10 times a finger.
- Why it helps: Develops strength needed in correct finger placement and getting fingers to move separately.
2. Squeeze Ball / Hand Gripper: Total Hand and Forearm Strength
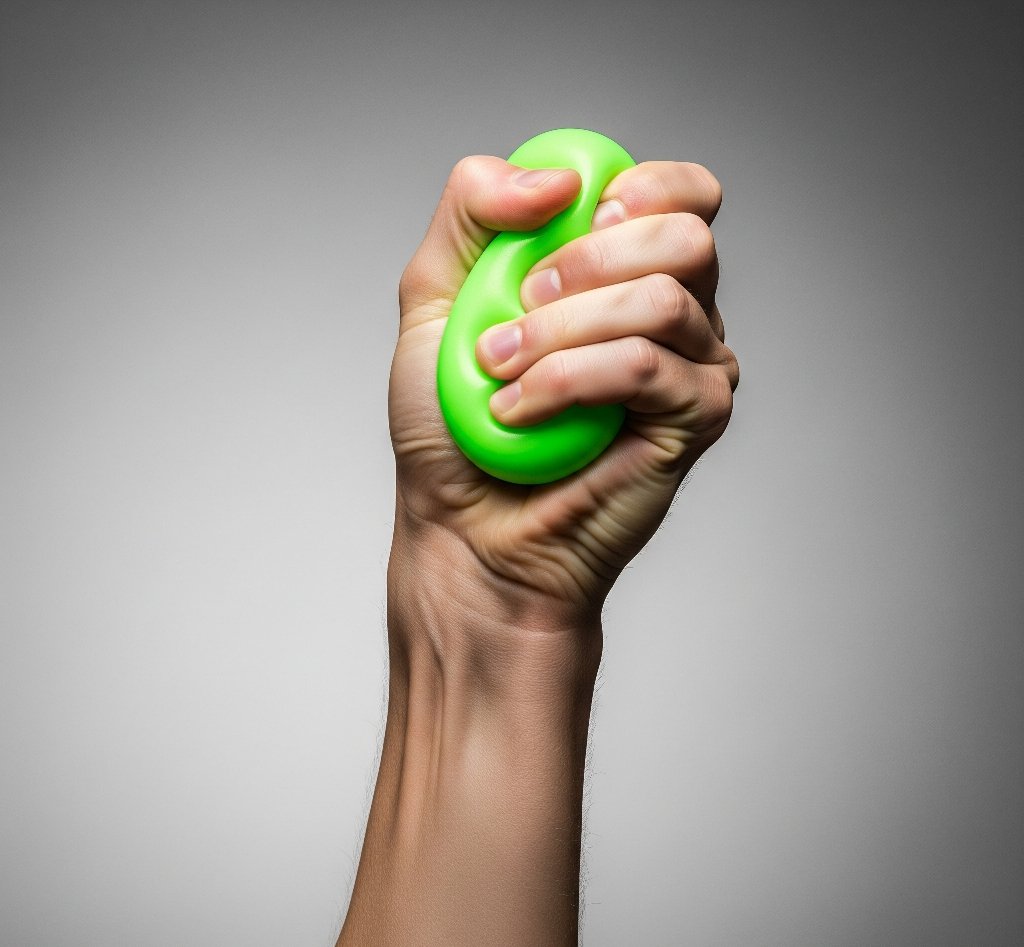
A very simple, and nevertheless highly efficient exercise.
- Practical procedure: Use a stress ball, a tennis ball or a specific hand gripper. Cramp up the thing in your grip 5 seconds, and hold it loose. Repeat about 10-15 times. Take 2-3 sets for each hand.
- Why it helps: Strengthens the body in general and forearm in particular, which is important to provide pressure on the fretboard.
3. Extending the Fingers: Fighting the Tension:
This assists in softening the fingers and eases the tension.
- Practical procedure: With a palm on the table, put in a flat posture. Soften all your fingers as far up as you can, keeping the palm on the table. Stay a couple of seconds and then relax. Repeat 15-10 times.
- Why it helps: It trains flexibility and may help to reduce the rigidity of first barre chord attempts.
4. Press Ups with the Index Finger: Specific Barre Strength
This exercise is specifically focused on the muscles intrinsic to the barre.
- Practical procedure: This is what you do with your finger not on your guitar, but put on a hard surface (i.e., on your table) and flat finger. Bar all strings by pressing them very firmly down with your index finger. Maintain the pressure for 10-15 seconds. The strain must be felt. Release. Do 10-15 repetitions.
- Why it helps: It replicates the force needed on the barre, developing specific strength on your index finger.
Mastering the Grip: Practical Tips for Clear Barre Chords
Now, it is time to apply it to the guitar. These are workable tips that will instruct you on how you must put the strength you have earned to good use.
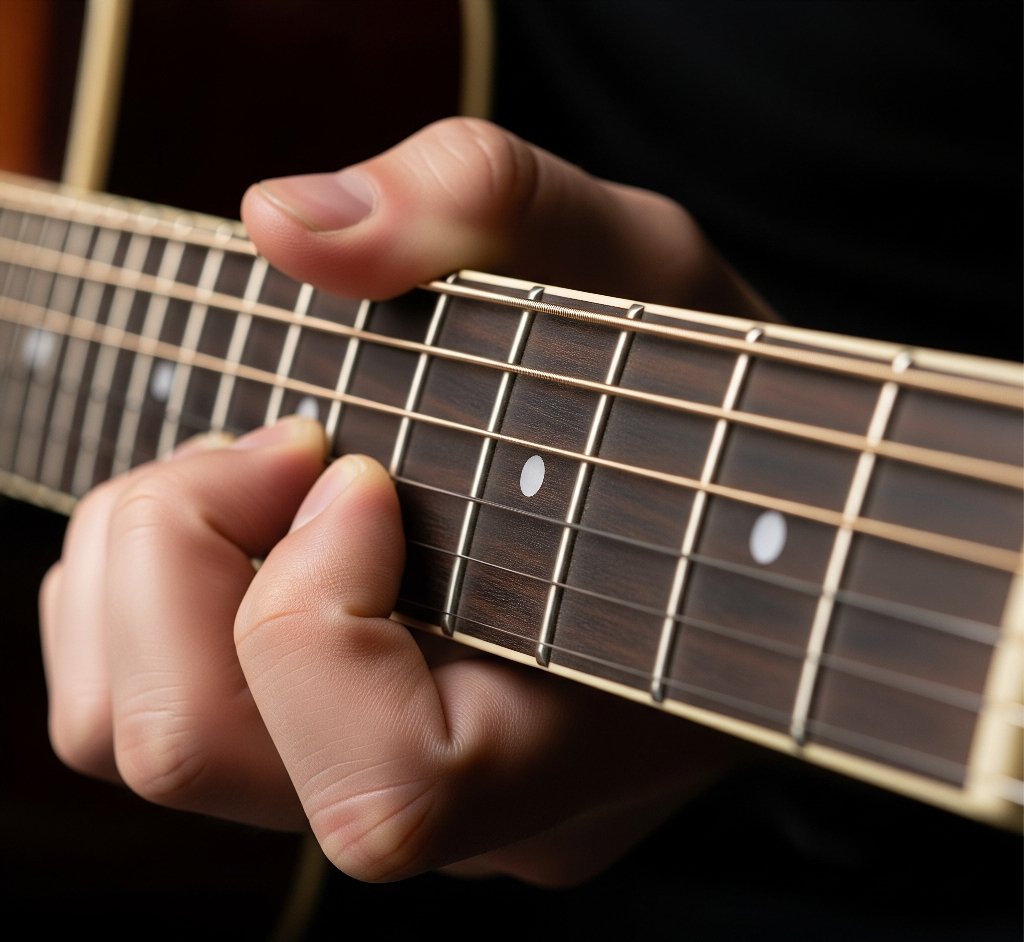
1. The Thumb of Power: Your Balornee:
It is not so much a prop as your thumb is an active part in making a barre chord.
- Correct Placement: Your thumb should be directed in the centre of the guitar neck towards the back of the guitar and parallel to your index finger. It is supposed to offer rigid, steady counter-pressure.
- The Pinch: This one is actually an imagery, picturing a pinch on the neck using your index finger and thumb. This gives that leverage to press the strings. Do not hold the neck like a baseball bat; you will develop stress and poor positioning.
2. Index finger positioning: flat, straight and near the fret
The most important thing about a successful barre is probably this.
- The flatness: Your index finger should be as flat as it can be on the fret. One should not be able to bend it or have it collapse at the knuckle.
- Straightness: your index finger should be straight. The curved or arched finger will result in the dull strings.
- Being Close to the Fret: Your index finger should be right behind the wire part of the fret (closer to the headstock). This is the best place to have maximum leverage and clean notes. Otherwise, it will not be far enough to give the necessary pressure. Too much forward, and you develop the danger of muting.
- Side of the Finger: Play with the bony side of your index finger (nearer to the thumb) as opposed to the fleshy pad. To others, this offers a more stable area and enhanced pressure dispersion.
3. The Wrist Bend: An Unnoticeable yet Meaningful Image
An important role regarding the proper hand position and leverage is played by your wrist.
- Slight Forward Bend: Moving your wrist in slight with a bit of pushing forward or in a direction away of pushing up the body. This slight curve enables your index finger to be more perpendicular on the fretboard and enables you to have leverage. Depending on which direction it is going, low back pain exercises to avoid a wounded warrior position (your wrist is sharply bent backwards as a veteran).
4. Elbow position: Liberating your hand

The position of your elbow affects the absolute angle of the combination of your arm and hand.
- Elbow Away from Body: Move your elbow so it freely hangs a little bit with respect to your body. This will eliminate the tendency of your arm tensing and you can keep a more natural position of your hand. When the elbow is tucked in, there is a tendency of ending up with a cramped hand and hard barre.
5. Movement of the Index Finger: A Fine-Tuning Method
Assuming that you still hear muted strings, try this subtle adjustment.
- Slight Rotation: Again after positioning of the index finger you can then do a very minute, almost unnoticeable, roll of the index finger in the direction of the headstock. This may aid in relieving the pressure to the position where one gets to hear those hard strings ring.
6. The Weight of Your Arm, Let the Gravity Work
Do not only use finger strength. Make use of the weight of your arm.
- Relaxed Arm: The arms should not be tensed, the weight of your arm should fall down on the fretboard utilizing the fingers. This may give even more pressure than anticipated with minimal effort.
Tackling F Major: Your First Barre Chord Hurdle
This is commonly the first real barre chord many guitarists have to contend with. It is difficult since it involves practising blocking all six strings.
F Major (E-shape) Position:
- Index finger: muting all 6 strings on the 1st fret.
- The middle finger: 2nd fret of G.
- Ring finger: 3 fret A string.
- Pinky finger: 3 fret of the D string.
Practice Strategy F major:
- Begin with the Barre Alone: Put just your index finger on the 1st fret and push down all six strings. Play each string at a time. Are they all pealing out? Otherwise, bend your index finger and squeeze the thumb until you do so. And this is your basis.
- One Finger at a Time: add your middle finger first, then your ring finger after the barre is solid and finally add your pinky. Strum between every addition in order to detect clarity.
- Lift and Replace: train on playing the F major chord, completely relax your hand, shake it out and replay the same chord. This creates muscle memory.
- Chord Changes: as you become able to clearly form F major, practice changing to and out of it with open chords you are already familiar with (e.g. C to F, G to F).
Conquering B Minor: The Elusive “A-Shape” Barre
The B minor chord, which can follow the F major quite frequently, has its issues as well, mostly because of the A-shape barre, during which one simply bars the top five strings.
Position: B Minor (A-shape):
- Index finger: Except on the A, D, G, B, and the high E strings at the 2nd fret (the low E is played with the mute or very rarely).
- Middle finger: the 3rd fret of the B string.
- Ring finger: 4th fret on the D string.
- Pinky finger: fourth fret on the G string.
B Minor practice strategy:
- Work on the Five-String Barre: You do this just as you did with F: put down just the index on the 2nd fret barring only strings A-high E. Be sure each of these five strings well. Watch out to mute the low E string using the tip of your first finger or to fix it using your strumming hand.
- Gradual Addition(Middle, Ring and Pinky Fingers): Add your middle, ring, and pinky fingers respectively, making sure that the clarity of each string is excellent.
- Targeted Muting: This low E string has a tendency of causing the muddiness in B minor. Touch it very lightly with the point of your index finger to mute it; or merely make sure that your strumming does not happen to sound it.
- Transition Practice: Learn how to transition into and out of a B minor with the other common chords (e.g. G to Bm, D to Bm).
Troubleshooting Common Barre Chord Problems
No matter how good the advice is, chances are that you are going to run into some familiar problems. Here is the way to respond to them:
- Muted Strings (In Particular, High E or B):
Solution: You need to press more or have a flatter index finger at that particular point. See if it helps to have a little more leverage with your finger by rolling it up a bit or a change of wrist position. Make sure that your index finger is really straight.
- Muted Strings (particularly low E or A):
Solution: You do not apply sufficient force on the whole finger. Inspect your counter pressure on the thumb. Make sure that your hand is not caving. Your forefinger may be curling on the joint.
- Aching Hand/Forearm:
Solution: You are probably taking up the strain too much. Take breaks. The strengthening exercises for the fingers should be practiced. Concentrate on loosening your grip to the extent and keeping the pressure. It is something of a balancing thing.
- Buzzing Sounds:
Solution: Keep your finger too far away from the fret wire. Bring the index finger closer to the fret (closer to the bridge). Or, you may not be pressing at all.
- Cannot get all fingers down:
Solution: The shape of your hands is wrong or your fingers are not free enough. Do the exercise of the claw. Be sure that your thumb is not too high on the neck, and this will cramp your hand.
Beyond F and B Minor: Unlocking the Fretboard
Having learned F major and B minor, other barre chords are going to be very straightforward. This is due to the fact that these two chords expose one to the two major barre forms; the Eshape (such as that of the F major, which can be moved around the neck to make the G, A, B, etc), and the Ashape (such as that of the B minor, which can be moved around the neck to make the C minor, D minor, E minor,).
Once you learn these concepts of these two fundamental barre chords, you will be able to know and physically be able to open up any chord on the instrument. This mastery does not only mean that you can play more songs; this means that you will feel more confident, will increase your musical vocabulary and will step forward with the feeling that you are a guitarist. After a time, the frustration will give way, and all the intense pleasure of hearing those resonant barre chords will be there. Practice more, be tenacious and before you know it, you will have the fretboard as your oyster.