An improperly installed toilet can become a source of unpleasant odors, flooding, and injuries. Therefore, installation of plumbing requires preparation of tools and adherence to instructions. There are several types of toilets with different installation rules.
What is needed to install a toilet?
Installation is preceded by choosing the appropriate type of toilet. There are four options, determined by the type of outlet:
- oblique;
- vertical;
- horizontal;
- universal (horizontal shortened).
The choice of toilet outlet is determined by the position of the bathroom sewer pipe.
An oblique outlet is chosen if the sewer pipe is located at floor level (or slightly higher) and goes into the wall. The inclination relative to the sewer inlet is 140-145 degrees.
A vertical outlet is chosen if the sewer pipe goes to the floor. It is important to choose a model that has a matching release. For example, the central location of the drain on the toilet will not suit the wall location of the pipe.
Horizontal outlet is used when the sewer pipe is located at a height of 20 centimeters from the floor above. The outlet is parallel to the sewer inlet.
The universal release is short. Allows you to connect pipes, corrugations of different lengths and shapes. The sewer pipe can be located anywhere.
How to install toilet instructions?
Installation of the product requires a preliminary assessment of the premises and preparation of tools. You need to buy a suitable fully equipped toilet. A set of new plumbing fixtures must contain fasteners plus a full set of cistern fittings.
Necessary materials and equipment:
- chisel;
- roulette;
- hammer;
- sealant;
- pencil;
- FUM tape;
- perforator;
- Adjustable wrench;
- flexible eyeliner;
- open-end wrenches;
- drills for fasteners;
- adapter cuff;
- basin for collecting water;
- Phillips screwdrivers, flat;
- a rag that absorbs moisture well;
- sewer connection pipe.
Before starting work, it is recommended to clear the room as much as possible. You can remove, for example, a laundry basket, towels, rugs. The next stage involves dismantling the old toilet. To do this, the water supply from the water supply is turned off, the water is drained from the tank, and its supply is disconnected.
After that:
- rusty bolts are treated with a rust converter;
- fasteners are unscrewed;
- remove the floor fastening bolts;
- the cement coating is chipped with a chisel;
- the toilet gently loosens;
- water is drained from the elbow;
- taffeta (if present) is completely removed;
- debris is removed from the sewer hole;
- The sewer hole is closed with a plug.
The dismantled product is washed and dried. If there are uneven areas, the floor covering is leveled. Then the bowl (lower part) of the toilet is attached:
- the product is installed in place, marks are made on the floor at the fastening points;
- the bowl is temporarily removed from the room;
- holes are made in the floor covering for fastenings;
- dowels are driven into the holes made;
- the bowl is installed again, the fasteners are tightened;
- The level checks how level the bowl is;
- distortions are leveled by tightening the fasteners;
- decorative plugs cover the fasteners.
At this stage of work, it is necessary to make a decision about sealing the joint between the bowl and the floor. It is possible to increase the tightness of the joint if you do not plan to move the toilet in the next 5-10 years. Typically a colorless, white sealant is used.
Further, for oblique, horizontal, universal plumbing, the following technology is used:
- after the preparatory work, the bowl is installed on the floor;
- The coincidence of the drain hole and sewer outlet is checked.
The following actions depend on the degree of coincidence of the pipe and drain:
- in case of an ideal match, a rigid fan pipe is used for connection;
- for small displacements, an eccentric collar is used;
- with a large displacement, corrugation can be used.
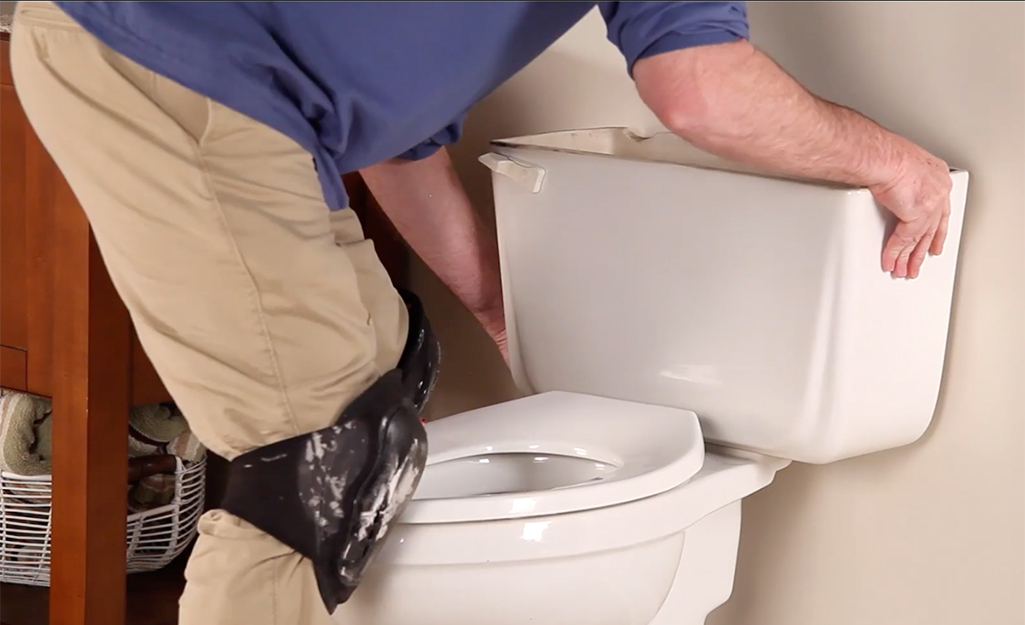
The further process involves installing a tank. Each toilet model must be supplied with instructions with assembly rules. The general method of installing a compact toilet tank (with a shelf for the tank):
- a rubber gasket is placed on the tank drain;
- the tank is installed on the bowl with all holes aligned;
- mounting bolts with seals are inserted from above;
- plastic nuts are manually tightened from below;
- The drain mechanism and float are installed inside the tank.
Level installation of the tank is important for the correct operation of the drain (circular, around the perimeter).
The next stage is connecting the water supply. Water enters through a flexible hose. The liner can be side (more reliable) or bottom (quieter). The size of the hose is determined by the distance of the tank from the connection point (20 percent is added to this length). The ends of the connections are equipped with nuts that must be tightened for connection. FUM tape is used to seal the connection.
After connecting the water, initial tests are carried out – they organize the supply of water to the tank and drain. At this stage, there is a risk of leakage and droplets. If after several drains there are no leaks, the plumbing is considered ready for use.
If there are any leaks, the water is shut off again and drained from the tank. The fasteners of problematic connections are tightened and then treated with sealant. Then a test drain is performed again.
How not to install a toilet?
Before purchasing a product, you must select a model according to the location of the drain. If the wrong model is selected, the connection will be complicated by installing the corrugation.
The use of corrugation impairs the performance of the toilet:
- Using plumbing cable will most likely cause the corrugation to leak.
- The bends of the corrugation accumulate excrement, which constantly releases an unpleasant odor.
- The corrugation ribs quickly become overgrown with sediment, reducing the drainage capacity.
The use of corrugation is recommended as a temporary solution. Permanent use requires the installation of a smooth, inflexible pipe.
When installed in a corner, behind household appliances or other plumbing fixtures, the product becomes difficult to reach. The corner placement of the toilet makes access for cleaning and repairs difficult. Pipes and hot and cold water meters may also be inaccessible.
It is strictly forbidden to operate a poorly secured toilet. Typically, floor installation of a product involves the use of complete fasteners. If the length of the supplied dowels is not enough, over time the toilet begins to wobble. Therefore, it is necessary to check the reliability of installation immediately. It is also prohibited to install plumbing fixtures on a weak wall, where other communications pass through.
It is also prohibited to change the location of fasteners or the shape of fasteners. Changing the shape yourself will cause a decrease in the strength of the structure.
Attaching the toilet to the floor
Careful fastening of the plumbing fixture makes its use convenient and safe. There are three ways to securely mount a toilet on the floor: using dowels, glue, or taffeta.
All toilet manufacturers provide for the use of dowels. This is the fastest, easiest way to install plumbing fixtures. A flat floor and tools for drilling holes for fasteners are required.
Using glue is an easy but time-consuming way to install plumbing fixtures. It may take 12-15 hours for the epoxy adhesive to fully cure. The method is used only for smooth surfaces (stone, tile). Before gluing, the surface is degreased and sanded. Then the glue is prepared in strict accordance with the manufacturer’s instructions. The toilet is installed on a thin layer of adhesive. Protruding drops of epoxy compound are immediately removed. The product is pressed to the floor.
The wooden floor of the bathroom allows the use of taffeta. Taffeta is a stand assembled from one or two boards. The shape of the taffeta follows the shape of the base (sole) of the toilet. Wooden taffeta is nailed to the floor, then plumbing is installed on it. The stand can also be used to lift plumbing fixtures above tiled and concrete floors. The wood must be protected from moisture before assembling the taffeta. Impregnation with, for example, heated drying oil is recommended.
Installing a toilet on tiles
Installing a toilet on a tiled floor has its own peculiarities. The tiles are fragile and require careful handling. To install plumbing, you will need a special tile drill. This tool will allow you to make holes for fasteners without splitting the ceramic.
How to install a vertical shower toilet
Vertical shower (discharge) involves draining water vertically into the floor. The process of connecting the product includes:
- performing floor markings;
- installing a screw flange with a lock;
- installing a sewer pipe into the hole in the center of the flange;
- installing the o-ring;
- installation on top of the toilet bowl with rotation until it locks;
- final tightening of the mounting bolts.
Next, install the tank according to the attached instructions.
The wide variety of floor-mounted and wall-mounted toilets can make Plumbing Installation difficult. You can use official videos of manufacturers and craftsmen installing the selected toilet model. If installing a toilet yourself seems complicated or difficult, it’s easier to call a certified master plumber.