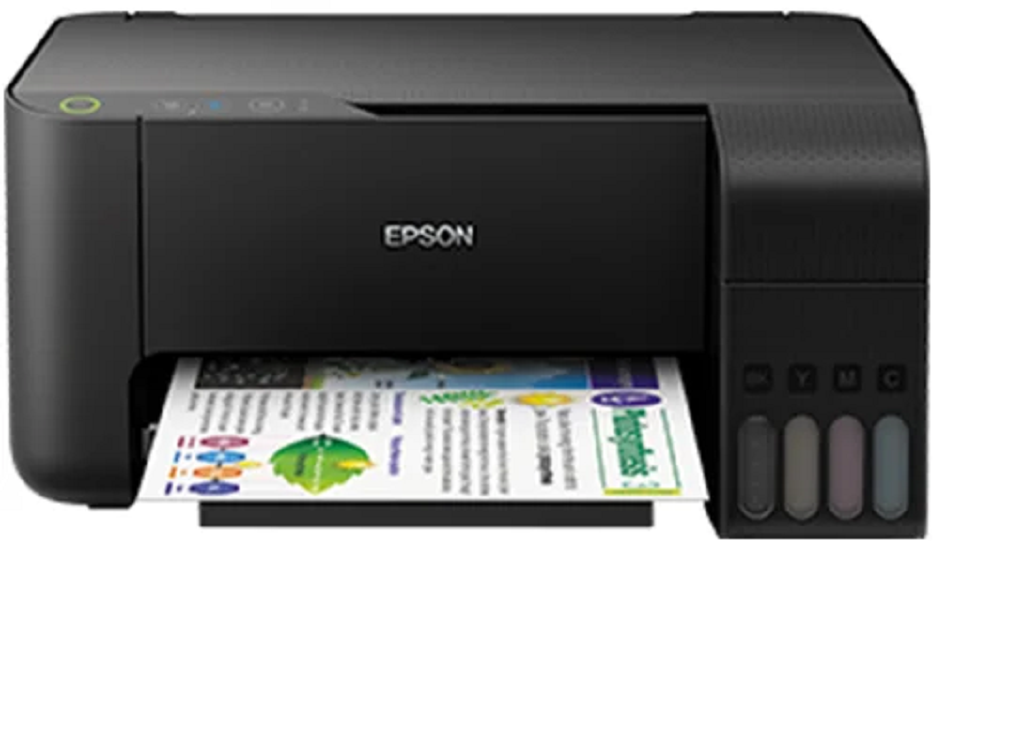
The Epson L3110 is a popular all-in-one ink tank printer known for its reliable performance and high-quality output. Like many inkjet printers, the Epson L3110 has a maintenance feature called the “Waste Ink Pad” that plays a crucial role in preventing ink spillage and maintaining print quality.
Over time, as the printer accumulates waste ink, it will reach a point where it displays a “Service Required” error message, indicating that the Waste Ink Pad is nearing the end of its lifespan. To resolve this issue and continue using your printer without interruptions, you can employ the Epson L3110 Waste Ink Pad counter reset process. In this comprehensive guide, we’ll walk you through the steps to reset the Waste Ink Pad counter and keep your Epson L3110 running smoothly.
Understanding the Waste Ink Pad in the Epson L3110
Before we delve into the details of using the Waste Ink Pad counter, it’s essential to understand what it is and why it is needed. The Waste Ink Pad is a sponge-like component inside your printer that collects excess ink during the printing and cleaning processes. This design prevents the ink from spilling or causing damage to the printer. Over time, the Waste Ink Pad becomes saturated, and when it reaches its limit, the printer triggers a “Service Required” error to protect itself from potential ink leaks and related issues.
When to Reset the Waste Ink Pad Counter
The “Service Required” error message is an indication that your printer’s Waste Ink Pad counter has reached a certain threshold. To continue using the printer, you’ll need to reset this counter. It’s crucial to reset the counter only when you encounter the error message, as frequent resets can lead to ink overflow and printer damage. Here are some common scenarios that might prompt you to reset the Waste Ink Pad counter:
- Service Required Message: When the printer displays a “Service Required” error on its control panel or through the Epson Status Monitor.
- Print Head Cleaning Issues: If you experience problems with print head cleaning or nozzle checks.
- Print Quality Decline: When you notice a noticeable drop in print quality, such as streaks, lines, or missing sections in the printed output.
Now, let’s walk through the steps to reset the Waste Ink Pad counter on your Epson L3110.
Precautions Before Using the Waste Ink Pad Counter Reset
Before proceeding with the Waste Ink Pad counter reset, it’s crucial to take certain precautions to ensure a safe and effective process. Here are some essential precautions to consider:
- Backup Your Data: Ensure that you back up any important documents or files on your computer to prevent data loss.
- Use Genuine Ink: Epson recommends using genuine ink cartridges with their printers. Using third-party or refilled cartridges can lead to ink quality issues and potential complications during the reset process.
- Printer Driver Update: Make sure your printer driver is up to date, as outdated or incompatible drivers can interfere with the reset process.
- Disable Antivirus Software: Temporarily disable any antivirus software on your computer. Some antivirus programs may mistakenly identify the resetter tool as a potential threat and block its operation.
- Administrator Rights: Ensure that you have administrative privileges on your computer, as these are necessary for the resetter to make changes to your printer’s settings.
- Internet Connection: Disconnect your computer from the internet during the reset process to prevent automatic updates or interruptions.
Now, let’s proceed with the step-by-step guide to using the Waste Ink Pad counter reset tool.
Steps to Use the Epson L3110 Waste Ink Pad Counter Reset
You can use the Epson L3110 resetter to resolve maintenance-related issues on your printer.
Step 1: Download the Epson L3110 Waste Ink Pad Counter Reset Tool
- Begin by searching for the Epson L3110 Waste Ink Pad counter reset tool online. You can usually find it on various websites and forums. Download it from a reputable source to avoid potential issues or malware.
- Once downloaded, extract the files if necessary and save them to a secure location on your computer.
Step 2: Prepare Your Printer
- Ensure that your Epson L3110 printer is powered on and connected to your computer.
- Check the printer queue for any pending print jobs and clear them to prevent interference during the reset process.
Step 3: Disable Antivirus Software
Temporarily disable your antivirus software as mentioned in the precautions section to prevent any potential interference during the reset.
Step 4: Run the Waste Ink Pad Counter Reset Tool
- Locate the downloaded reset tool and run it as an administrator. Right-click on the file and select “Run as administrator” to ensure it has the necessary permissions.
- The reset tool will open and display a user interface with various options and buttons.
Step 5: Select the Printer Model
- In the reset tool, choose the correct printer model, which in this case is the “Epson L3110.”
Step 6: Click on the “Waste Ink Pad Counter” Option
- Within the reset tool, look for the “Waste Ink Pad Counter” option and click on it.
- You may encounter a checkbox indicating “Main Pad Counter” or a similar option. Make sure to check this box.
Step 7: Click on the “Initialize” Button
- After checking the “Main Pad Counter” box, click on the “Initialize” button. This action initiates the reset process.
Step 8: Power Off and On Your Printer
- Once the reset is complete, you will receive a message instructing you to turn off your printer and then turn it back on. Follow these instructions.
Step 9: Verify the Reset
- After restarting your printer, confirm that the Waste Ink Pad counter has been successfully reset. You should no longer see the “Service Required” error message.
Step 10: Re-enable Antivirus Software
Don’t forget to re-enable your antivirus software to ensure your computer’s security.
Congratulations! You have successfully used the Waste Ink Pad counter reset tool to unlock and reset your Epson L3110 printer, allowing you to resume your printing tasks without any error messages.The Epson adjustment program for the L3110 model allows users to fine-tune and optimize printer settings for better performance.
Troubleshooting and Tips
If you encounter any issues during the reset process, here are some troubleshooting tips:
- Ensure Correct Model: Double-check that you have selected the correct printer model in the reset tool.
- Administrative Privileges: Ensure that you have administrative rights on your computer to run the reset tool.
- Antivirus Software: Verify that your antivirus software is indeed disabled during the reset process.
- Compatibility Mode: If you are using a Windows operating system, try running the reset tool in compatibility mode for an older Windows version (e.g., Windows 7) if you encounter compatibility issues.
- Printer Driver: If problems persist, update your printer driver to the latest version.
- Repeat the Process: If the initial reset attempt fails, you can repeat the process a few times to ensure a successful reset.
Conclusion
The Epson L3110 Waste Ink Pad counter reset tool is an invaluable resource for users facing the “Service Required” error message on their Epson L3110 printers. By following the steps outlined in this guide and taking the necessary precautions, you can reset the Waste Ink Pad counter and continue using your printer without disruptions.

Gigi Hadid Condemns “Terrorizing of Innocent People” After Hamas Attacks on Israel